The Bowl Project

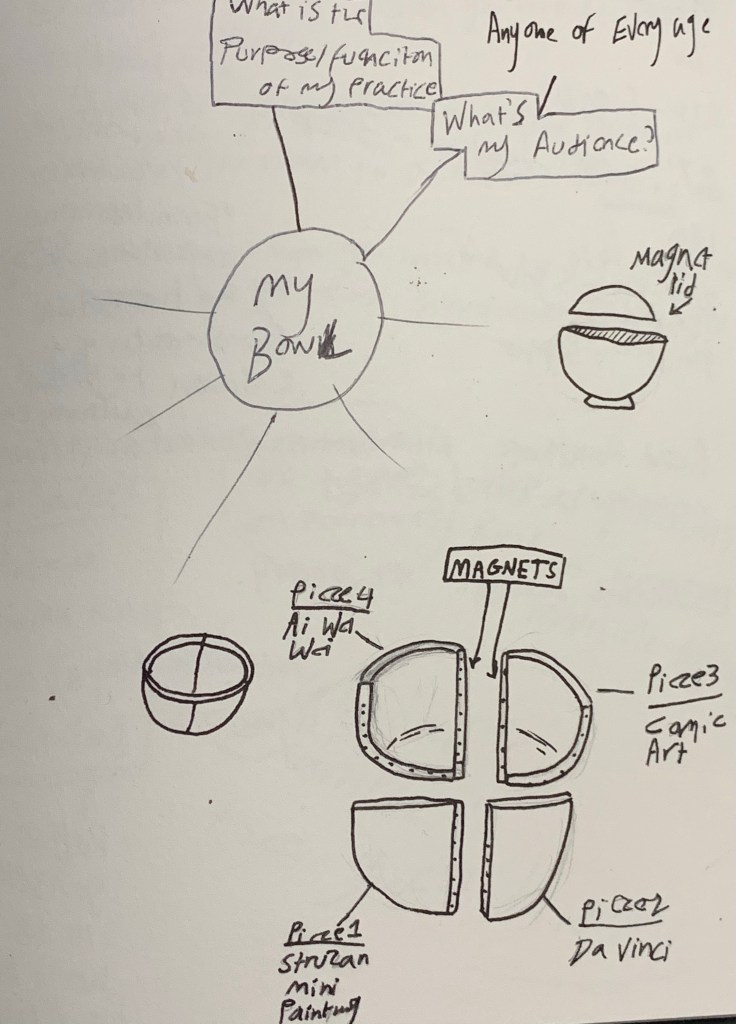
On the 11th of October, I started progress on my Gesamt Kunstwerk Bowl project, My Idea was to 3D print a bowl that was able to magnetically split and attach together.

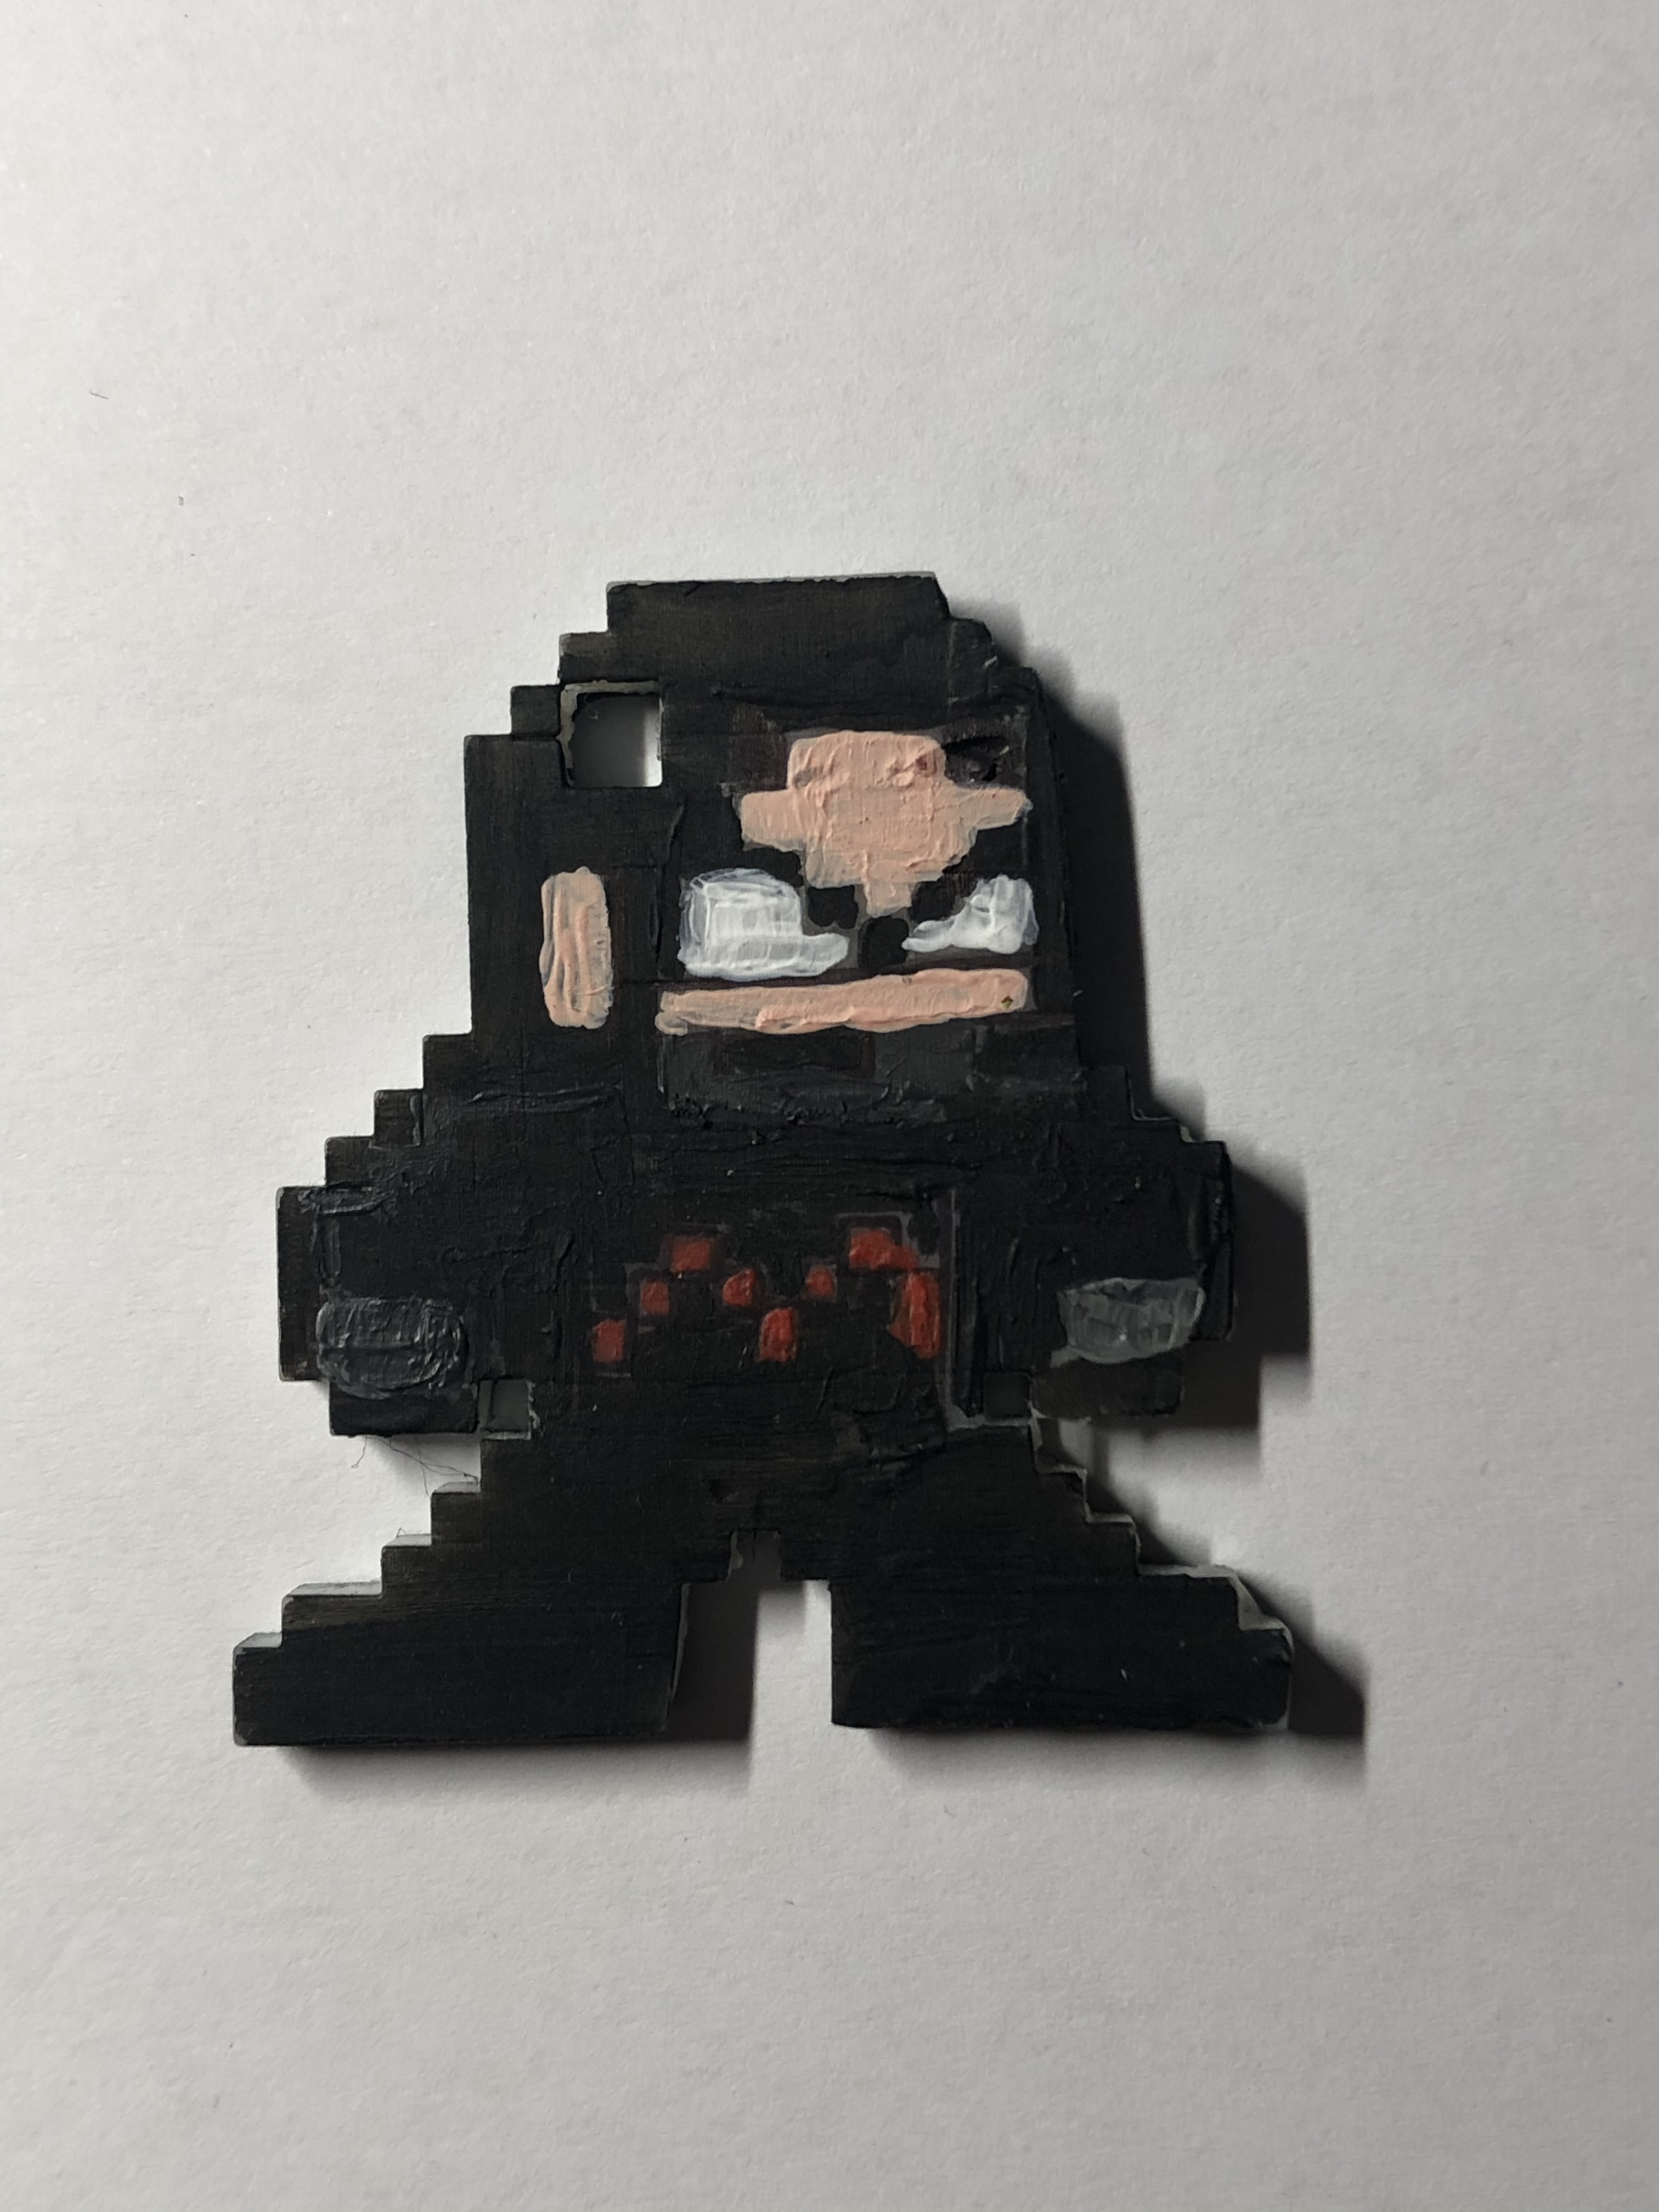
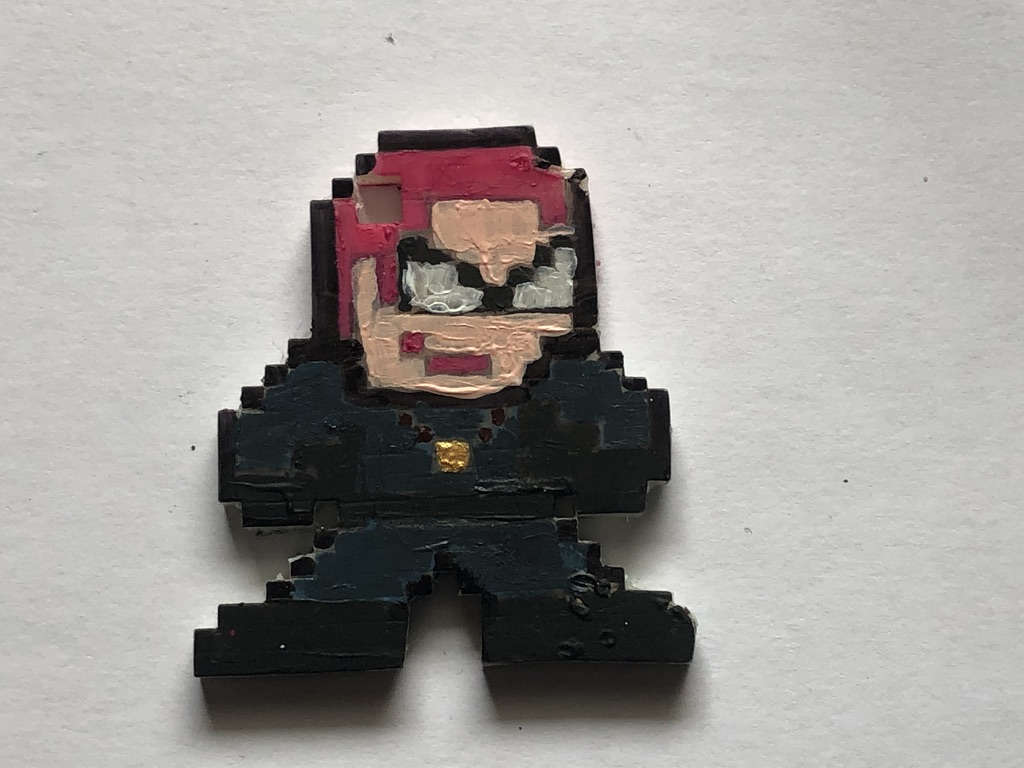
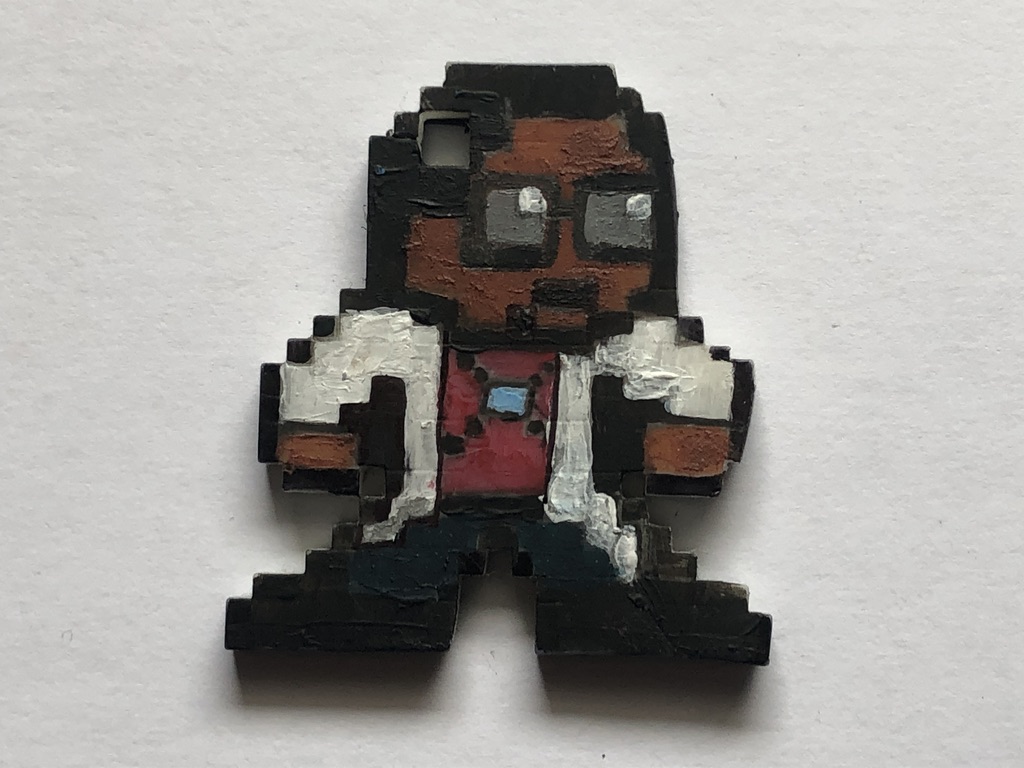
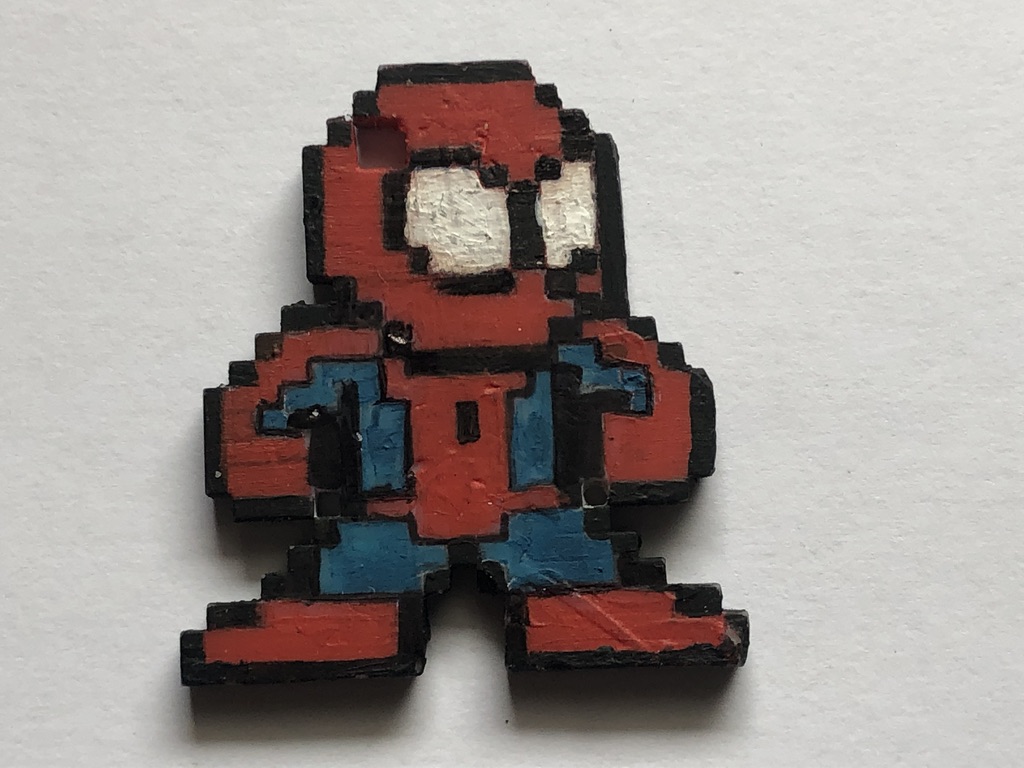
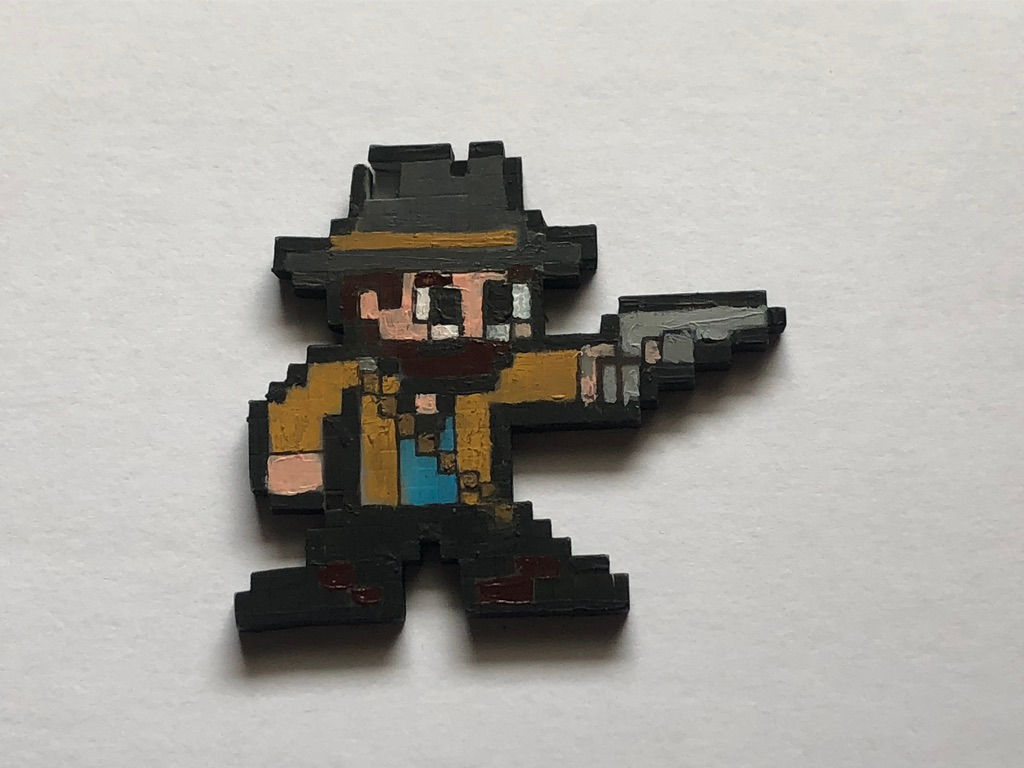
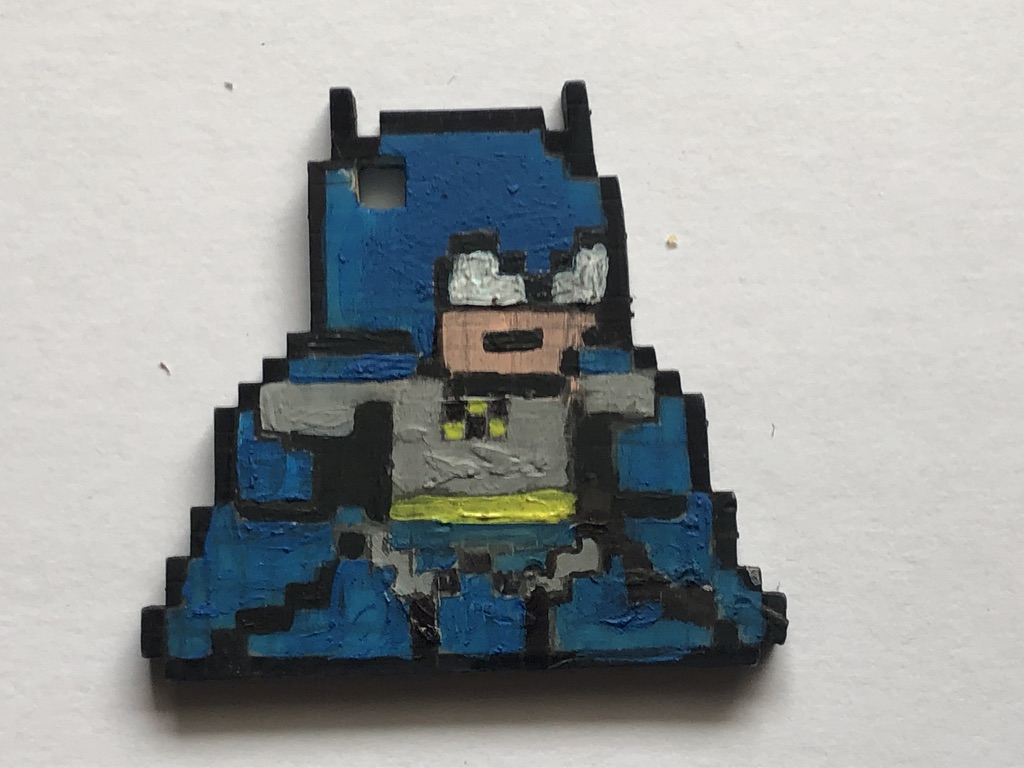
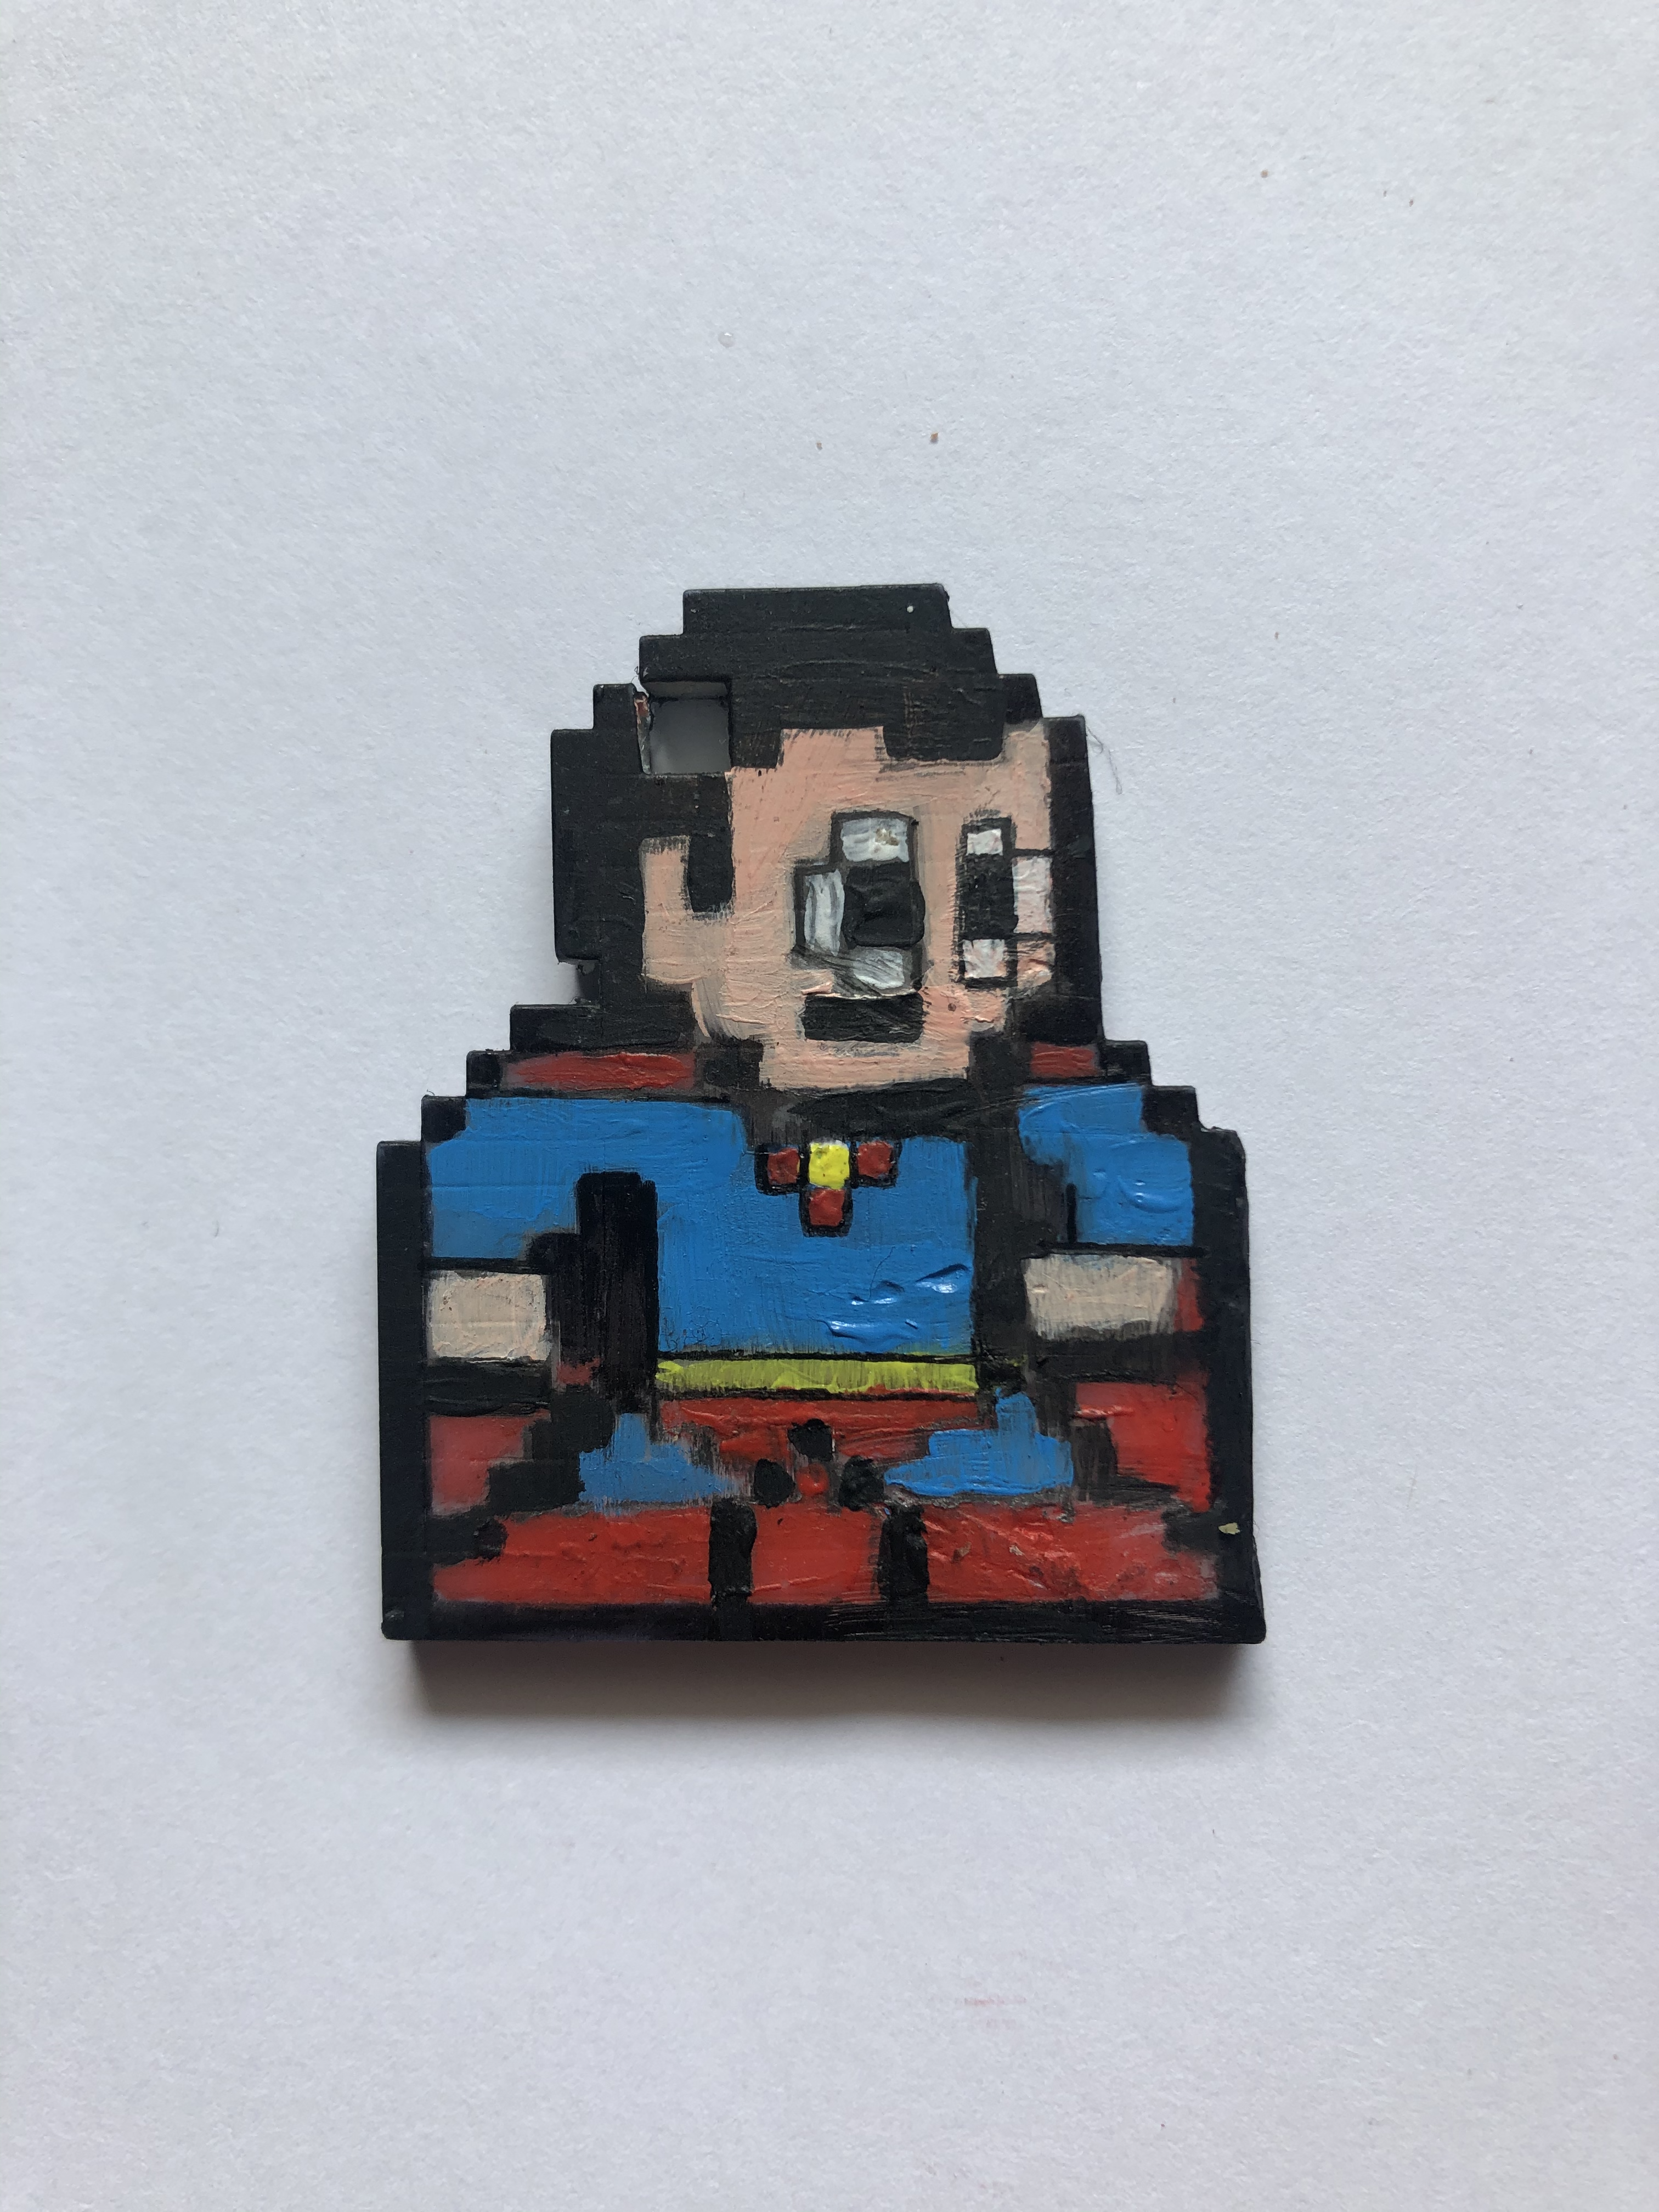
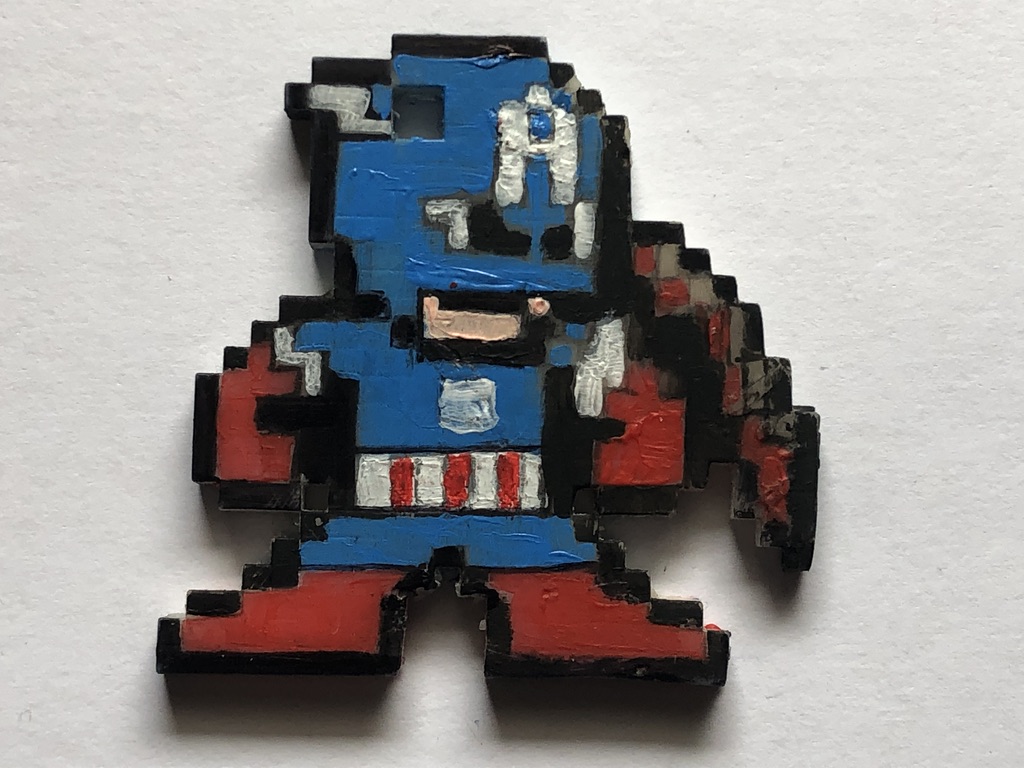
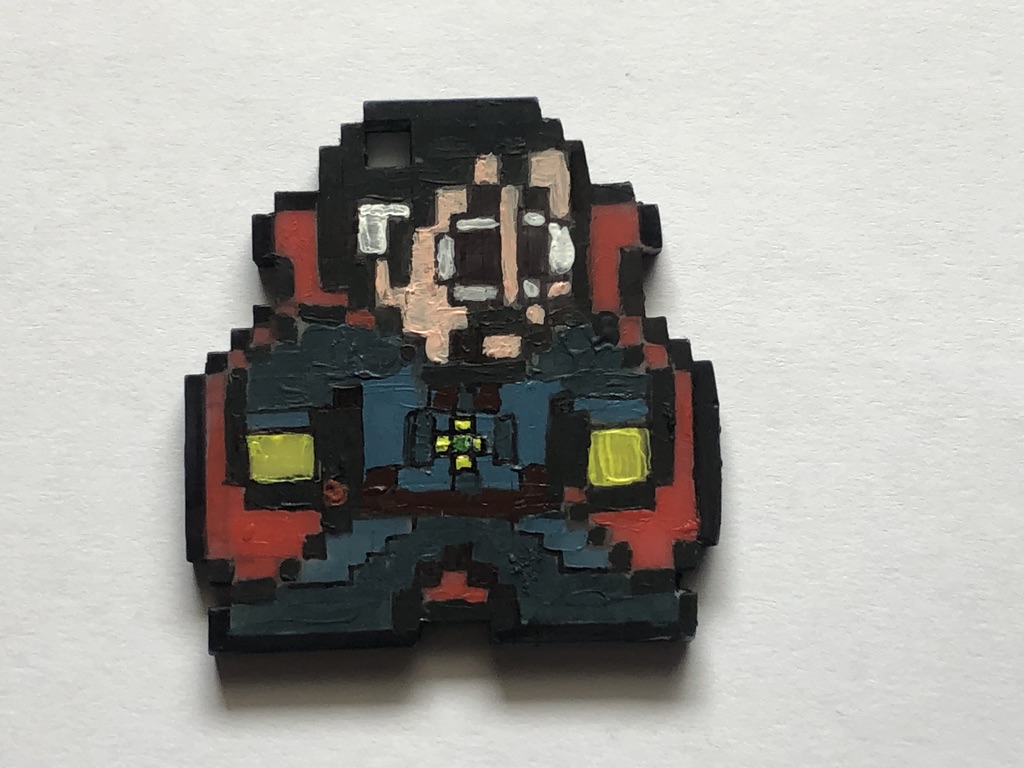
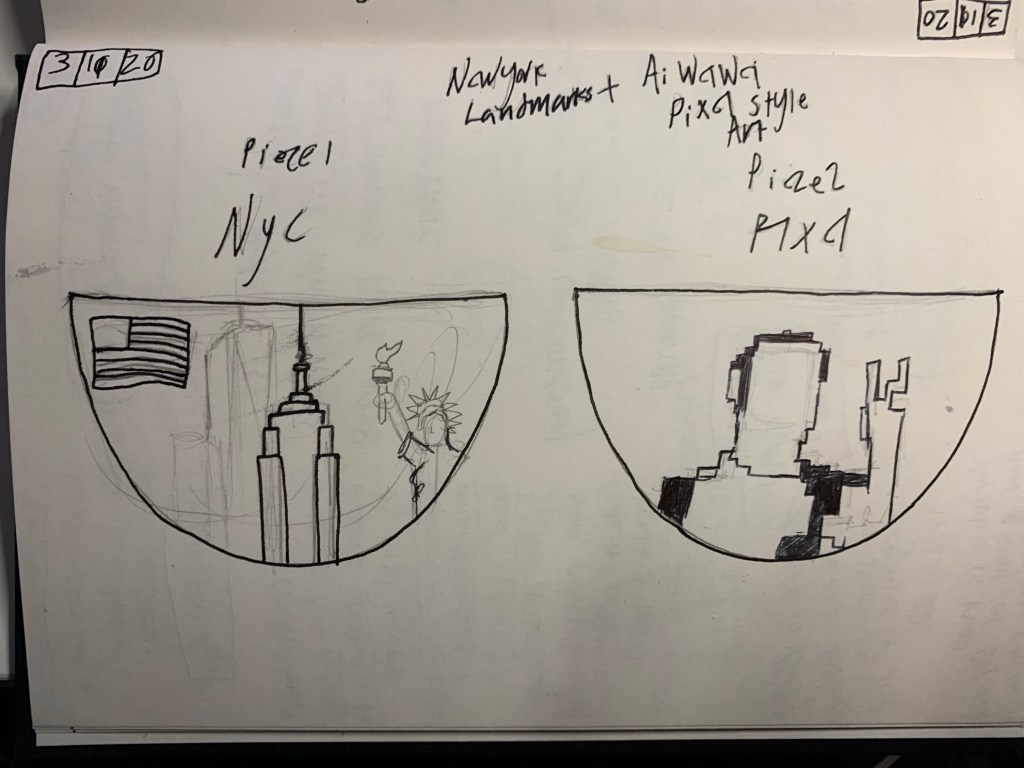
The design Idea for my bowl is to decorate each separating piece with a painting of one of my Gesamt Kunstwerk choices, want I wanted to do is create a series collection of bowls that split into two, each one containing two of my Gesamt Kunstwerk choices, each piece would be decorated with one of my choices and once the two magnetically connect together there’s an image on the inside of the bowl that’s a combination of the two choices per bowl (e.g one bowl would have two pieces, one would be decorated in painted New York landmarks and one would be painted in the Lego pixelated style of Ai Wei Wei, once the pieces connect together the inside would show a painted image of the empire state building painted in pixelated artwork.

Practical Functionality

This one would have not one but two functions, the first one is to use it to hold either candy or acessories, dedending on the size and strength of the magnets (Liquids wouln’t be able to work because the bowl would leak and would affect the taste due to the resin, and would probably be a safety hazard.)

The other function would be for the bowl to split in half and would be able to magnetically attach to a magnetic wall, making into a small key bowl for the wall and again depending on the size of the pieces and the strength of the magnets it could potentially fit bigger items then keys.

Context

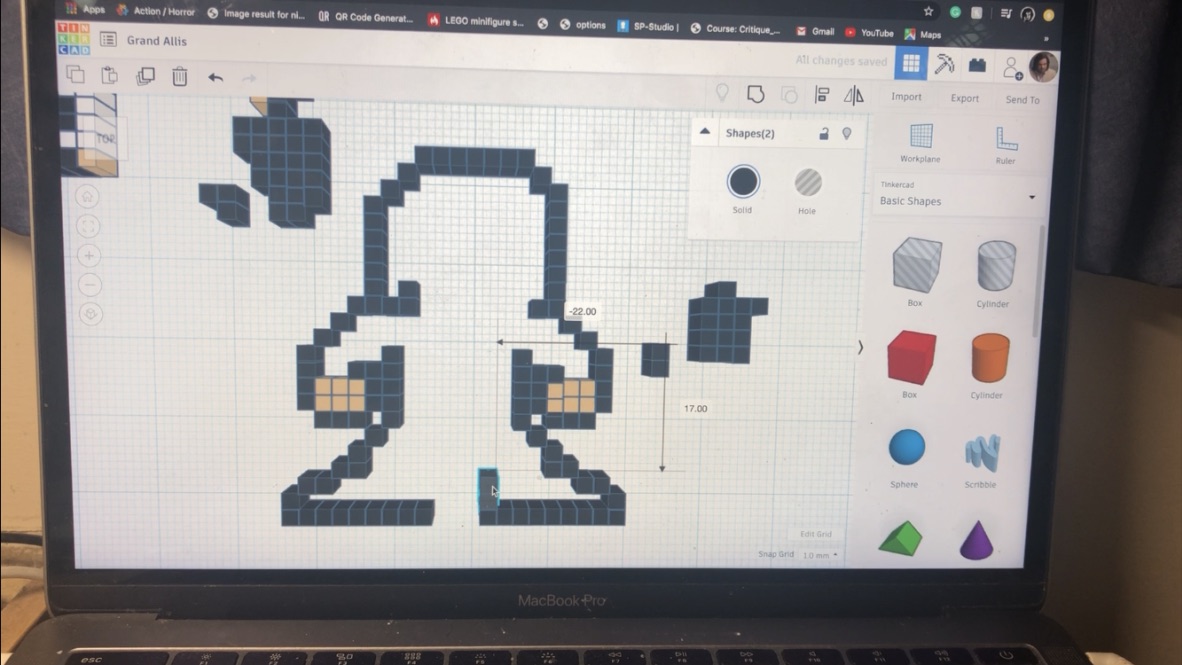
When thinking of ideas for my bowl to make it unique in build and function, I was no stranger to 3D printing and using magnets, I knew I would be able the create a basic bowl on Tinker cad as well as modify it to my own design, when it came to using magnets I’d be using the kind I experimented within both my previous project and in my free time, so when creating a cad file for the bowl, I knew it would be a lot simpler than just placing small squares into a pattern (colour coded) to create pixelated models.

The magnets

When it came to creating a unique design and feature for my own ideas, I was no stranger to 3D printing and using magnets, seen as how in my last major project, I included both concepts, as well as the idea of colliding multiple concepts together.

The Mark I

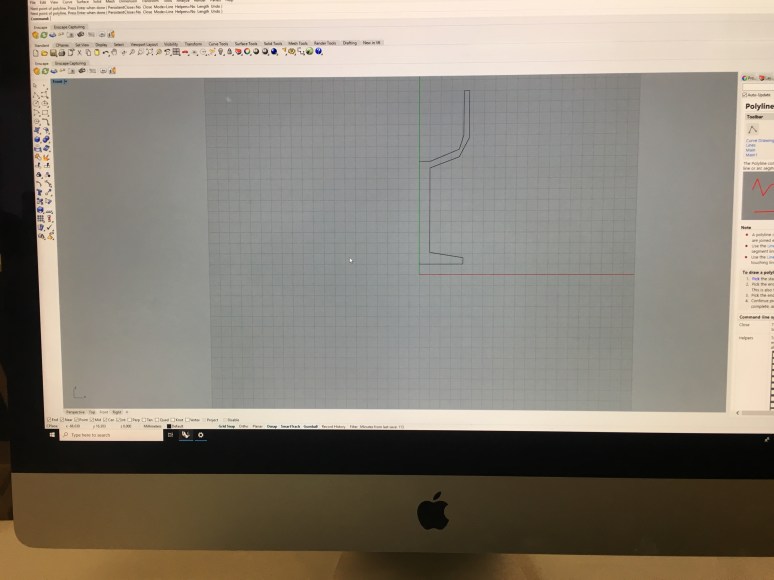
I began this by creating the bowl on Tinkercad

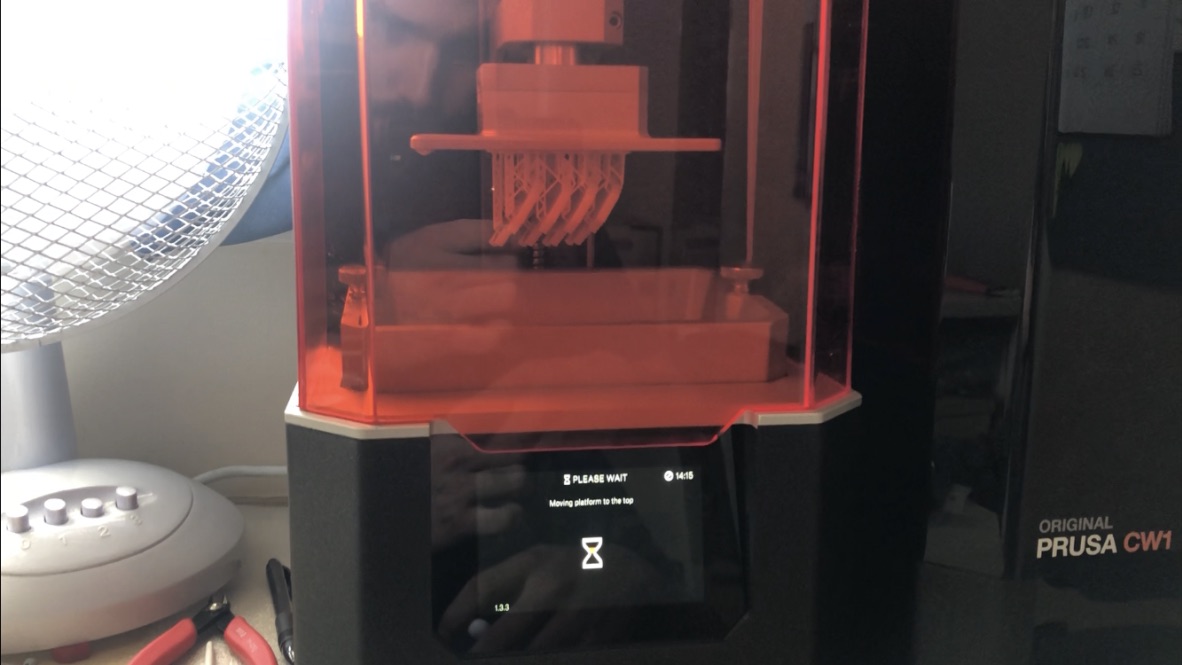
I then used the ‘hole tool’ to slice the bowl in half, after that I exported the design into an STL file and prepared it on Prusaslicer

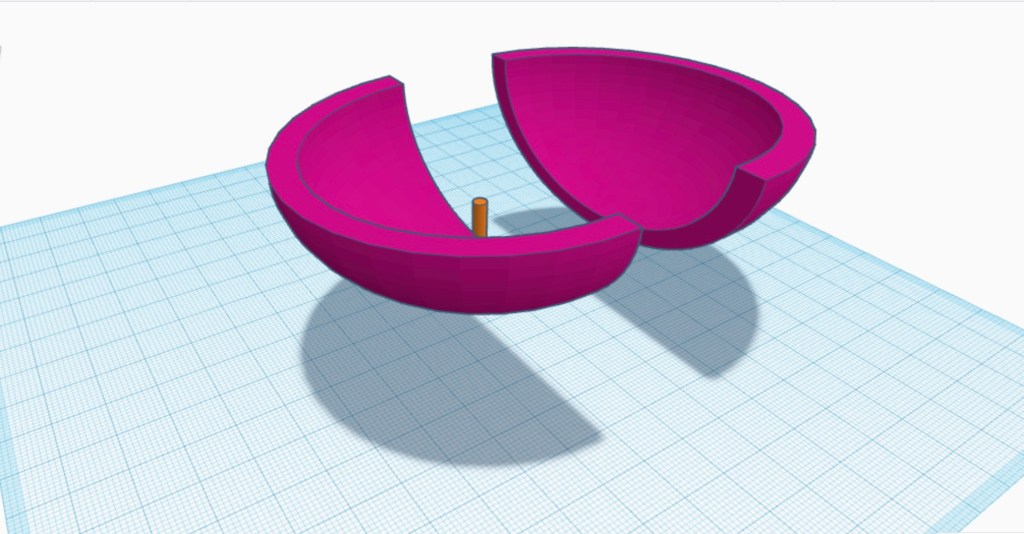
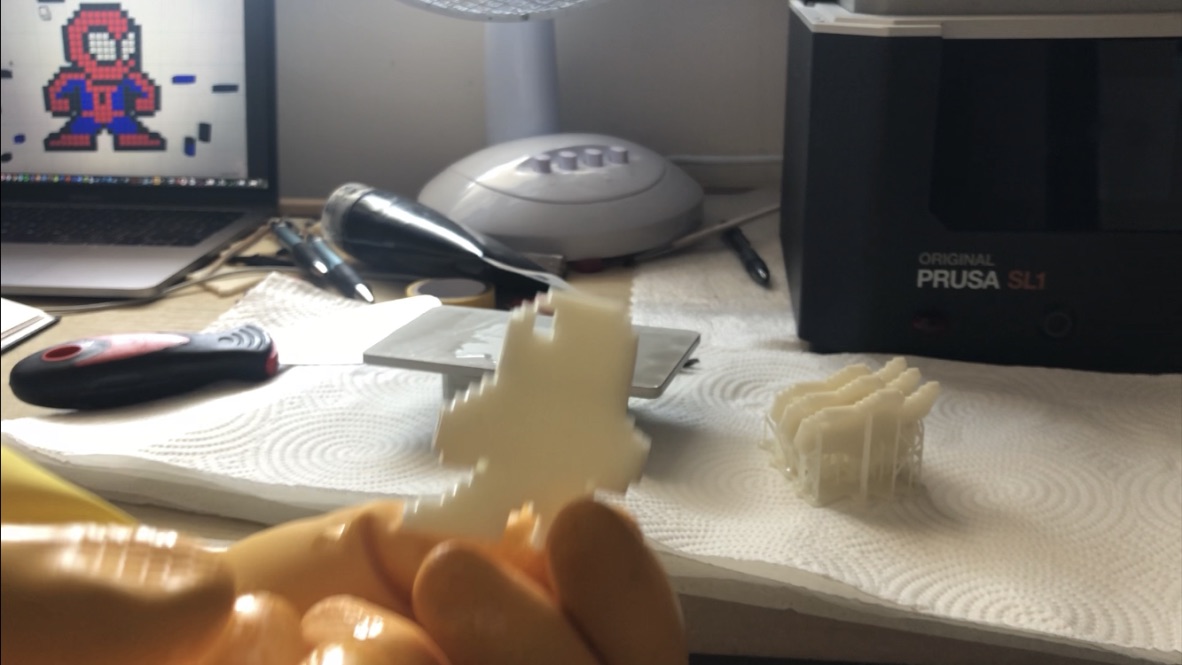
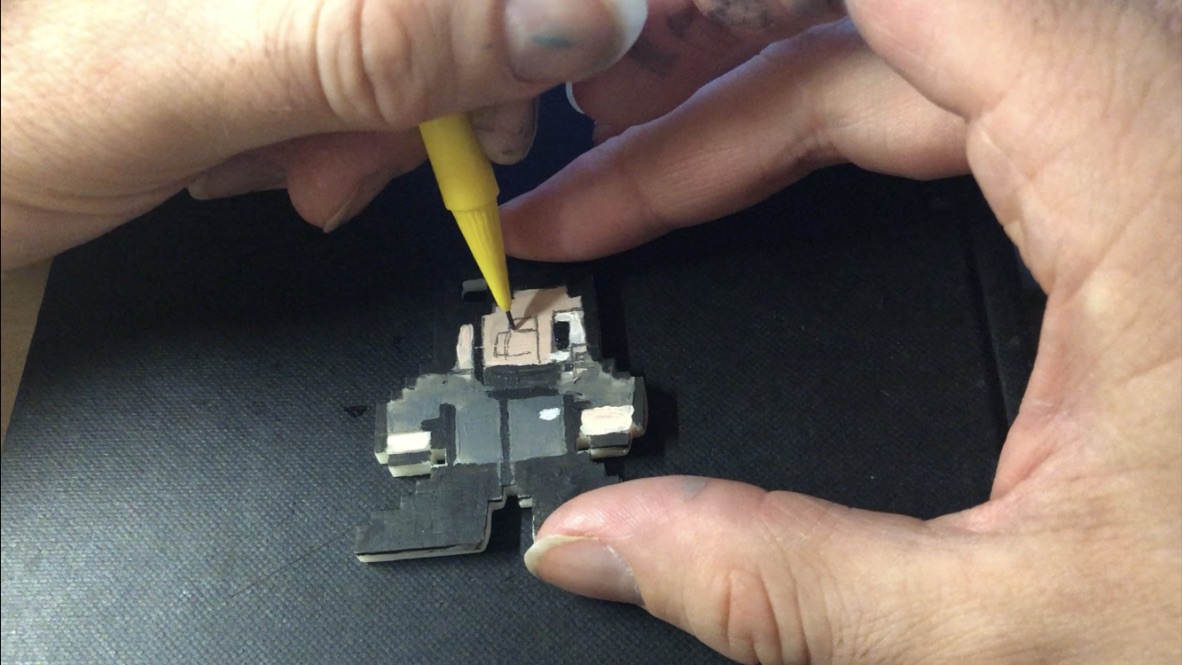
Once the pieces were printed, washed, dried and cured, I then proceeded to mark and drill holes on the ends of each piece to fit the magnets using a Dremel then I used super glue to secure them in. The Mark one’s result was good but had a lot of problems, the shape was too thin (mainly at the bottom), I only used five magnets per pieces (this made it very easy to come apart) and I decided instead of drilling the holes onto the pieces, I would instead create the holes on CAD, this would them save me time from holes, so once the design would be finished, so I could go straight to glueing in the magnets.

Pixel Model *Update*

I’ve recently done an update on my final project concerning my Pixel models, In my first blog post about my final project, I mentioned how I had an idea to put two in one in my models, how their both key chains and desk knick-knacks (using small magnets to attach to bottle caps), with this, I took it a step further and made them three in one, so they are Key chains, desk knick knacks and fridge magnets

That way you can either stick them on your fridge, place them on your desk as a Knick knack or take them where ever you go.

Character Gallery

Here is a collection of all the 3D printed pixel models I have made for my Final year projects,

Most of these are designs I found on the internet, some are of my own characters and designs, here are some links to the designs I found on the internet:

https://www.deviantart.com/8bitherodotorg/gallery/all


My own characters and designs:

IMG_4722


My original avatar of me from 2018 (nickname: Pix)

UNADJUSTEDNONRAW_thumb_2bb6

My new 2020 updated version of me (also named Pix)

IMG_4891

Mind Man (superhero I created)

UNADJUSTEDNONRAW_thumb_2bb7

Wondering Woman (superhero I created)


UNADJUSTEDNONRAW_thumb_2bb3

Professor Physics (superhero I created)


Internet designs:

UNADJUSTEDNONRAW_thumb_2bb2

Spider-man (Marvel Comics)

UNADJUSTEDNONRAW_thumb_2bae

Arther Morgan (Red Dead Redemption II)

UNADJUSTEDNONRAW_thumb_2bb1

Michael Myers (Halloween)

UNADJUSTEDNONRAW_thumb_2bb0

Batman (DC Comics)

IMG_4957

Superman (DC Comics)

UNADJUSTEDNONRAW_thumb_2bb4

Captain America (Marvel Comics)

UNADJUSTEDNONRAW_thumb_2bb9

Doctor Strange (Marvel Comics)

UNADJUSTEDNONRAW_thumb_2bb5

Venom (Marvel Comics)

IMG_4958

The Flash (DC Comics)

IMG_4959

Raphael (Teenage Mutant Ninja Turtles)

My Final Year Project

For my final year project, I decided to expand on a particular element for my foundation project from 2018.

What I did was make a 3-D printed pixel model of me, that I designed, printed and hand-painted (as part of an alphabetical set of models of me, relating to 26 art movements, e.g  A =abstract, B=Bauhaus, C= Cubism, in this case, P was for Pixelation) so with that, I saw an opportunity to design and create more of these models to display or even sell them as merchandise.

IMG_4722

Making Process

The first step is drawing the design, (The designs are based on fanart creations of 8bit Megaman graphics styled characters from movies, tv shows and other videogames) the best way to draw the designs and keep the square count consistent, I bought a square paper notebook to draw the design.

IMG_4759

(Note: The numbers on the edges help me keep track of how squares are used and could even be used to tell apart or create different templates).

When creating my own designs I would often use inspiration from other designs this is so I can keep the design consistent with the other. (depending on the character’s body build, accessories or pose, the square ratio may vary)

CAD design

The next step is to translate the design on to Tinker cad, I first start by arranging the squares in the right place (I use the square note pad design as instructions, I make sure to colour coordinate to tell the difference and to get a preview before printing (even though it comes out in plain white).

UNADJUSTEDNONRAW_thumb_2bbb

Once the design is finished, I would then export it into an STL file and import it into Prusa slicer for preparation and slicing, once I set the model(s) to a 60-degree angle ( in order for it to come out the way I want it), after that, I would slice (add supports) and export it in a USB.

Next step is setting up the printer, first I would pour the right quantities of liquid resin in the tank, then I’d select the file from the USB, (the printer I have is resin-based and uses ultraviolet technology), so once the metal plate lowers down and sinks into the resin, the ultraviolet light then arranges which part goes where thus sculpting it in place

UNADJUSTEDNONRAW_thumb_2bc1

After a few hours (depending on how big the design is or how many I’ve made at once) I then remove the metal print platform, I’d then scrape off the print and cut off the excess plastic, next I would then wash the print using isopropanol (or nail polish remover), once cleaned I would then placed the model(s) into the washer to dry and cure.

UNADJUSTEDNONRAW_thumb_2bc2

Painting

Next, I’d take the model(s) and paint them, I’d first start by drawing the grid of small squares to help arrange which colours go where, like a jigsaw puzzle, I’d start with the outer line, that way I would draw distinctive lines indicating which colours go which (depending on the design), I would then outline the coloured shapes with a pen to help them stand out.

UNADJUSTEDNONRAW_thumb_2bc6

After that, the model(s) is finished.

UNADJUSTEDNONRAW_thumb_2bb6

Designs

For this year, the theme I chose to go with for these models is a superhero theme (as well as other icons of tv, film or video games)

The designs for theses characters are based on ones I found on the internet, where they created Megaman style looks for many icons of comics, movie, tv and videogames.

I used these designs to help count how many squares there are per length (particularly the ones that have a grid background, to make counting easier) and draw them out in my square paper book, I would then use the drawings as instructions when designing on tinker cad

Ideas

This project does have a few business opportunities and ideas of what they could be sold as and who they can be sold to and how they can be sold.

Key chains

Way back when I made my original model from 2018, I had a side idea for this pixel model idea, not only could it be apart of my art collection exhibit, but it could also be used as a souvenir, either a desk knick-knack or a keychain (because when I created the original model, I intentionally gave it a key chain hole, so it could also be used for someone’s keys or backpack), for example, I had a friend, who liked my model so much, that I decided to create an exact copy for her to keep as a key chain.

Another idea, I’ve included with my prototype models is I’ve managed to find a way to make them both key chains and deskc knick-knacks by gluing on 3mm x 0.5mm magnets to the bottom of the feet and on a bottle cap. Anothet idea I could do for the magnets, would be to print accessories to attach to the characters. (e.g guns, lightsabers, swords etc)

This is a basic idea of what kind of merchandise I could use these designs for and base on what they like, this Leeds to another possibility

Customised commissions

Aside from the comic book, movie and videogame designs I found and copied off the internet, I also created my own unique designs based on me and my own made-up superheroes, this gave me the idea to design and create commissioned models based on customer or friend request, with this I could make anyone for anyone, (possibly try different forms of 8bit, such as Mario Bros, the legend of Zelda or even 16-bit designs)

Another idea (if possible) would be to create a camera filter (on my website) that transforms a picture of someone into an 8bit form (with the possibility of customizing options, e.g clothing, accessories, facial features etc), once they submit the design they want, I would then create on CAD, print them, paint them and have them sent to the buyer.

IMG_4956 UNADJUSTEDNONRAW_thumb_2bb6


Check out the making process video on my Youtube channel:


CAD Part I (17/10/18)

On the 17th of October, I and my group started work with CAD, this is when we did 3D modeling on computers, First, we were given a slideshow on what program we were using and what we were going to make.

The program we used was called ‘Rhino’, once we were given the instructions we set up the program before we made our models we played around with the tools so we could get used to it.

Once we knew what we were doing, Charlie (our tutor) talked us through step by step on what we need to do to create the models

First, we had to draw out half of our object in 2D to create its basic shape and structure, then we had to create a mirror effect to make it symmetrical, then we then managed to turn it into a 3D chalice.

IMG_4330.JPG