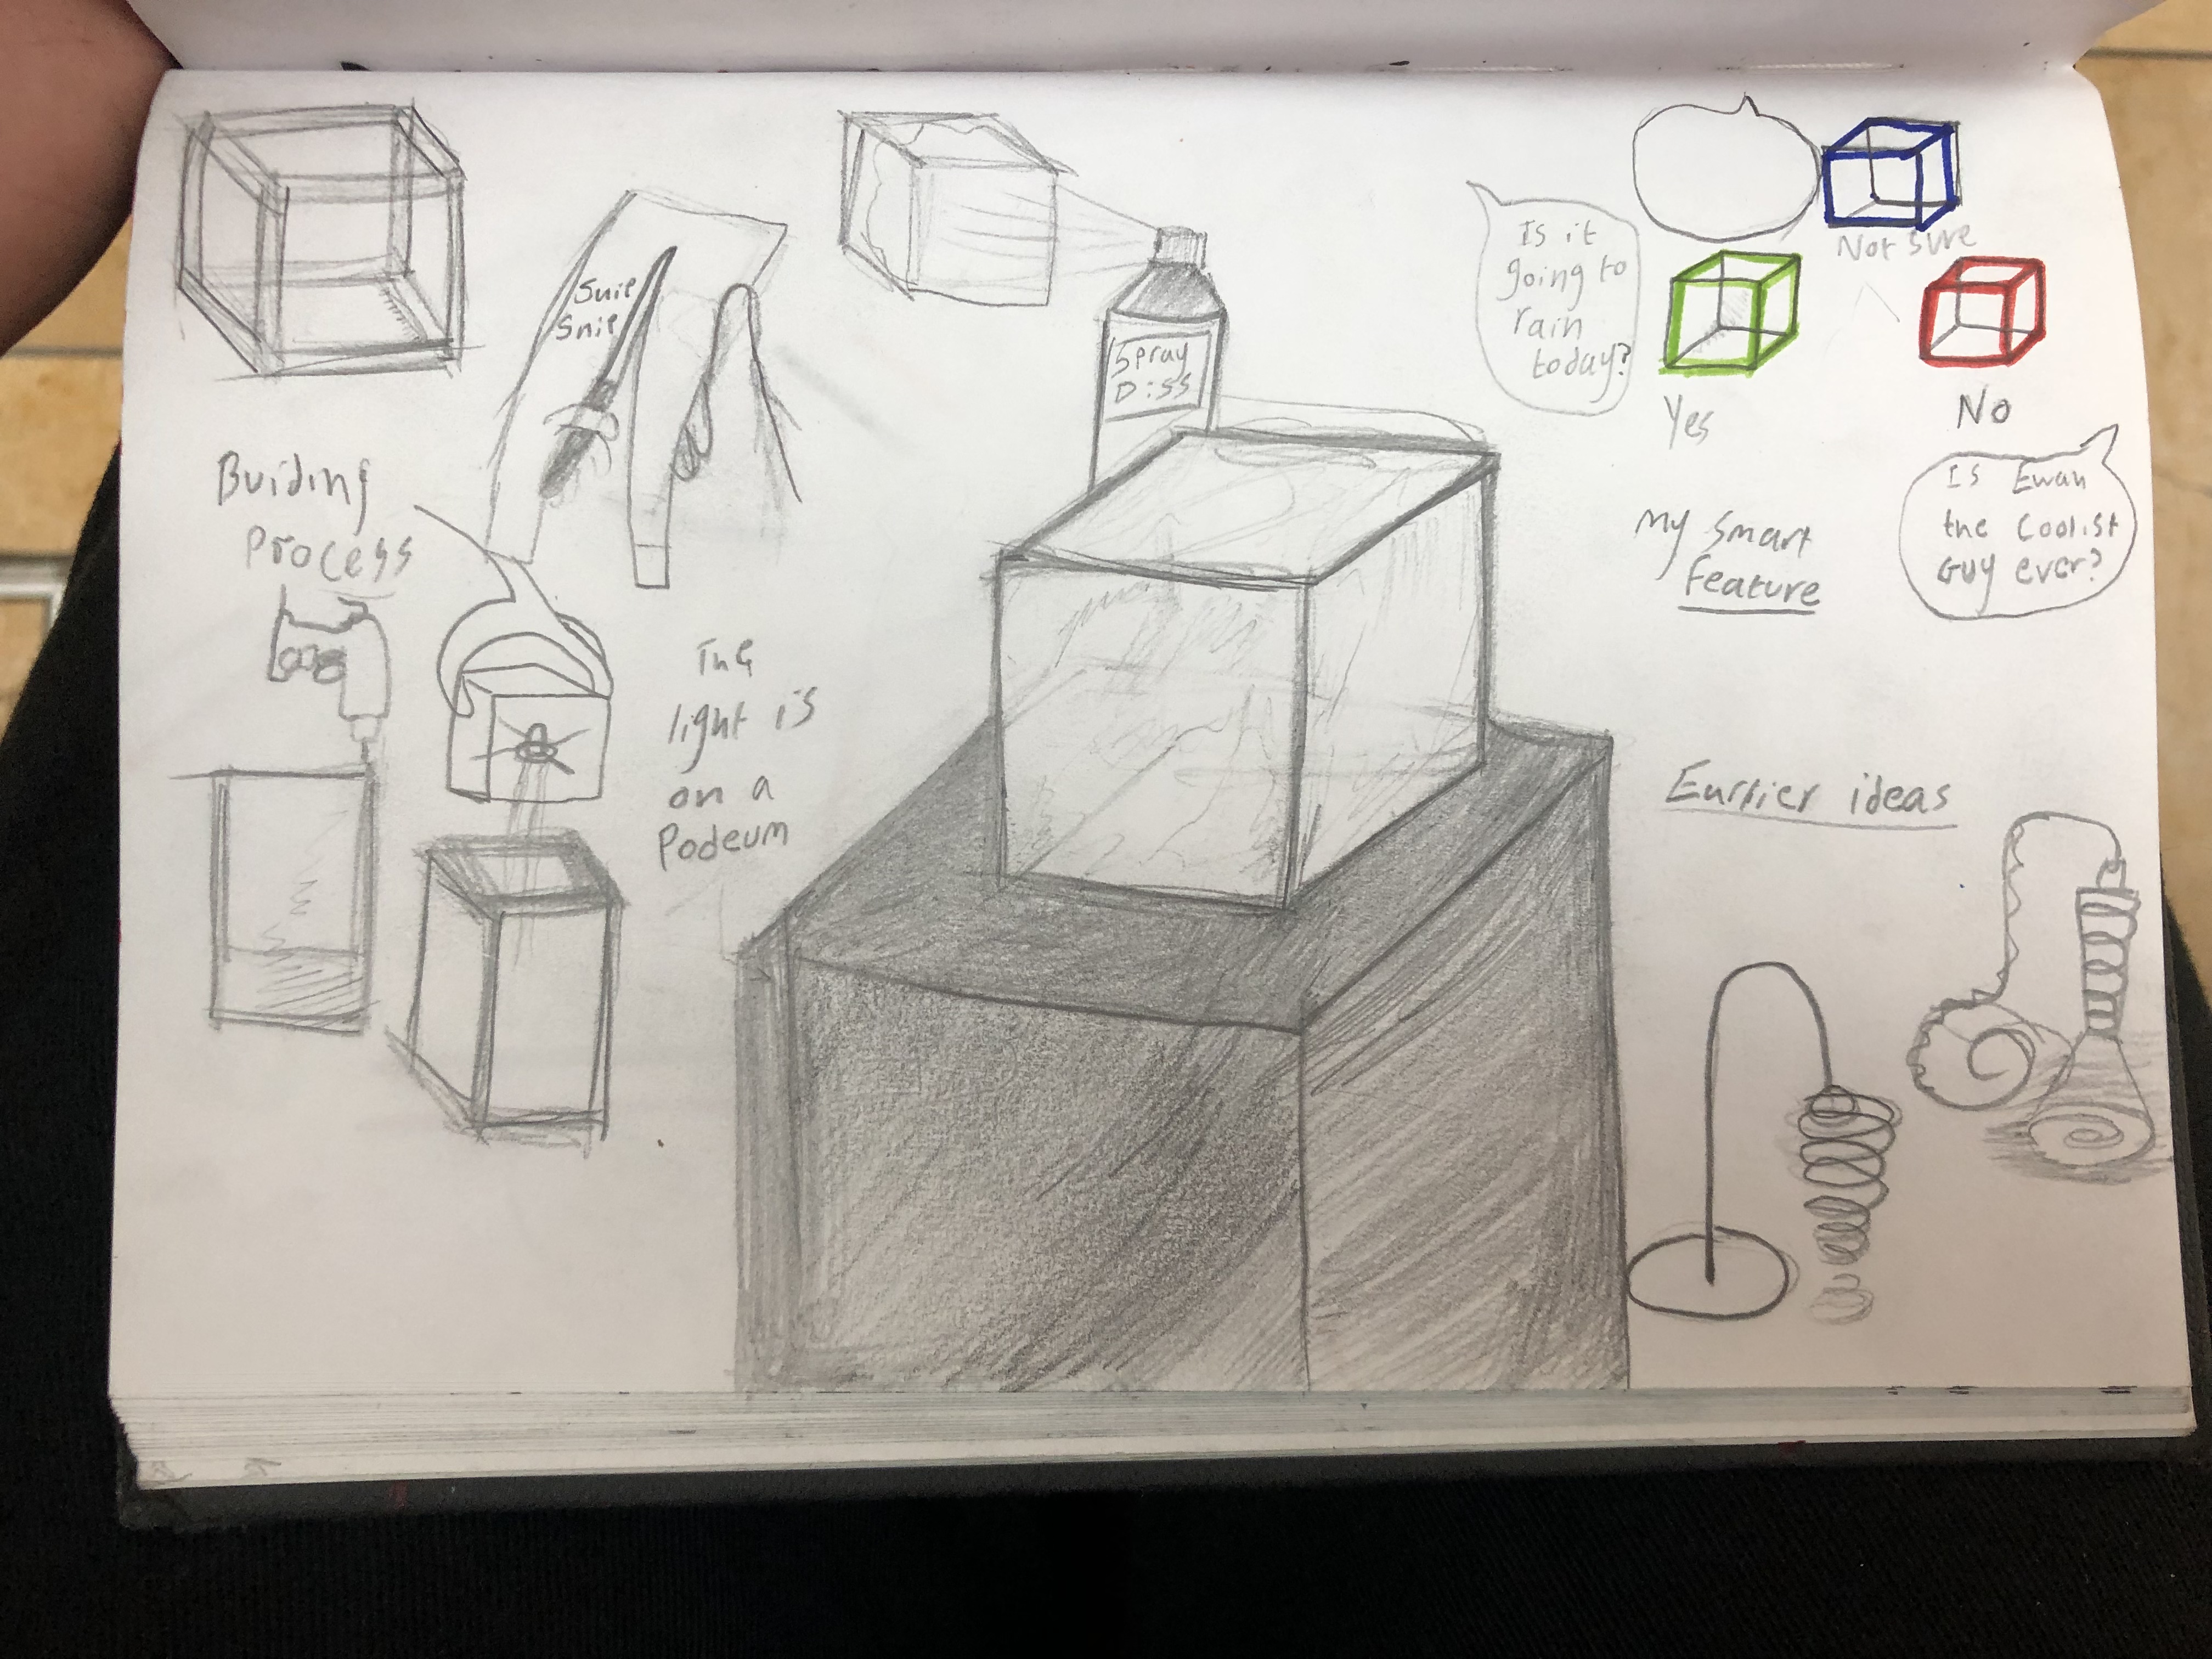
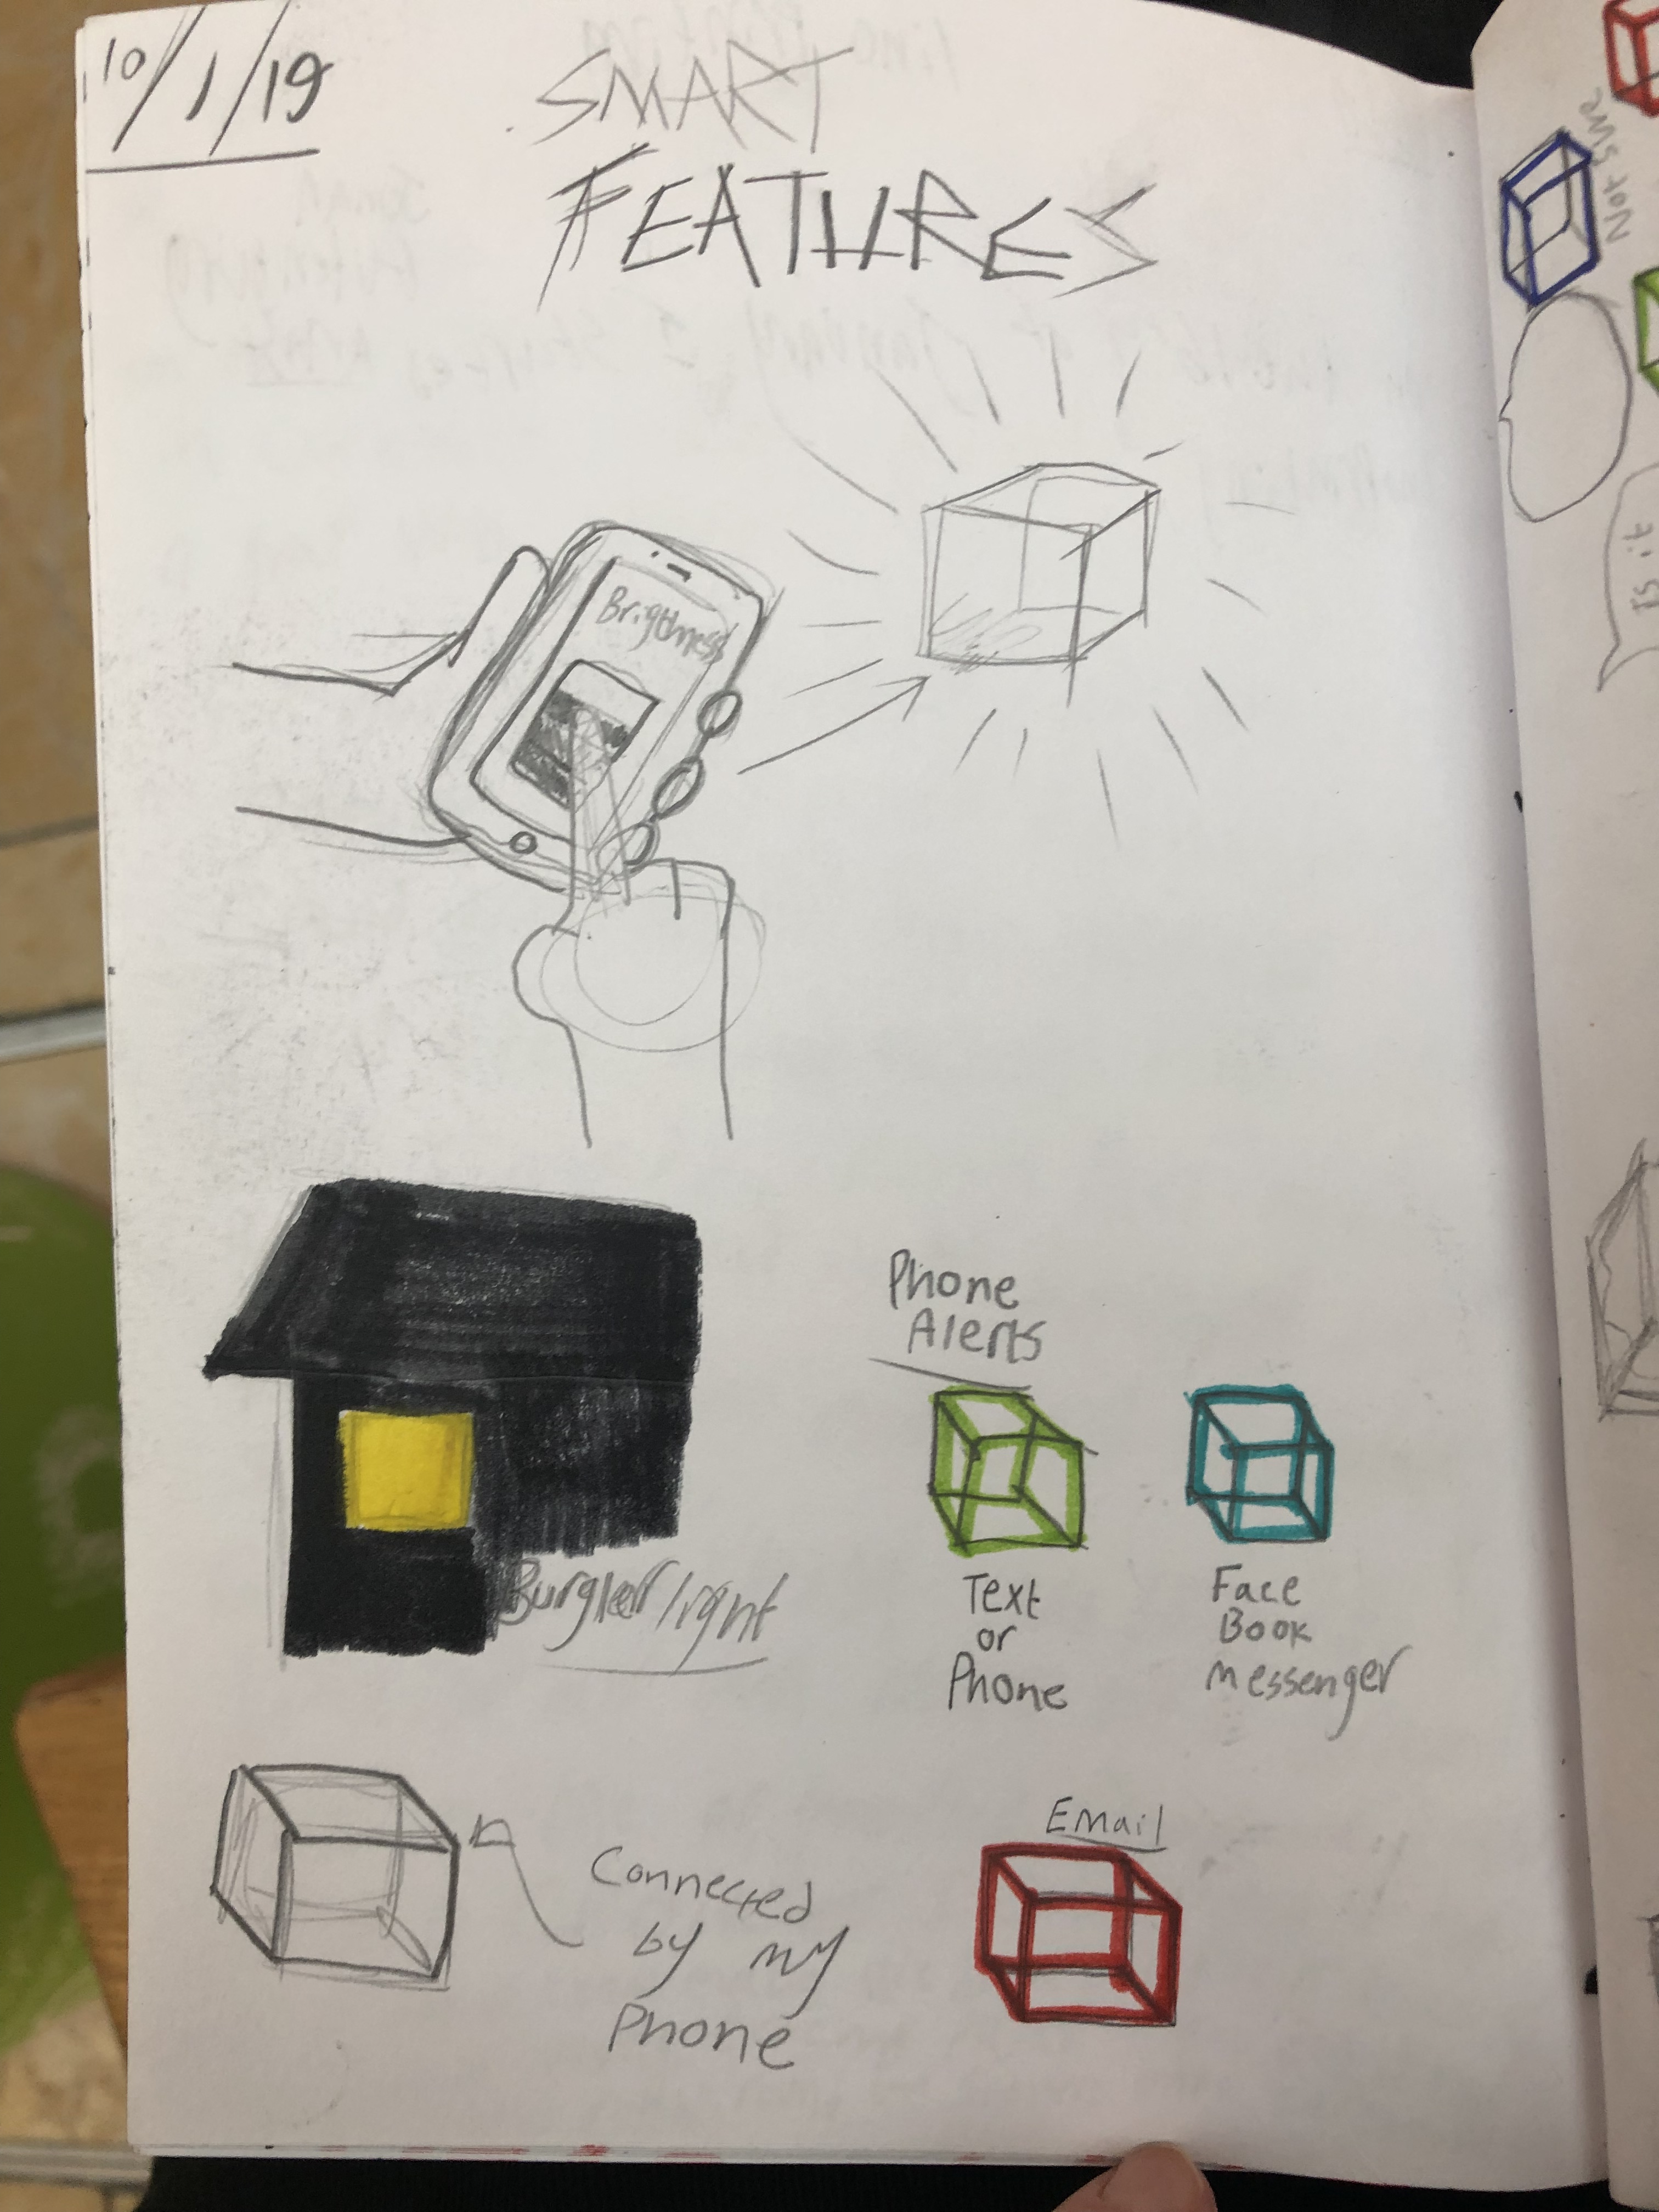
Here are my sketches for my bowl project as well as my secondary artefact and my ideas for future models.
The Bowl:


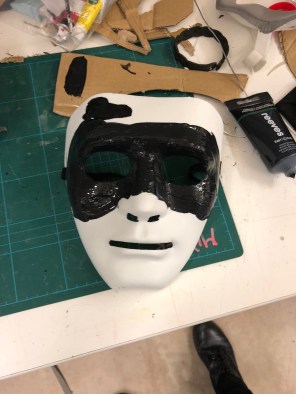
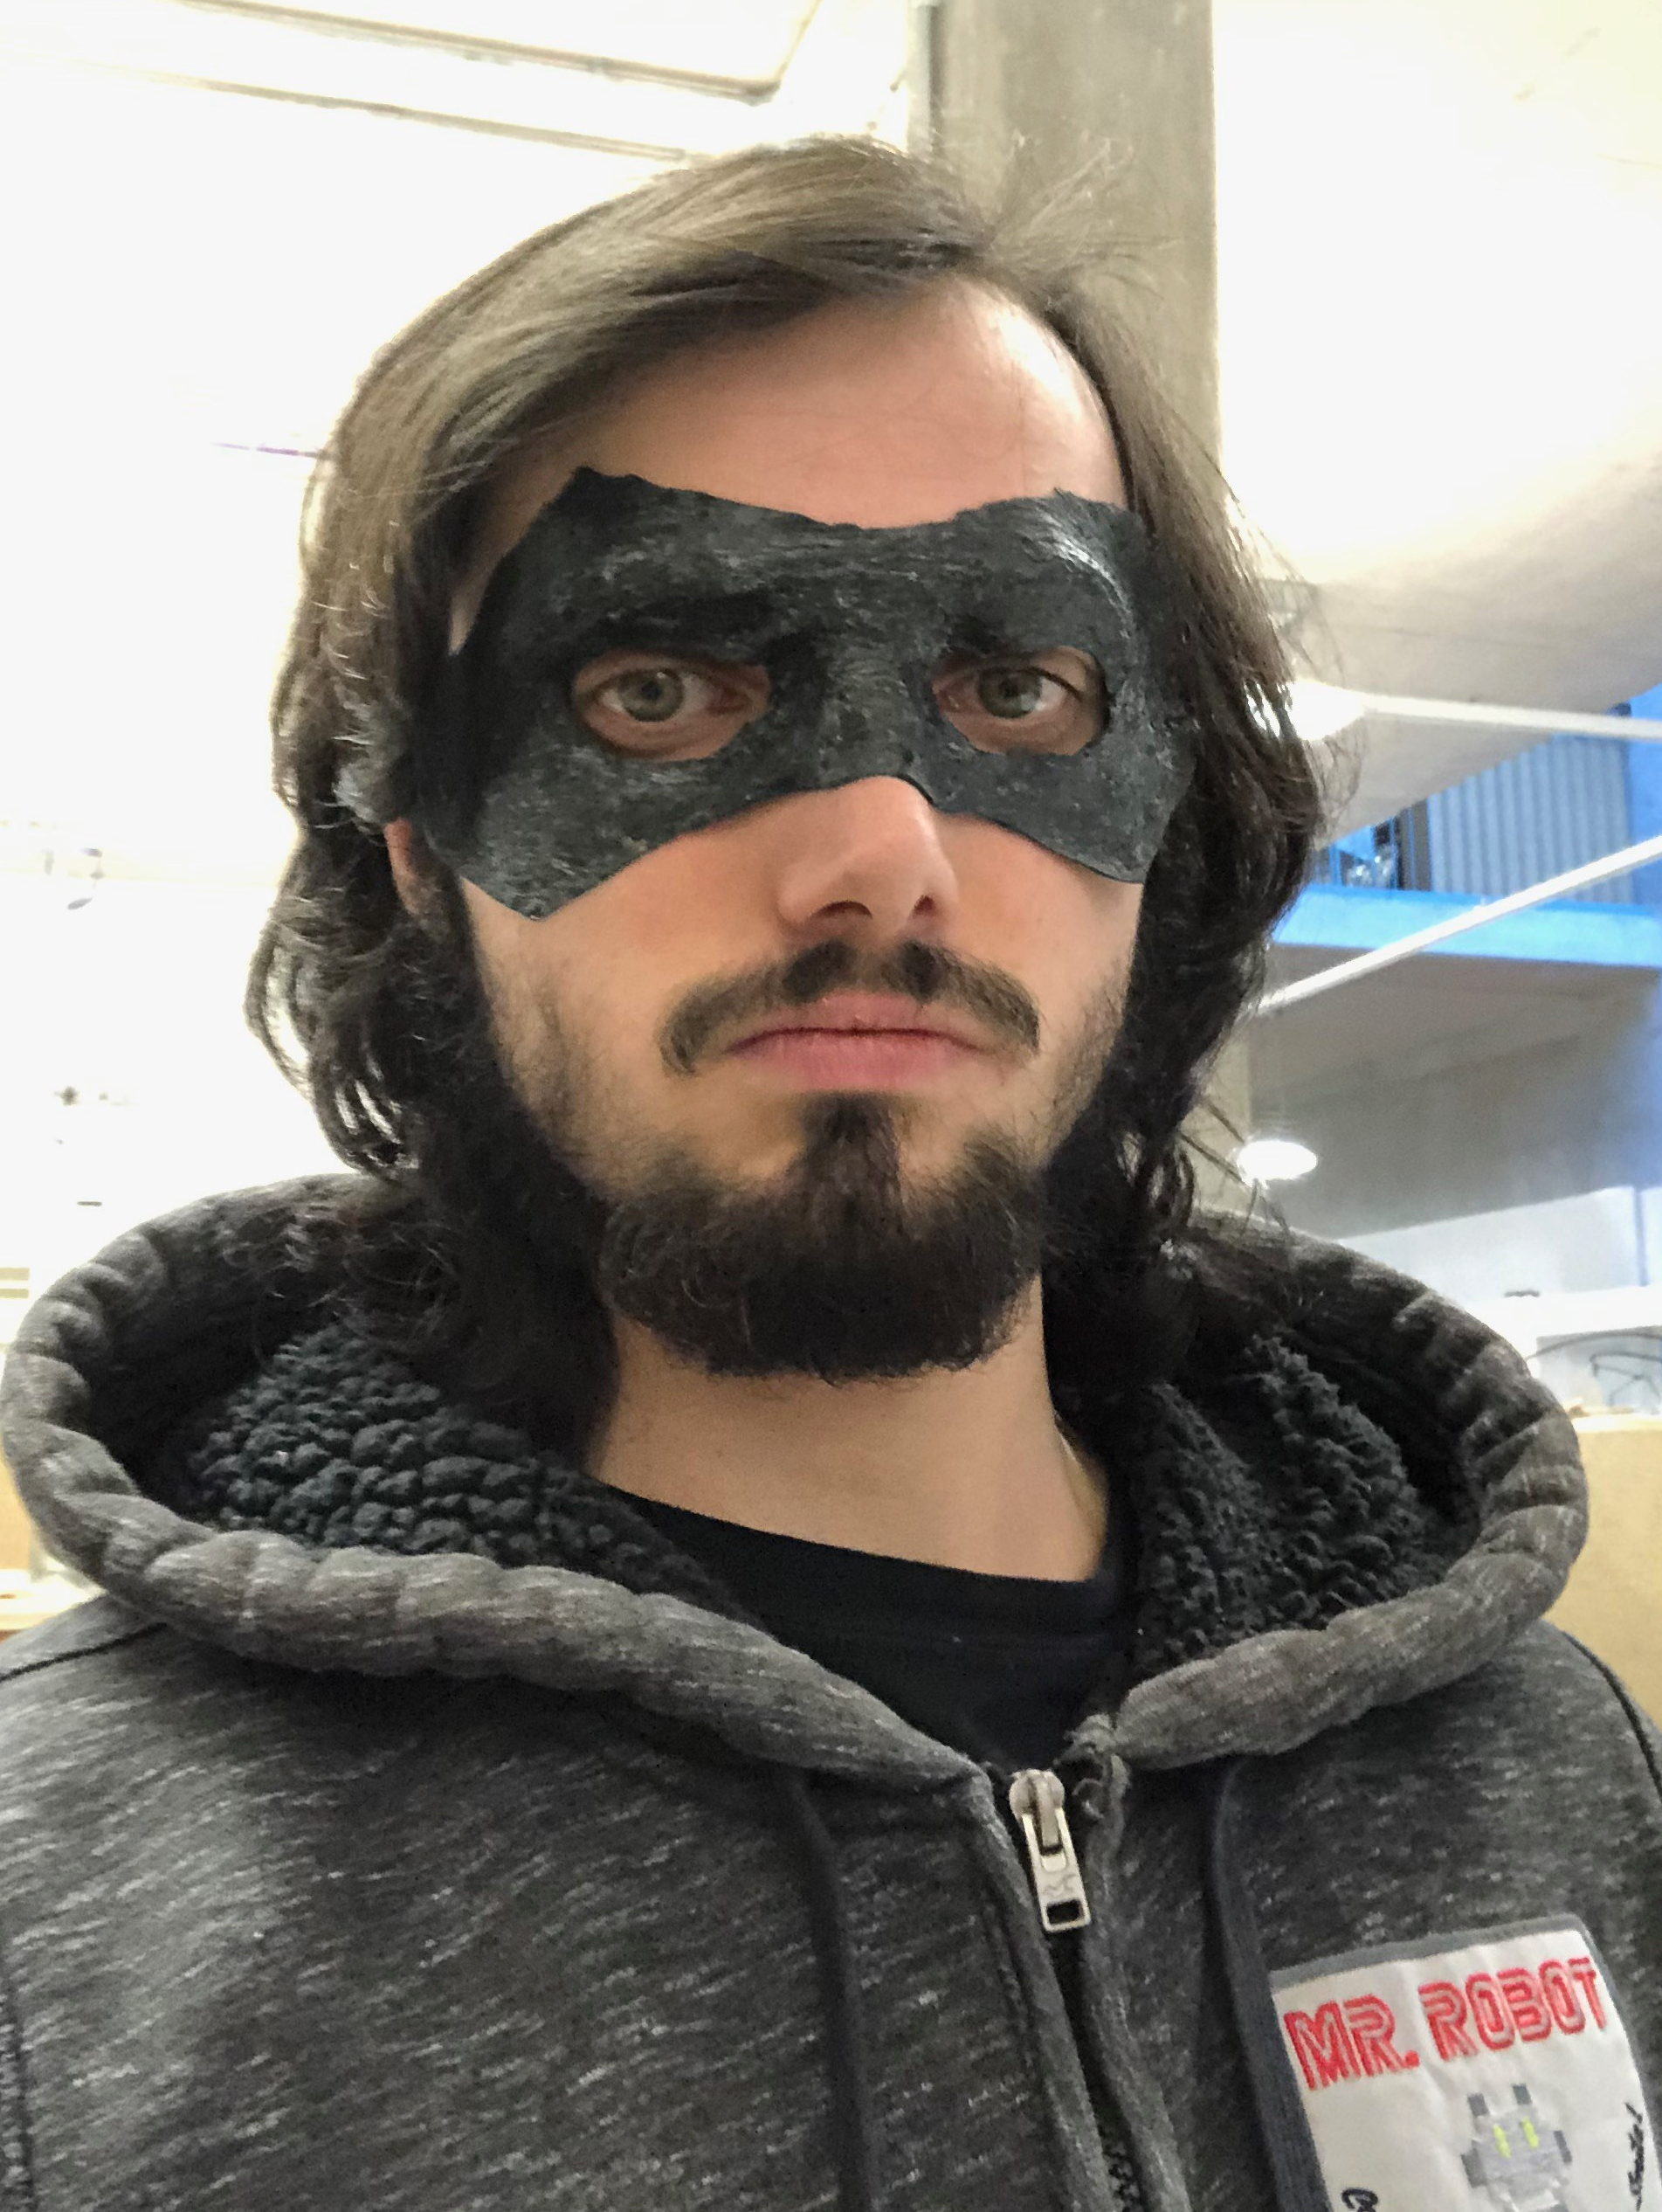
Seconday Artefact:
For my Da vinci style design on the lightsaber, rather then writing in backwards italian, I decided to wriute in the fictional Star wars language know as Basic.
Here is the Galactic Basic Alphabet:

Here are the translations:
- “Kyber crystal” (Top centre)
- “When chosen by a jedi, it turns blue or green, when chosen by a sith it turns red” (Below)


Future Model Designs:
Note: For some of these Da Vinci style drawings, (except for the light saber) I wanted to write it in the unique way Da vinci wrote notes on his sketches by writting them in italian backwards, So for the Flux capacitor, I googled the drawing from the movie and copyied the writting and equasion, translated them to italian on Google translate and did my best to write backwards, similarly to how he wrote it.
The drawing used in the movie (Back to the future 1985)
Here are some of the quotes I translated to Italian:
- “The Flux Capacitor” (Top right corner)
- “It’s what makes time travel possible” (Top-bottom right corner)
- “Caution: Sheild eyes from light” (bottom right corner)
Pinhole Camera:
One of my non movie prop Ideas is to create a Da Vinci style pinhole camera and experiement various types of way that it will operate, such creating a big slider for the pin hole, using reusabel matches or possibly creating a remote control prototype.
When I begin my research, I will intend to read a book on Leonardo Da Vinci’s inventions to get more ideas on what I could make.