30/10/18 (Slip casting part III)

One the 30th of October I and my group had our final session in slip casting, for this we took our custom made moulds and picked a few pre made moulds to use for liquid clay.

The moulds I picked we’re:

  • My Death Star
  • Fantasy wizard,castle,dragon
  • A duck
  • An apple
  • A lightbulb
  • A unicorn

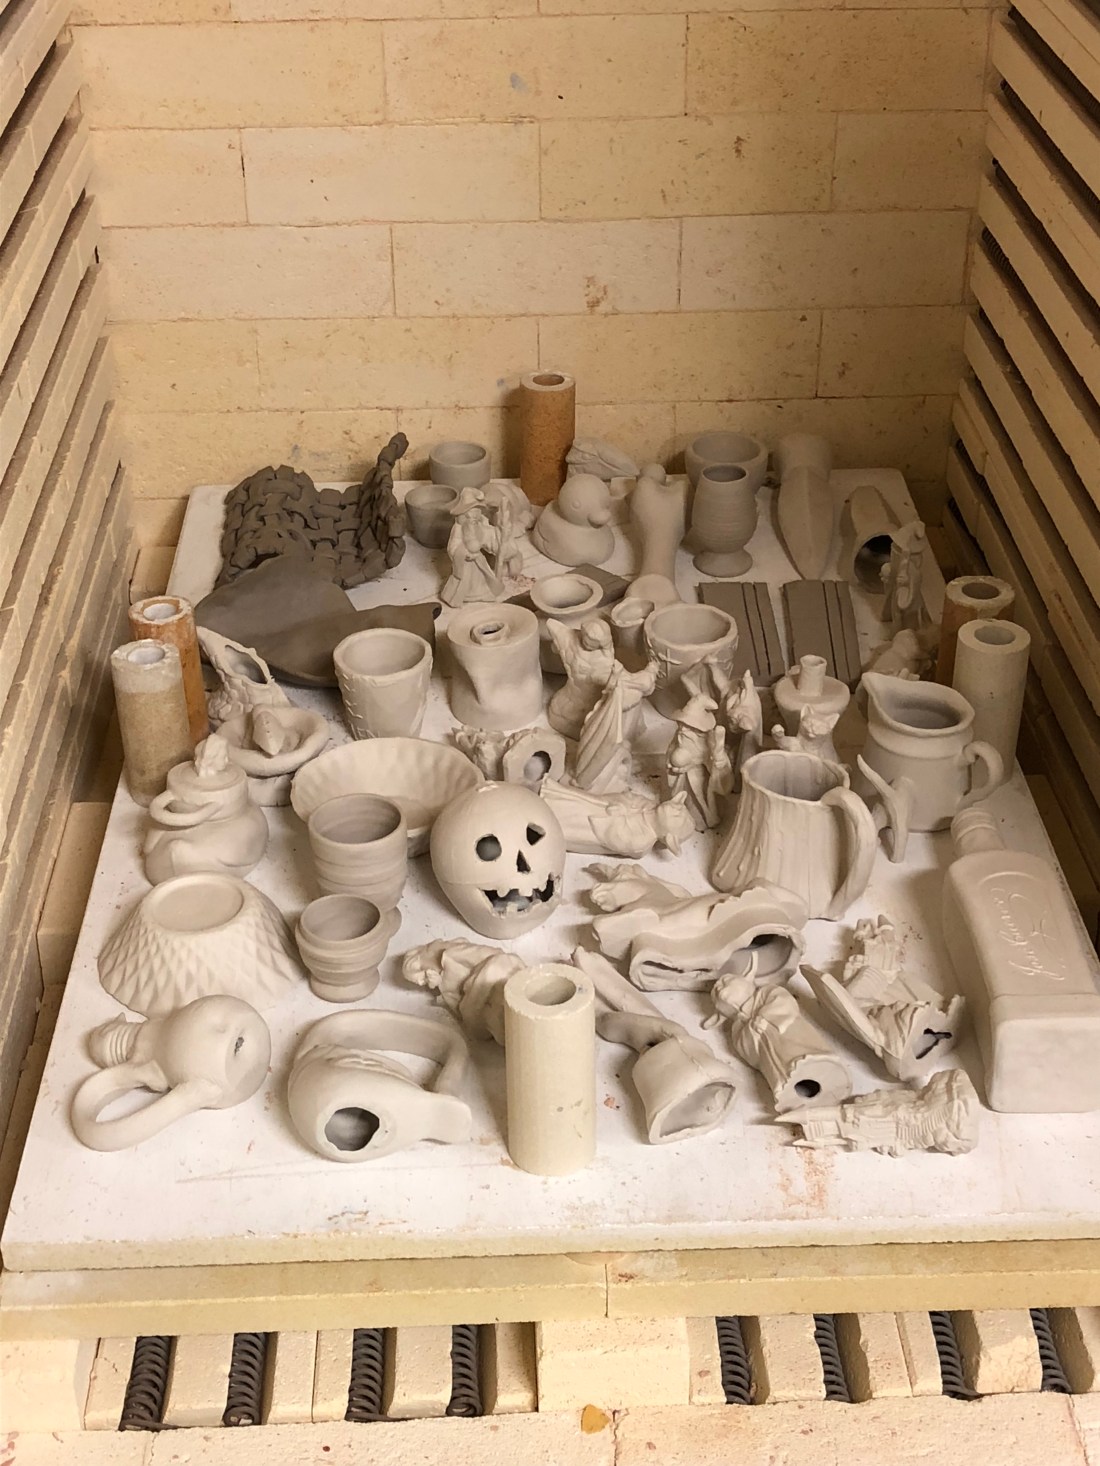
For each mould we would pour liquid clay into a measuring jug, next we’d pour it into our moulds and leave them for an hour to dry.

Once they all dried we were able to take them out of the moulds, while they were still wet we could alter them any way we wanted

e.g

I took one of my Death Stars and carved the back like it was a Halloween pumpkin.

16/10/18 (Slipcast Part I)

On the 16th of October, I and my group started slipcasting, for this we had to bring our own objects into cast. The objects I picked were a small plastic mug and a small Lego death star.

IMG_4310

Before we started casting, we were given tutorials on how to use the materials and equipment, we also had to know how to measure our objects, mix the plaster and create our barriers, once we were given the tutorials, I started work on my mold. First I  measured half of my death star at the width, then I  covered the bottom half in clay, as soon as I built up the barrier I took a sheet of plastic and tied it around the barrier.

     img_4322.jpgIMG_4313

Next, I started to make the plaster mix

First I weighed how much plaster I needed for my mold, I ended up using two pounds, after that, I mixed in two pints of water with the plaster I  then waited two minutes for it to settle  and placed my hand in the bucket and shook my hand round the bottom and dug out any unwanted bubbles, once the plaster was ready I poured it into the mold and waited for it to dry.