My Technology Study Group

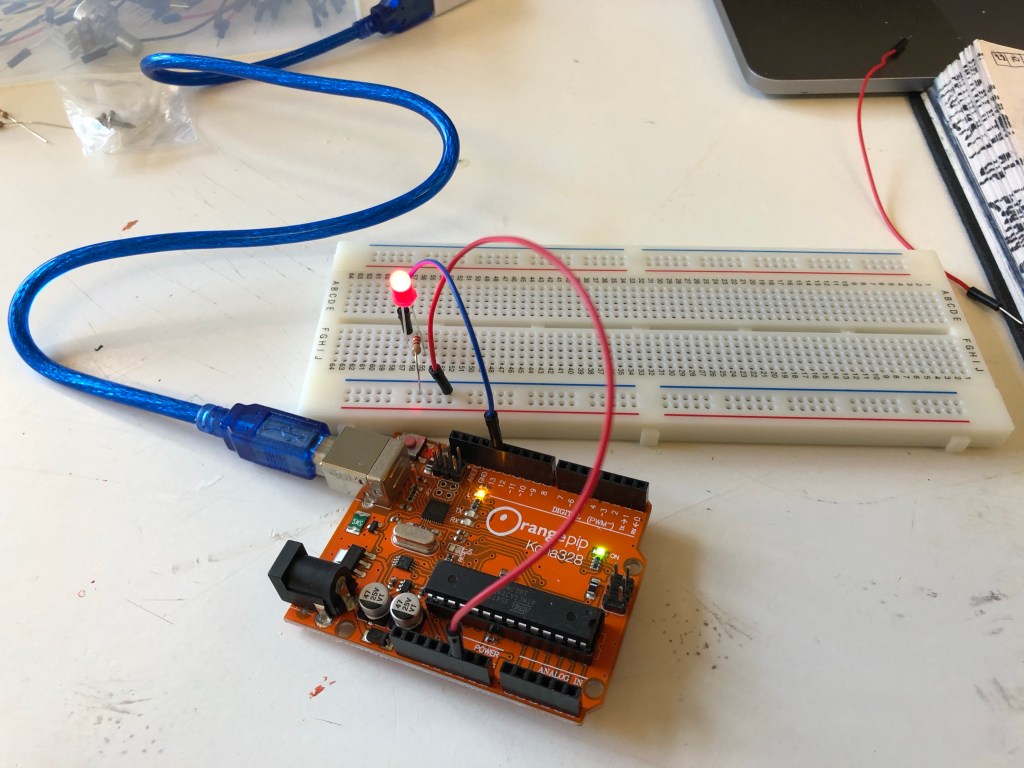
From the 22nd of October to the 5th of November, I attended a weekly study group in technology, during this we were all learning how to program and operate an arduino, which is a small circuit board that can be plugged into and programmed by a computer and using a series of wires to transmit the program from my computer to the arduino to the breadboard.

October 22nd

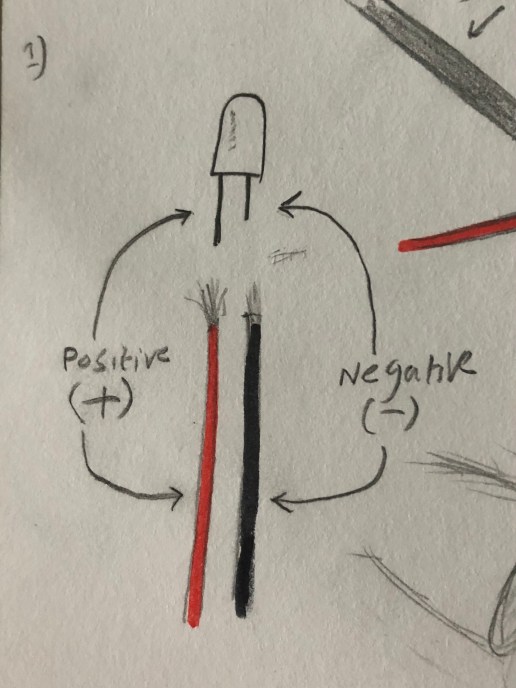
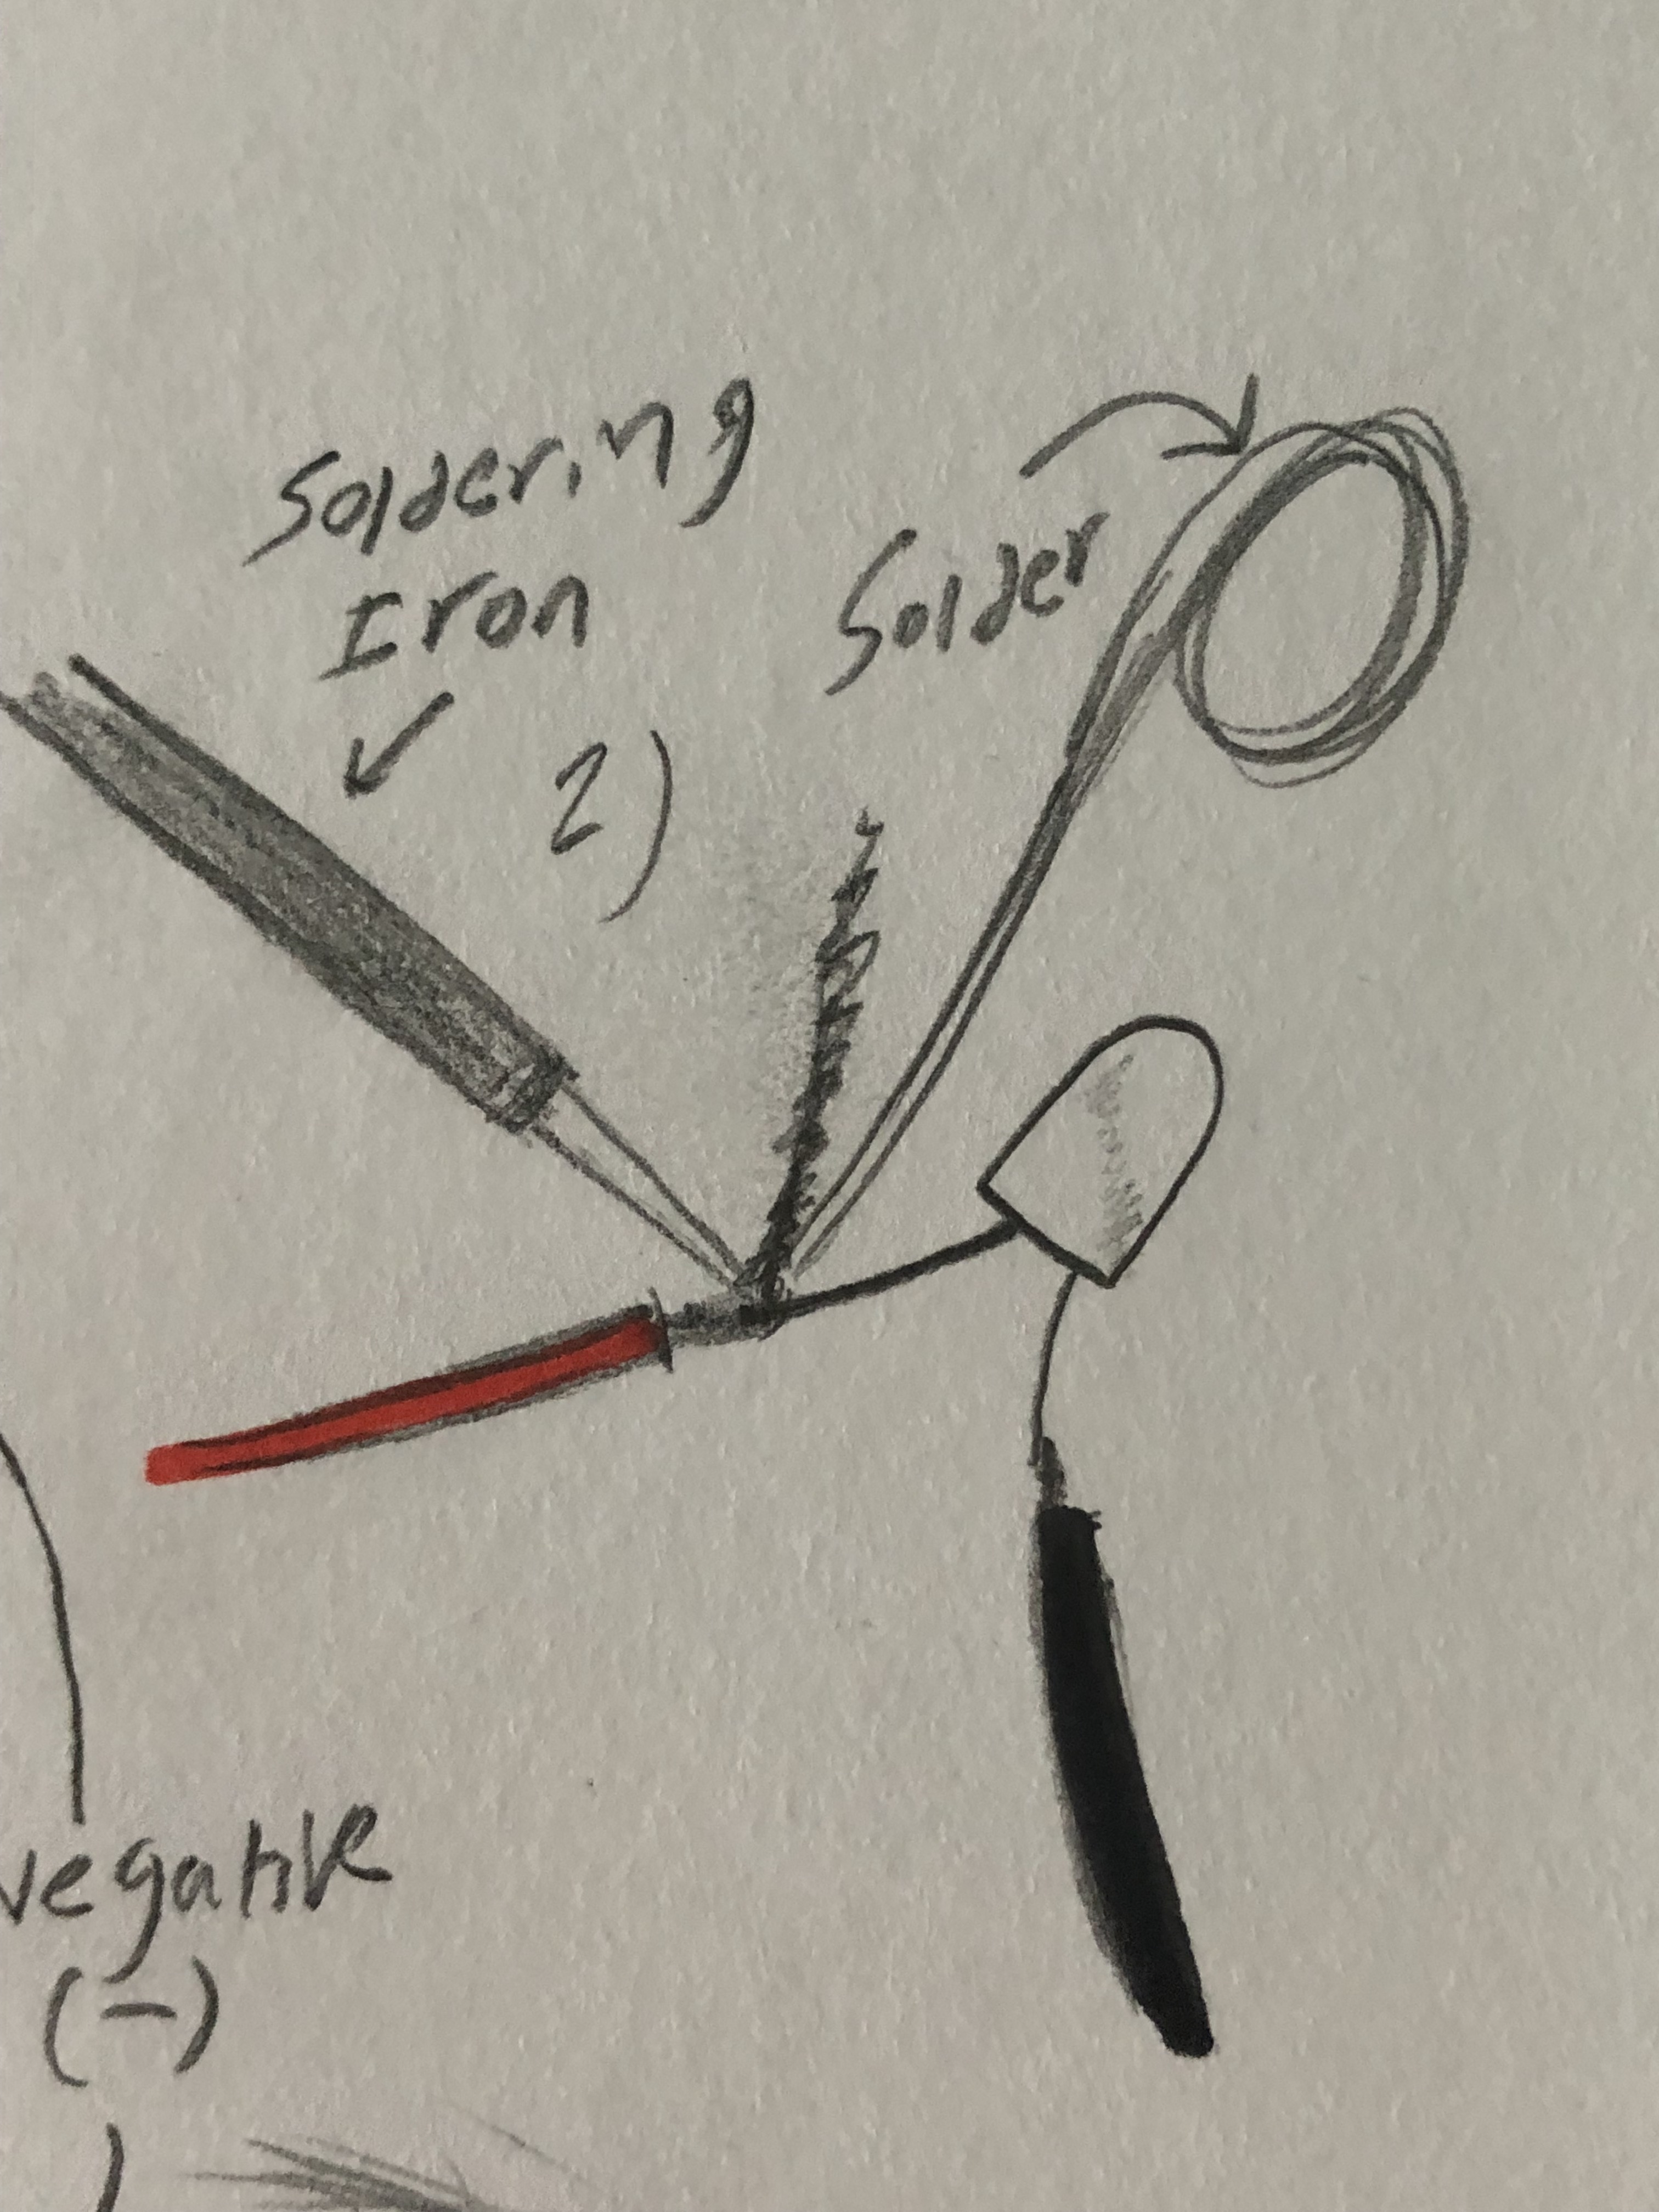
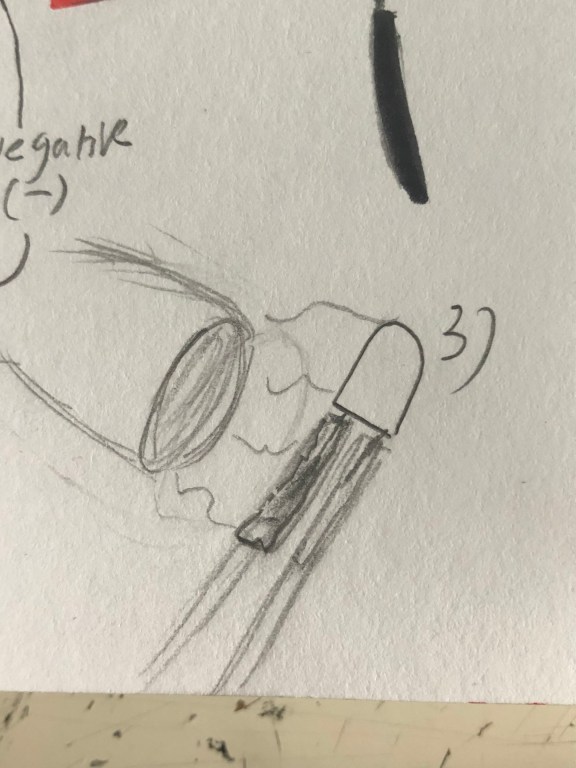
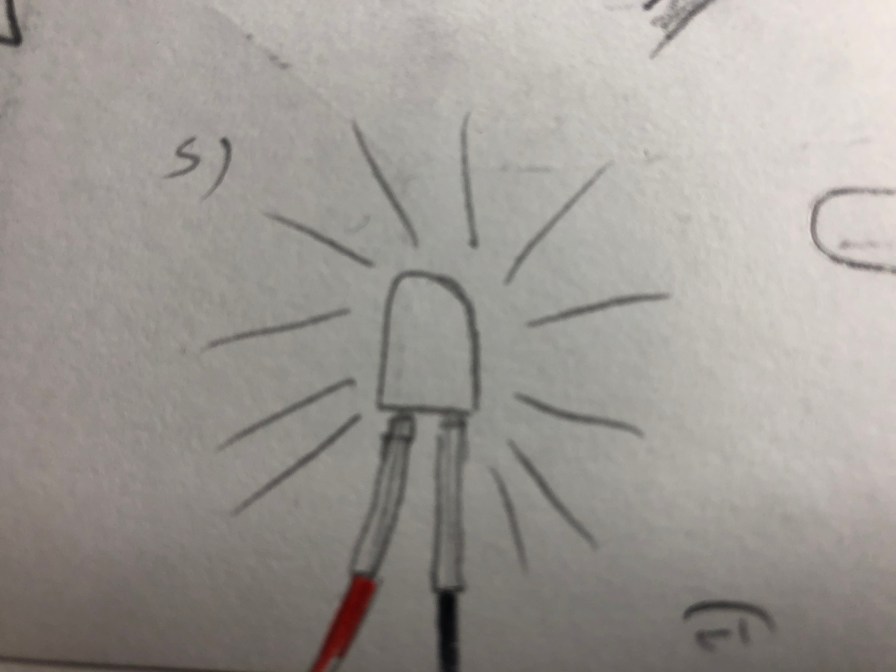
My first lesson was about lighting LEDs by connects an LED, a resistor and wires to the arduino and the bread board, for this I learned how to turn on the LED and program for how long it would blink and how bright it would shine.

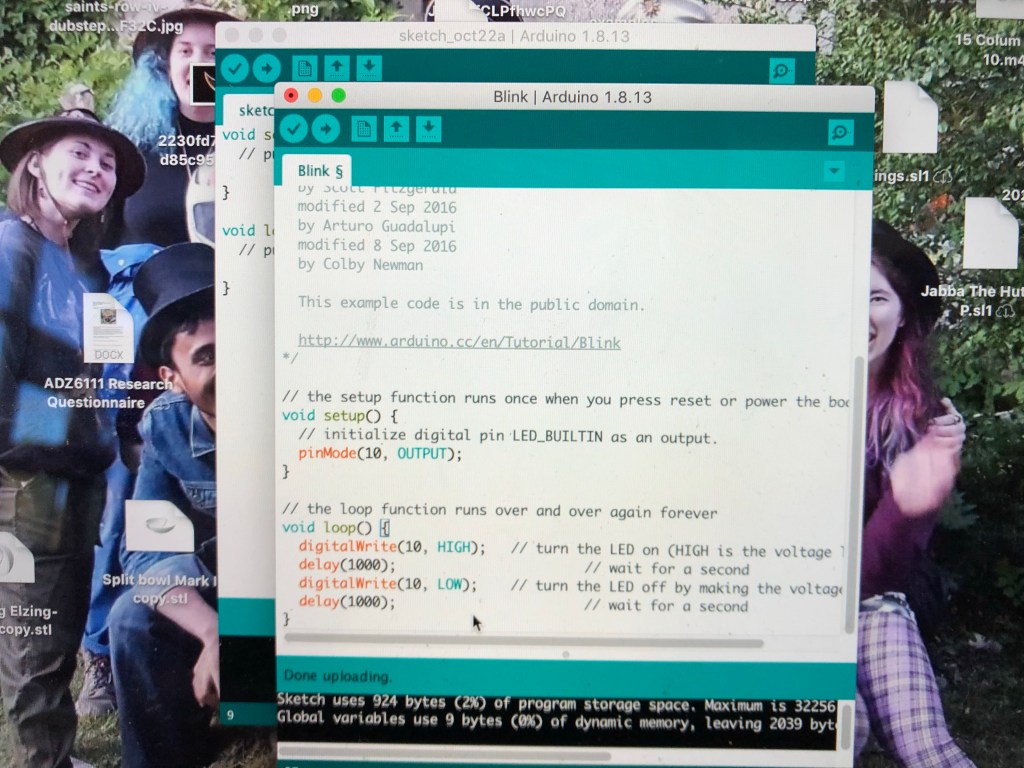
First I’d open up arduino on my computer and open option “blink” under sketch, in this I had to program what brightness I wanted the light to be and select the timing on how long it would blink for.

The second part of the induction was adding the button to the breadboard, this would then allow me to turn the light on and off

October 29th

The second induction introduced me to these mini servos (which were little fans), for this one we were told how to set up the timer for how we wanted them to move and at what speed.

For me I set mine to move half way across and reset, potentially this could be used as a timer for jobs or activities like a board game or a toothbrush timer.

November 5th

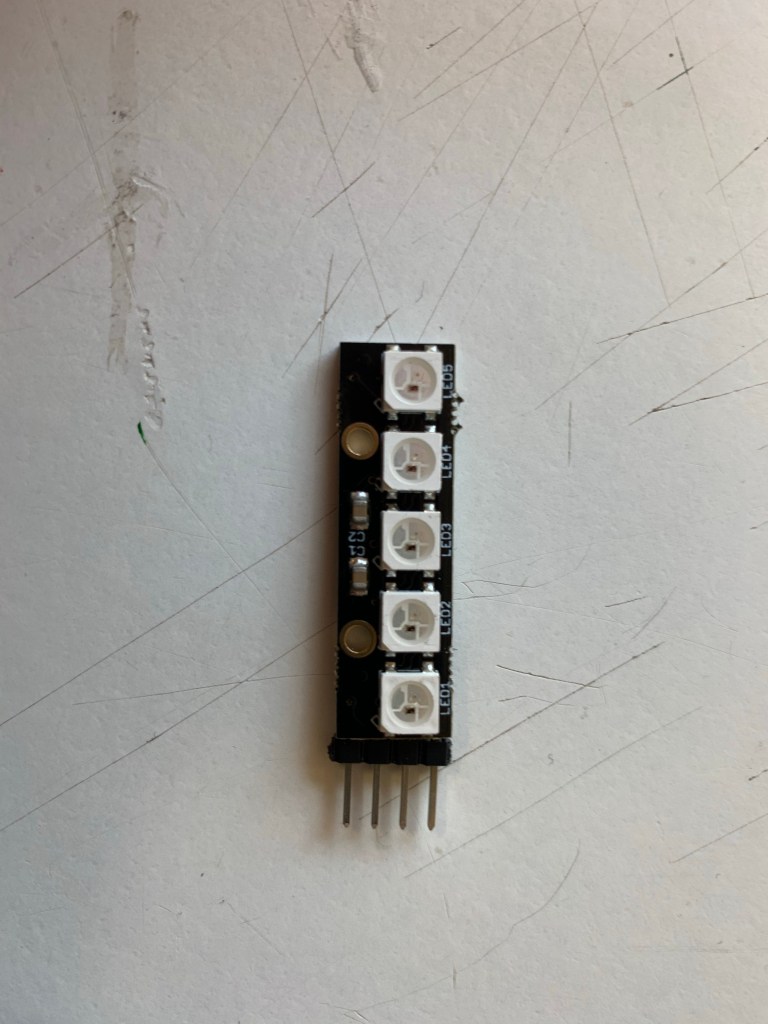
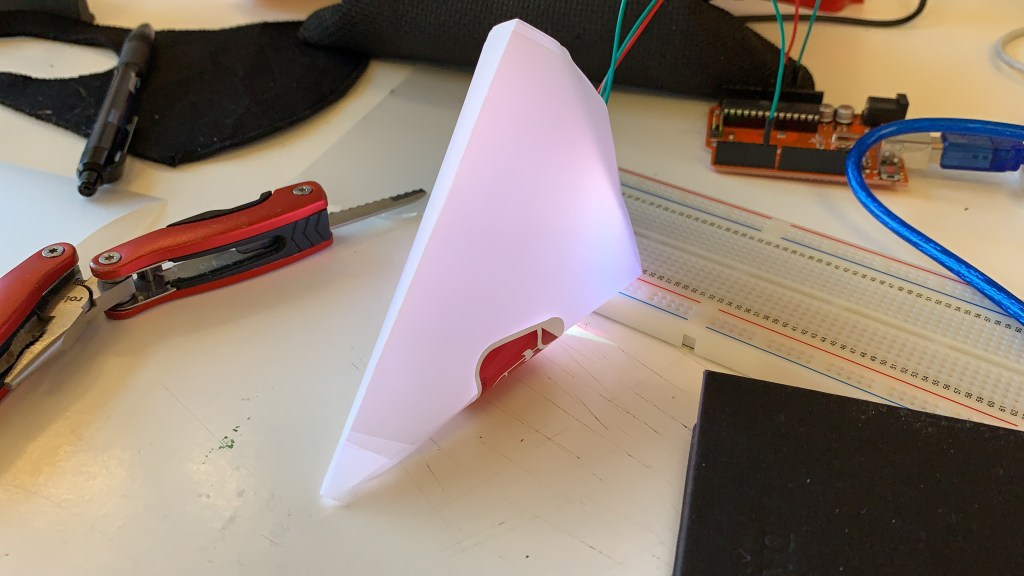
My third and final session involved using pixel lights (each light contains a microprocessor), with these we could program any colour we want into it, the basic ones were green, blue and red, to change the colors, we had to set the numbers either higher or lower, this would then mix the colours together.

Conclusion

In conclusion, I enjoyed this study group, it gave an opportunity into basic programming and technology, there were a lot of detail and names I struggled to remember, and I couldn’t fully understand the coding, but I belive I give myself a few self taught lessons in learning patterns and rules (if I want to, if it feels necessary), I should get a better understanding of everything, which could potentially open my mind and give me ideas for future ideas.

Did/will this play a part in my main subject work?

When choosing this study group, I had no intentions of adding technology to my bowl or secondary artefact, I wanted my bowl just to be simple, I chose this group just so I could learn basic programming, however I am glad I chose this one, even though it was a bit complicated to remember the scripting and the wires, it was good to step out my comfort zone and potentially I could see myself buying my own arduino kit so I can get a lot more practice and get a better understanding on the patterns and coding.

My Smart Light Idea

For my smart light my idea is for it to have multi purpose

Including:

Adjustable brightness

Automatic burglar lights

Multi colour flash notifications

(Eg green for text, blue for Facebook, red for email)

Inspiration for this idea comes from The smart light I found on Kick starter

The light has been tested for various conditions and was given positive feedback

Features include:

• Flash Light

• 3 Flash Light Modes (Flash, SOS, Quick Flash)

• Colour Changing Atmosphere Lamp

• Motion Sensor Enabled Night Light

• Bedside Lamp

• Magnetic Back Handsfree

• Emergency Light

• Waterproof Design

• Rechargeable Battery 


LED (13/1/19)

On the 3rd of December, I started work on “Light”, for this I was given a tutorial on how to work with LED lights and a soldering iron.


  1. An LED light has two wires, the long one is the positive and short one is negative, for the soldering I had to use two wires to connect to LED, the red one is the positive and the black ones the negative.

IMG_5183.JPG

2) To connect the wires together I used the soldering iron to melt the solder so the black and red wires would connect to the LED.

IMG_5184.JPG

3) After the wires were connected I took some small rubber tubing and slid it through each wire, then I took a heat gun to seal the tubing in place.

IMG_5185.JPG


4) Next, I took the other ends of the wires and connected them to an electrical transformer, ( the wires would have to be placed underneath the screws of the transformer)

IMG_5197.JPG


5) Lastly, I plugged in the plug from the other side of the transformer and turned it on and the light lit up

IMG_5198.JPG


The Tesseract (13/1/19)

On the 5th of December, I started creating another light

For this one, I decided to go with a more simple shape, so I took some coffee sticks and glued them together to make a cube next I covered each side with tracing paper, next I took it to the spray room and sprayed it blue. I then spot welded a support frame to hold the LED in place, next I put the frame in place then fed the LED and wires through.

Once the cube itself was finished then built a small podium for it to sit. First I took a few pieces of wood and decided how tall I wanted each side, next I cut the wood, for the top part I cut a smaller square so I could fit the wire through and cover it with the cube itself, next I took a drill and screwed the sides together, then I sprayed painted it grey, once everything was completed I placed the cube on the podium and connected the wires from to the transformer and it lit up.


img_4822.jpg


  • The design and name is based on a movie artifact from various Marvel movies

Movie Appearances

  • Thor (2011)
  • Captain America: The First Avenger (2011)
  • The Avengers (2012)
  • Guardians of The Galaxy (2014)
  • Avengers: Age of Ultron (2015)
  • Thor Ragnarok (2017)
  • Avengers: Infinity War (2018)