My Statement of Intent for Exhibition

This is my statement of intent of what I will be doing for my final project for the first five months of the new year in terms of research, context and craft.

My Idea

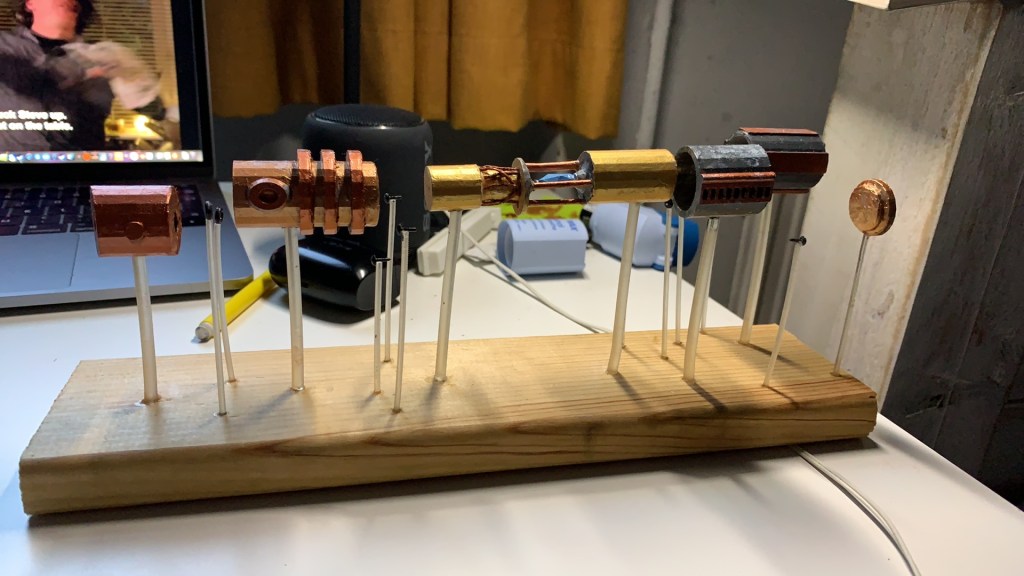
My idea is to create an exhibition displaying my 3D printed, Hand-crafted dioramas (with the pieces suspended on rods on a board of wood) based on my Leonardo Da Vinci style schematics of Movie props and common everyday appliances, each piece will be displayed on its own with its own description and final sketch in the style of Da Vinci’s work.

The Items I have chosen so far are:

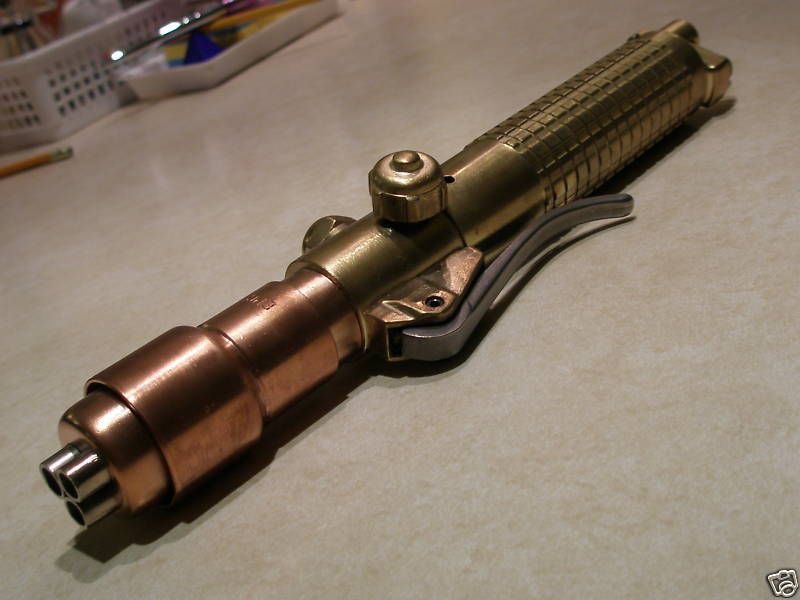
  • A light saber (Star Wars)
  • The Flux Capacitor (Back to The Future)
  • A Pin hole camera
  • Desk Lamp
  • Type writer

E.D.G.E

Ethical– My project will involve CAD design, 3D printing and model making, all of these would make good practice in development in CAD and potentially starting my own commision business in selling 3D models to anyone who requests them, these models could be inventions, appliances, toys or models, so I believe that this project will be my guide into more of an understanding into the world of model making and business.

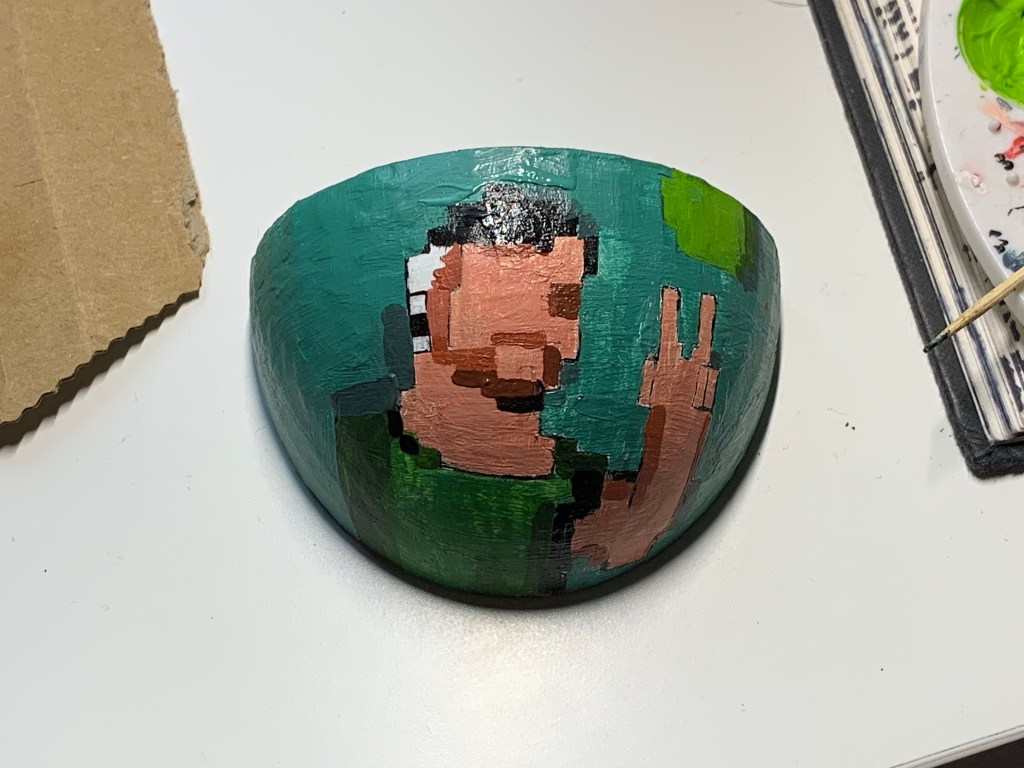
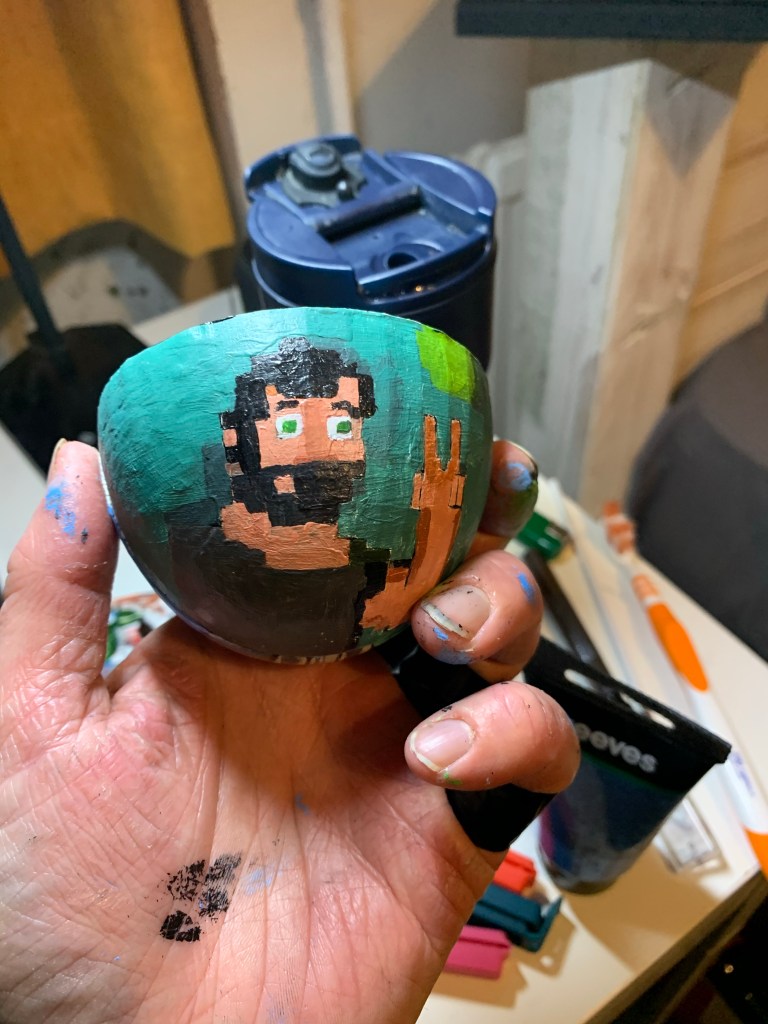
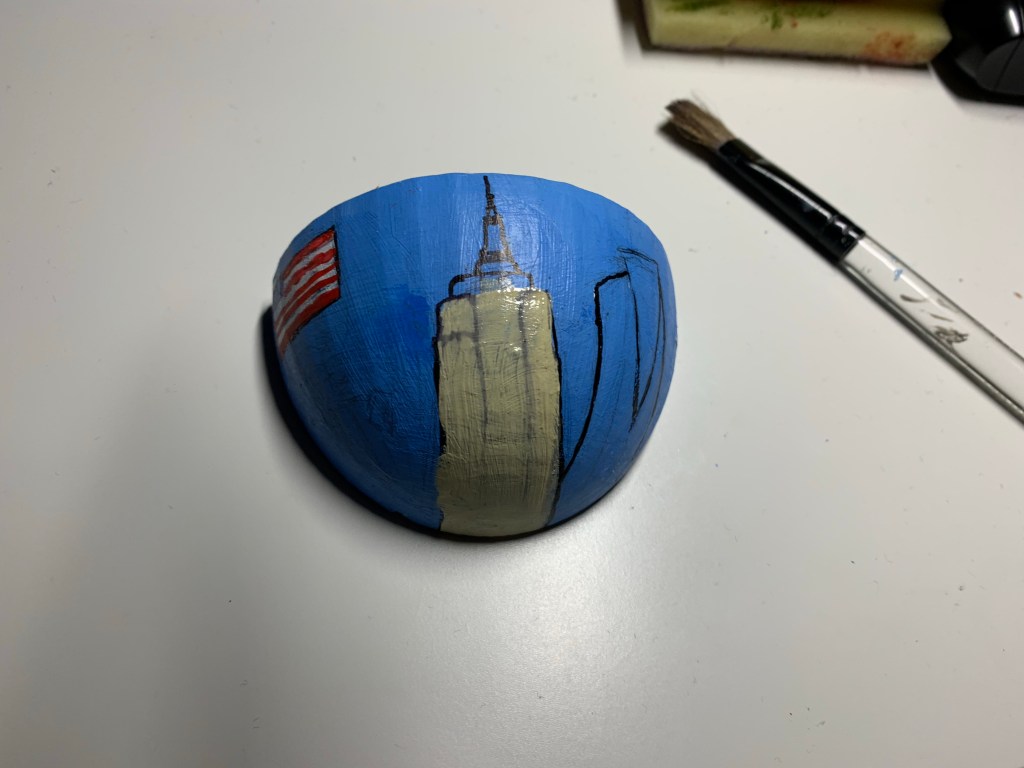
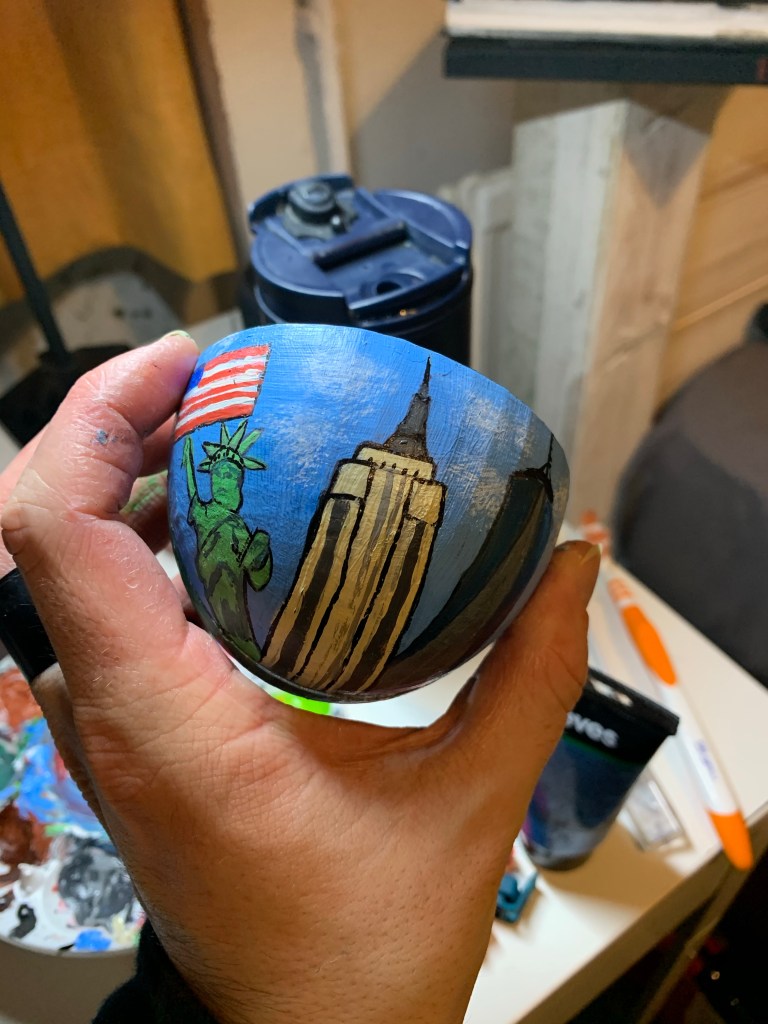
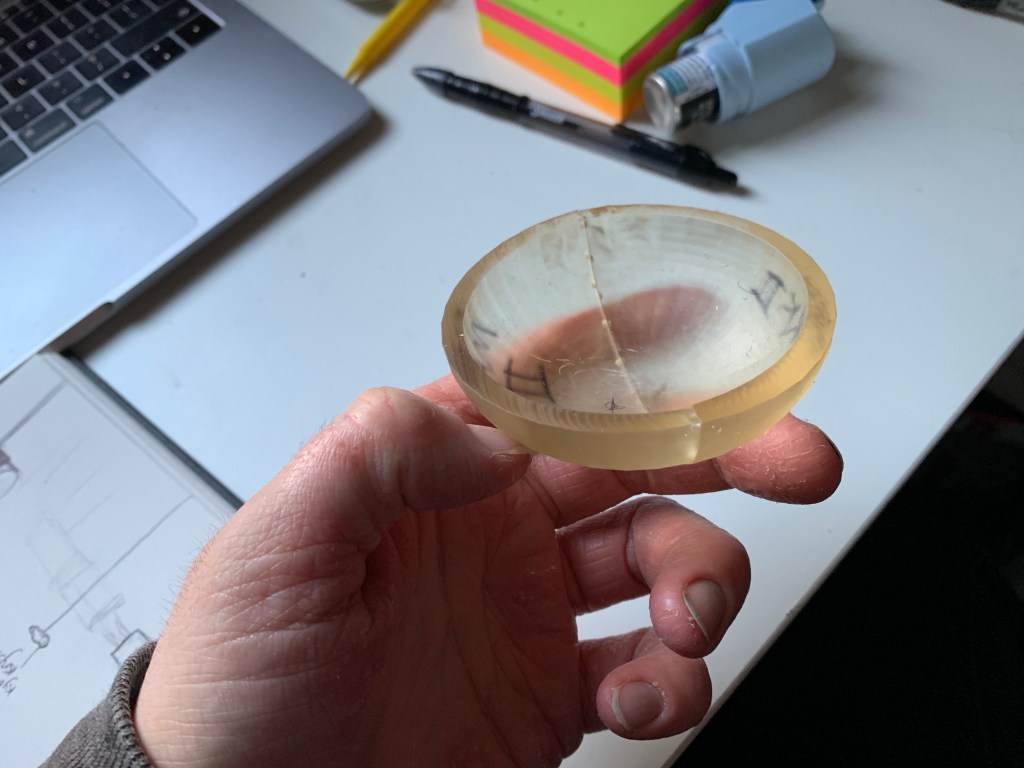
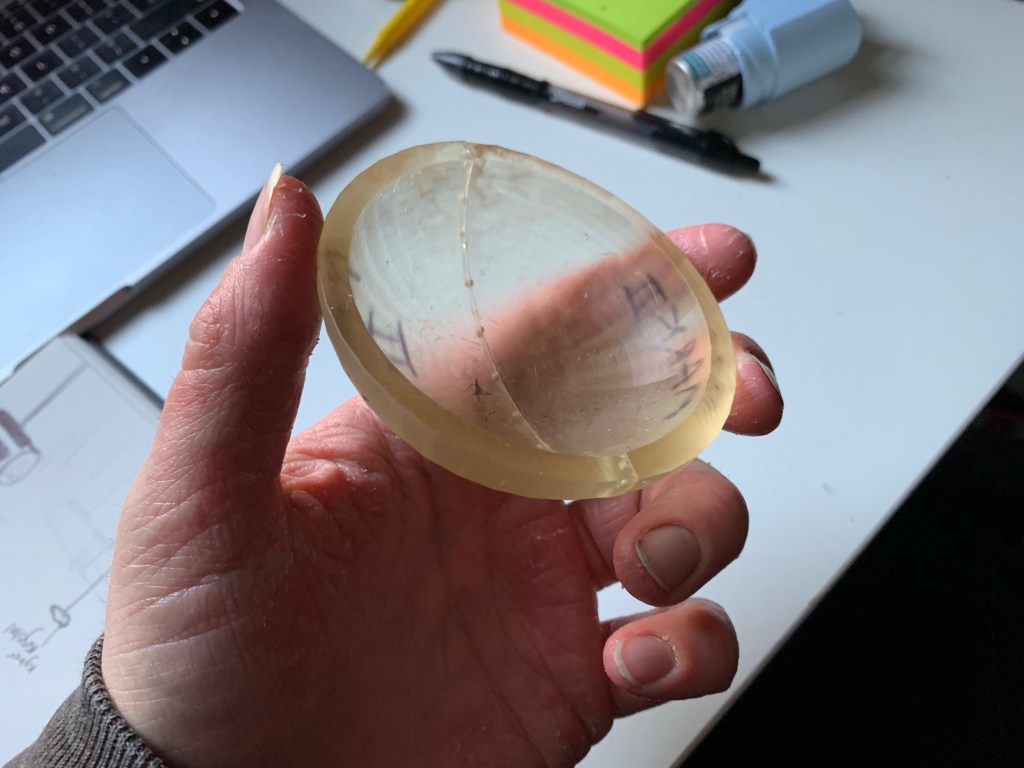
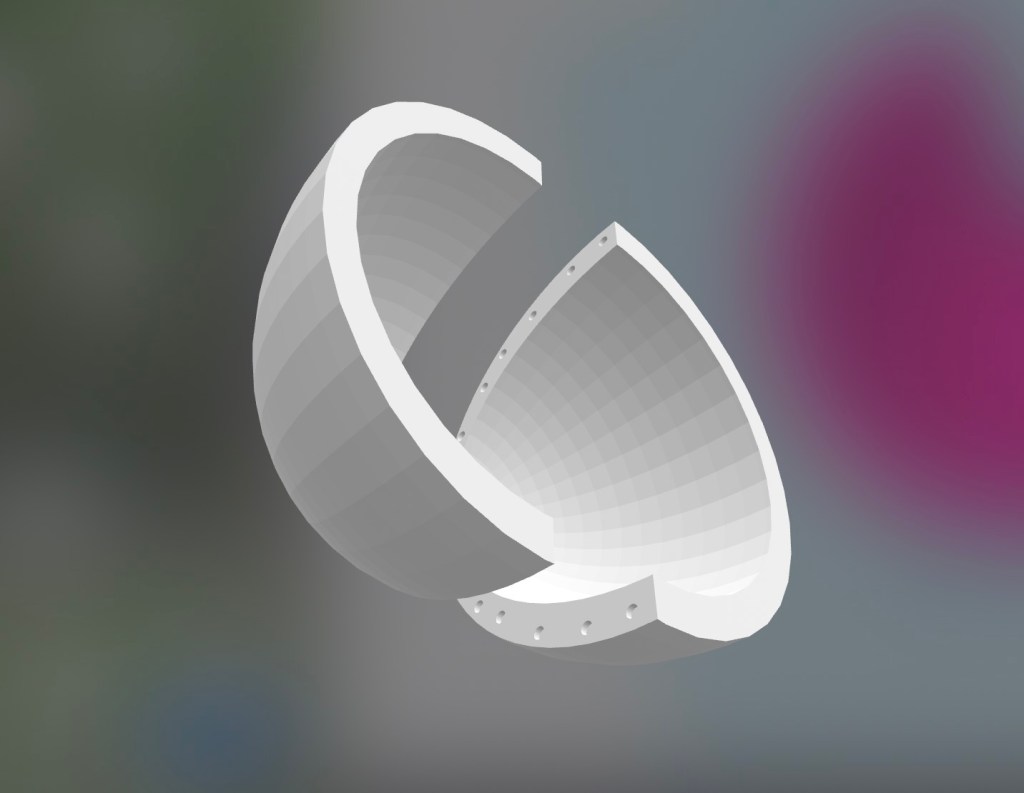
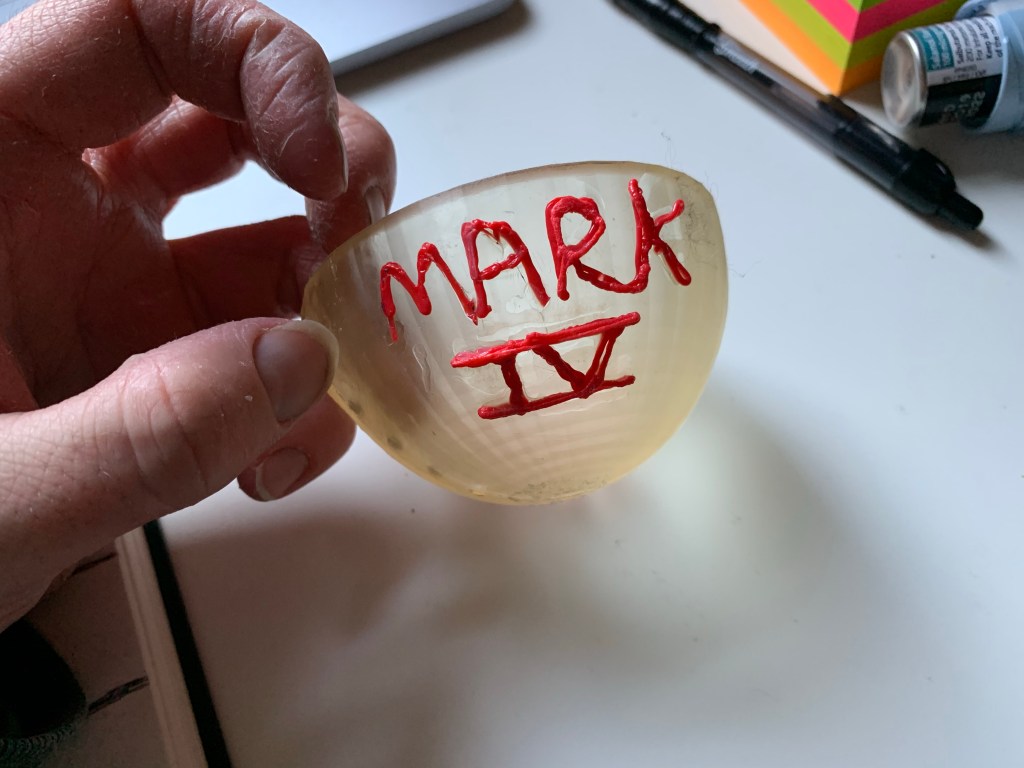
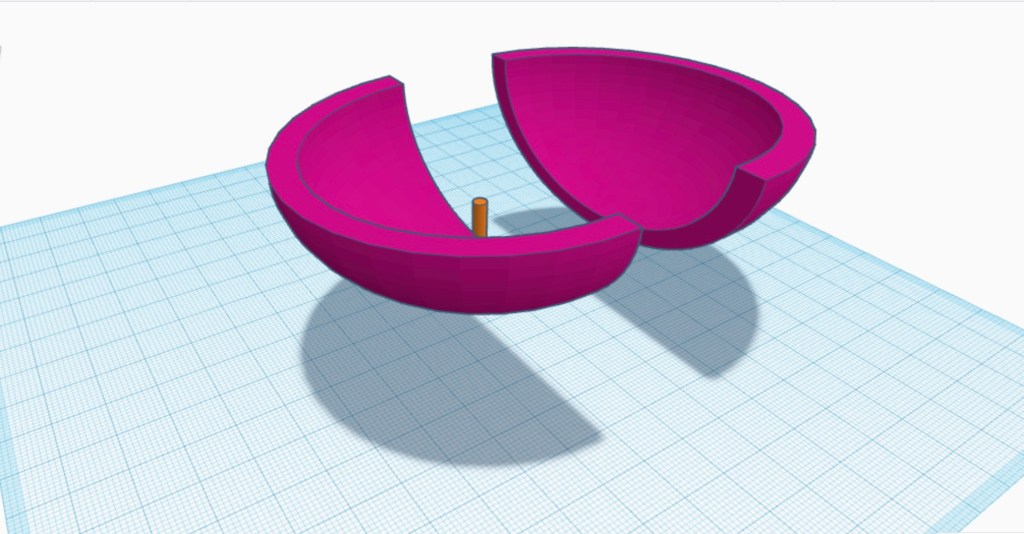
Digital– During the bowl and secondary artefact portion of the project, I was given the opportunity to expand more on my CAD skills and begin building bigger projects, this form of CAD is a step up from just placing small cubes into a pattern like my last major CAD project.

Global– During the months of first term, a few of my classmates have requested me to personally 3D print a model for their project (and some I’ve even offered), a very good idea to get the word out is by sending out a post on Facebook and Instagram, letting people know that I’m available to 3D print model for them at a price, not as much as commissions, but more as a 3D printer for hire, since I’ll request them to create the files themselves, due to me not having enough experience.

Entrepreneurial– With owning my own 3D printer and learning basic CAD skills, this style of craft opens up a lot of business opportunities, including starting up a commision business that involves creating and printing CAD files or even printing out CAD files created by my customers who request them, for example I’ve already had a few of my classmates request me to print for them for a small price.

Timeline

Each month will break down into a strategy that will start with research and practice and will slowly build up to my final model and design for my degree show.

January

  • Research in CAD- This will involve me doing extensive research about CAD design and quick tricks I could learn and how to operate professional industry standard (and possibly complex) CAD programs
  • Context- For this, I will be sketching many ideas for Da Vinci style ideas and writing about their functions
  • Reading and research on Da Vinci’s inventions as well as other forms of craft.

Reading Material:

  • Leonardo Da Vinci: Extraordinary Machines
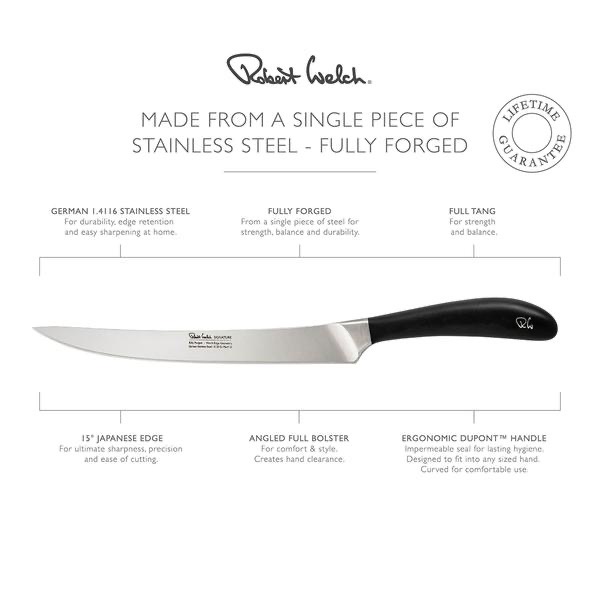
  • Things Come apart 2.0: A teardown manual for modern living

February

  • CAD Development- learning to use more professional CAD software and continuously applying what I know and what I will learn
  • Incorporating designs into digital construction to learn the limitations of both the CAD software and what can be possible to put together.

March

  • I will be printing many prototypes of a variety of main and alternate designs for the project
  • Testing the prototypes for quality and possibly assembling and functionality

April

  • I will begin CAD work, printing and decorating the final models and writing up their descriptions
  • I will visualise and plan out where my exhibition will be and what the layout will be

May

  • Last finishing touches
  • Setting up my exhibition

My Evaluative Statement

Evaluation of the Bowl project

When I started planning out my bowl project, I knew instantly how I was going to do it, for my bowl, I wanted to give it a unique feature (seeing as how the theme for my project was collaboration). So I thought about using magnets again just like in my last project, so I came up with the idea of creating a bowl that could split in half, this would act as a visual representation of two of my Gesamt kunstwerk ideas and concepts coming together as one. During this first project I experimented with a variety of design ideas including a four piece split and using a 3D pen to create 3D elements.

After printing out a total of five prototypes, I settled on using one simple design of making a bowl that split into two magnetic parts that could also be used as shelves for fridges as well as other magnetic surfaces.

As for the decorative design, I would paint each piece in their own unique design based on which two Pecha Kucha designs, I decided to combine together. For this one, I did a pixelated portrait of myself and New York landmarks. When the pieces connect together it forms another painting on the inside of the bowl of a pixelated statue of Liberty as a visual way of two worlds coming together.

Evaluation of the Secondary artefact

For my Secondary artefact, I still wanted to keep the theme of collaboration going, so I decided to bring in a design I drew back when I made my Pecha Kucha, my design was a Leonardo Da vinci style schematic I drew showing the design of a lightsaber, (and one showing the flux capacitor, both sketches can be found on my sketches blog post) so I wanted to take this idea a step further by adapting the sketch as a 3D diorama showing all the pieces laid out and stylized in a steampunk look, This would give it a Da Vinci style appearance using the limited amount of resources he had given the time period. The context behind this is to create a fantasy collection of Da Vinci themed dioramas paying tribute to pop culture.

More context can be found on my secondary artefact post on my blog.

Sketches

Here are my sketches for my bowl project as well as my secondary artefact and my ideas for future models.

The Bowl:

Seconday Artefact:

For my Da vinci style design on the lightsaber, rather then writing in backwards italian, I decided to wriute in the fictional Star wars language know as Basic.

Here is the Galactic Basic Alphabet:

Here are the translations:

  • “Kyber crystal” (Top centre)
  • “When chosen by a jedi, it turns blue or green, when chosen by a sith it turns red” (Below)

Future Model Designs:

Note: For some of these Da Vinci style drawings, (except for the light saber) I wanted to write it in the unique way Da vinci wrote notes on his sketches by writting them in italian backwards, So for the Flux capacitor, I googled the drawing from the movie and copyied the writting and equasion, translated them to italian on Google translate and did my best to write backwards, similarly to how he wrote it.

The drawing used in the movie (Back to the future 1985)

Here are some of the quotes I translated to Italian:

  • “The Flux Capacitor” (Top right corner)
  • “It’s what makes time travel possible” (Top-bottom right corner)
  • “Caution: Sheild eyes from light” (bottom right corner)

Pinhole Camera:

One of my non movie prop Ideas is to create a Da Vinci style pinhole camera and experiement various types of way that it will operate, such creating a big slider for the pin hole, using reusabel matches or possibly creating a remote control prototype.

When I begin my research, I will intend to read a book on Leonardo Da Vinci’s inventions to get more ideas on what I could make.

My Second Artefact

On the 22nd of november, I started progress on my secondary artefact.

For this I chose to continue the theme of combining two of my Gesamt Kunstwerk choices into one, for this one I decided to take an earlier idea I had before making my bowl and expand on it.

My idea was to create Leonardo Da vinci style shematics of my favourite movie props as well as everyday appliances (including a lightsaber, flux capacitor, a desk lamp, a pinhole camera etc), so to take this idea further, I thought about creating 3D model dioramas recreating the layout and design shown on Da Vinci’s schematics and how he designed them, by laying out the big and small pieces.

Designs and Context

I chose to start by building a light saber and used this design as inspiration.

https://aminoapps.com/c/star-wars-rp-amino/page/item/building-a-light-saber-unfinished/j0wY_YgaCoIMRmzwj6M3pYQjW45njg5Lob

So my idea was to create the pieces in CAD, print them out, drill holes into each piece and suspend them on rods on a wooden board.

My Designs:

CAD

After I sketched out the design and planned out what I wanted to print, I then went onto CAD and started created all the pieces, a lot of these pieces involved a lot of curving and grouping the shape together and even engraving.
I was excited about how this was a step up from moving small squares into a pattern to make a pixelated character and how I was able to engrave neat and impressive detail into the pieces.
Also, I printed out long rods to support each piece on the board.

Building Process

Once the pieces were printed, I was able to take them out, clean, dry and cure them, I also designed the pieces so they could connect, (even though this wasn’t the main goal) how some the pieces couldn’t connect (again this wasn’t the plan), the pieces did come out very nicely, except for the main body of the crystal chamber, I realised that the rods supporting the top part were too thin, so I had to break them off and 3D print and glue on thicker ones, also the machine couldn’t print the support inside the crystal chamber were I would position the magnets for the kyber crystal, so I had to improvise by taking some procreate (sculpting putty) and sculpt the support on each end of the chamber and glued in the magnets.

Once the pieces were finnished and modified, I took a board of wood and placed the pieces on top to align them and made sure I was able to fit them all on the board, once the pieces were where I wanted them I marked areas around the board where I would drill the holes for the rods and marked the pieces for where they’d be drilled.

For the colour scheme, I wanted to give it a steampunk look, to make it look like a sort of renaissance aesthetic, so I settled to using colours such as Gold,silver,bronze and copper and I had to make sure I picked the right pieces to be painted the right colour. I chose to paint the kyber crystal blue, just like in most of the movies.

Note: If I ever sold these as collectibles for fans, I would give them the option to change the kyber crystal into a variety of colours such as Red, green, blue, yellow, orange, purple, white, black, magenta, indigo etc, just like in the movies, tv shows and video games.

Once all the pieces were painted, I then took my dremel and drilled holes onto the pieces and glued the rods into the pieces and the board.

Note: This design of the pieces suspended on rods is both references Da Vinci’s layout of how his inventions would be constructed (as shown on his sketches) and in the Star wars universe of when a jedi or sith constructs his/her lightsaber by using the force to make the pieces float, thereby constructing it with their mind.

End Result

I was very happy with end result and I am looking forward to designing and printing more like this, however I do feel the layout of the parts on the board struggle to spread out, since some of them look like they’re too close together. Also for future models similar to this I think I might add wood varnish to the board to make look old fashioned, because of giving a steampunk aesthetic I crumbled up a paper towel added silver paint and dabbed it onto the pieces to make it look like scratches also I took my scalpel and scratched some the pieces, I wanted to make it look old fashioned, I would also consider adding brown and green rust, to really give it good old fashioned quality.

Future Intentions

For the next term, I will be planing on creating more of these Da Vinci style dioramas in the same style as my lightsaber, for this I’ll be practicing more on sketching out the designs and layout of each new model and to help with the layout of the pieces, I will be exploring the tear down movement of objects, basically taking apart pieces of tech and appliances, this would help me create better layouts for my sketches and model like how da vinci drew the pieces of his inventions to show how they come together. Once I do that, I’ll be able to create more detailed and more layered out design.

Note: Just to keep in mind, I’m not going to build all these things for practical use, so they don’t have to be functional, they’re just display pieces, most of these are fantasy and would difficult to recreate, e.g: The lightsaber would be scientifically impossible to recreate, sorry.

Commercial context

For my collection of these Da Vinci style models, my target audience are fans of big pop culture media including Movies, TV, Books and Videogames, this is because fans love collecting either industry made or fan-made merchandise (including Action figures, statues, posters, home appliances).

People collect very cool and very bizzare things like A shotgun toothbrush, a floppy disk coffee table, ninja star coat hangers, a Pac man ghost that changes colour when played with music, an amplifier key holder etc.

And many more:

https://awesomestufftobuy.com/gifts/home-and-garden/

My idea creates opportunities of showing them and potentially making a profit, whether it would be selling these models as assembly kits for fans to collect and build or a special exhibition displaying all these models that fans could attend and admire the thought. Passion and creativity went into creating unique pieces, based on their favourite fictional genres, or even creating a franchise of Da Vinci-themed models of every-day appliances for everyone to obtain for their collection.

The First bowl

Once I printed out enough prototypes and experienced with different functionality features, I was ready to create my first bowl with one of my creative decorative designs.

CAD design
I began by selecting the Mark IV design as the main design (with the standard two-piece split), once the parts were printed I started by painting them in a base colour of grey in acrylic, once they dried I then gave them a secondary coat of white. (This was so it help the bright colours stand out, once I painted them.)

Piece 1- The Pixelated portrait

I started by drawing the design in pencil then outlining it in black paint, for the colour scheme and design I decided to do a mix of Adam Lister’s pixel paintings (The shades, sizes and layout) and a picture of me that I uploaded onto an app on my phone called “Bricks” which allowed me to upload and create lego style photos as well as controlling the resolution of the pixels to make it either blocky or a bunch of small pixels.
(I used this to give me an idea of shading, shadow and background colour)

Note: I was originally going to paint the person (me) in very colours and using the pixelated picture as a reference, I was happy with how it looked so I decided (mid paint) to just keep the background in bright colours and paint me in the same dark colours as in the original photo.

Heres’s a link to the Adam Lister page on The Guy Hepner wesite to see his work: https://www.guyhepner.com/artist/adam-lister-paintings/paintings-adam-lister/

Piece 2- New York landmarks

I started by roughly drawing my three selected New York landmarks the Empire State Building, the Statue of Liberty and the one World Trade centre.

The Collabritive painting

Once I glued in the magnets to each piece and attach them together I was able to paint my collaborative painting, at first it was difficult getting the positioning right because the drawing would curve if I didn’t spread it out, because of the shape of the bowl. What painted was a pixelated version of the Statue of Liberty, to help with the design and proportion I took some design inspiration from a pixel artist named “UNIHORSE” off of his webpage on “The Blockheads”.

https://forums.theblockheads.net/t/unihorses-pixel-art/48314

I added this painting inside the bowl as a way of collaborating my two choices, each half being its own thing, but when combined together, the two worlds create one, which is the theme my Gesamt Kunstwerk choices in terms of applying my own ideas to my choices.

End result

I was happy with how it turned out, especially with how both pieces were able to magnetically attach to the fridge and the magnets were able to hold the pieces in place and just like in the video, it was able to hold a handful of skittles.

Here is a link to the video on my youtube channel demonstrating the bowl practical use:

The Bowl Project Part II- The other Prototype

Mark II

After printing out the Mark I, I decided for future models I would create holes in CAD, rather than drilling them in after the printing process (this would then save me time, so I can just directly glue the magnets in place), my first attempt didn’t go as I planned since the holes didn’t align very well so I decided to instead glue the pieces together this was when I discovered that the bowl made water (as well as other liquids) taste terrible, so I realised that the bowls with more for dry food and objects.

Also, the gaps between the bowl pieces and the magnets would’ve caused it to leak through.

Mark III

For the third prototype, I made sure I didn’t make the same mistake as last time, to prevent this I created long thin sticks in CAD to help align the holes on each piece (while moving the holes in the right place) with this new design, I wanted to improve the shape and structure by making it taller and closed in, instead of it being short and wide, and as I mentioned before I wanted to improve the use of magnets and strategically place the holes in CAD, I was very happy with the result comparred to the first two, so this meant with more magnets and holes, the more strong the bowls structure is.

Mark IV

The forth prototype model was pretty much the same as the last One, except I decided to experiment with a 3-D pen to add 3-D elements to the bowl this was an intention for my to have both a visual and textual aesthetic to it could be admired as both people who can see art in those who can feel art, the end result was ok, I do require more practice in controlling the pen and creating shapes and patterns, more then just branding it with a name.

Mark V

For the fifth prototype, i wanted to take a step further in the split feature by having split into four pieces.

I did this by using the same process I did in splitting the bowl into two by splitting them into corners, this was more tricky then the previous design when creating and aligning the new holes, When the design was printed, it was not what I was hoping for, the pieces weren’t even and not all the holes lined up, also I didn’t think the magnets would be strong enough to support all the pieces

I ended up abandoning this concept and decided to stick to the two bowl split since the design was better stronger and had a lot more opportunity since it was a bowl that could be split in half and be used as magnetic selves to attach to fridges as well as other magnetic surfaces.

The Bowl Project

On the 11th of October, I started progress on my Gesamt Kunstwerk Bowl project, My Idea was to 3D print a bowl that was able to magnetically split and attach together.

The design Idea for my bowl is to decorate each separating piece with a painting of one of my Gesamt Kunstwerk choices, want I wanted to do is create a series collection of bowls that split into two, each one containing two of my Gesamt Kunstwerk choices, each piece would be decorated with one of my choices and once the two magnetically connect together there’s an image on the inside of the bowl that’s a combination of the two choices per bowl (e.g one bowl would have two pieces, one would be decorated in painted New York landmarks and one would be painted in the Lego pixelated style of Ai Wei Wei, once the pieces connect together the inside would show a painted image of the empire state building painted in pixelated artwork.

Practical Functionality

This one would have not one but two functions, the first one is to use it to hold either candy or acessories, dedending on the size and strength of the magnets (Liquids wouln’t be able to work because the bowl would leak and would affect the taste due to the resin, and would probably be a safety hazard.)

The other function would be for the bowl to split in half and would be able to magnetically attach to a magnetic wall, making into a small key bowl for the wall and again depending on the size of the pieces and the strength of the magnets it could potentially fit bigger items then keys.

Context

When thinking of ideas for my bowl to make it unique in build and function, I was no stranger to 3D printing and using magnets, I knew I would be able the create a basic bowl on Tinker cad as well as modify it to my own design, when it came to using magnets I’d be using the kind I experimented within both my previous project and in my free time, so when creating a cad file for the bowl, I knew it would be a lot simpler than just placing small squares into a pattern (colour coded) to create pixelated models.

The magnets

When it came to creating a unique design and feature for my own ideas, I was no stranger to 3D printing and using magnets, seen as how in my last major project, I included both concepts, as well as the idea of colliding multiple concepts together.

The Mark I

I began this by creating the bowl on Tinkercad

I then used the ‘hole tool’ to slice the bowl in half, after that I exported the design into an STL file and prepared it on Prusaslicer

Once the pieces were printed, washed, dried and cured, I then proceeded to mark and drill holes on the ends of each piece to fit the magnets using a Dremel then I used super glue to secure them in. The Mark one’s result was good but had a lot of problems, the shape was too thin (mainly at the bottom), I only used five magnets per pieces (this made it very easy to come apart) and I decided instead of drilling the holes onto the pieces, I would instead create the holes on CAD, this would them save me time from holes, so once the design would be finished, so I could go straight to glueing in the magnets.

Macbook Computer

This is an Apple brand laptop known as a Macbook

First Model debue

Powerbook 100 (October 15th 1991)

Key features- Keyboard; intergrated palm rest; trackball (mouse)

Why do I like it/ what does it mean to me?

I like it because Apple is my most prefered technology brand, because of how easy and simple it is to use, in terms of it meaning to me are due to the fact that I use it everyday for my daily needs including webbrowsing, streaming movies, research, writing work, videogames or even editing and making my own films or videoes.

Robert Welch Knives

These are Robert Welch brand knives, named after the Silver smith and a pioneer of the industry of stainless steel cutlery.

Breif history

Why do I like them and what do they mean to me?

I like the design and variety they come in and how really efficent they are especially when I’m preparing my own meals, I like how a lot of them have a curved handle, creating a strong grip and the designs to make blades thin and sharp.

William Burges Architecture

These are Cardiff buildings and architecture, designed by William Burges.

Breif History

William Burges was a noteable British gothic revival architect who establish his own practice of architecture in 1856, his work and contributions produced hy High Anglicans and Roman catolics including the third Marquess of Bute and the first Marquess of Ripon at Studley Royal Yorks.

Notable Architecture:

  • Castell Coch
  • Cardiff Castle
  • Pierhead building
  • Animal Wall

Why do I like his work and what does it mean to me?

I like his work because of how he has a personal connection to me, because of his contribution to both the city I live in (Cardiff) and the Island I go to every summer (The Isle of Bute) and how much deication to the man who’s essentially the face of Bute (John the Marcuss of Bute) and how he put Cardiff on the map.