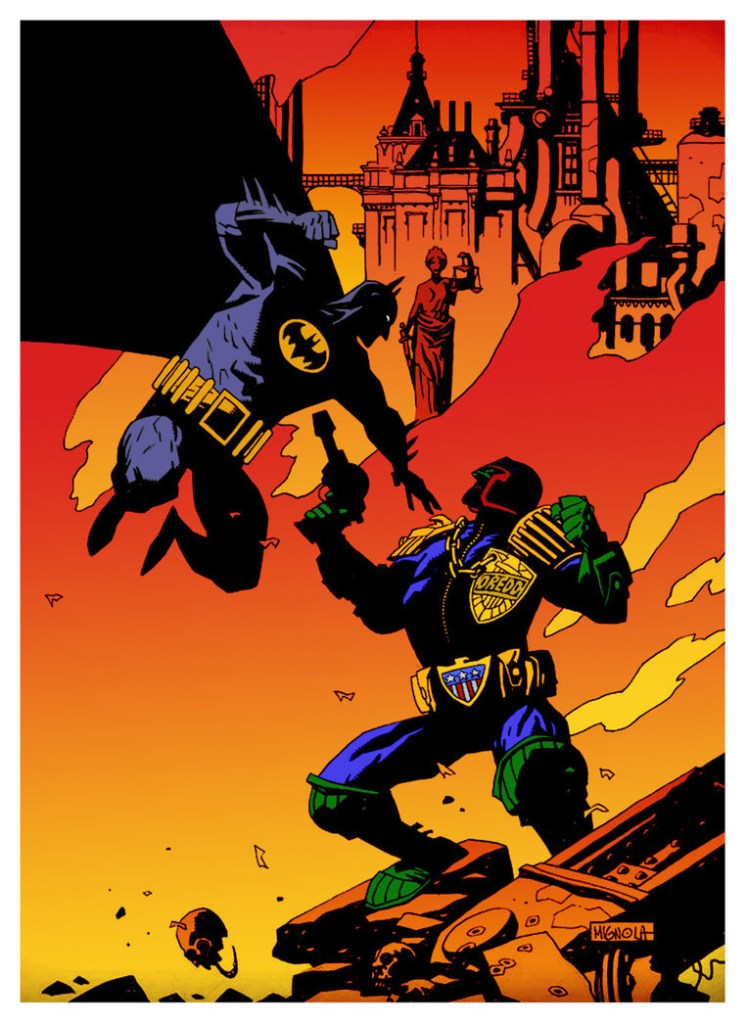
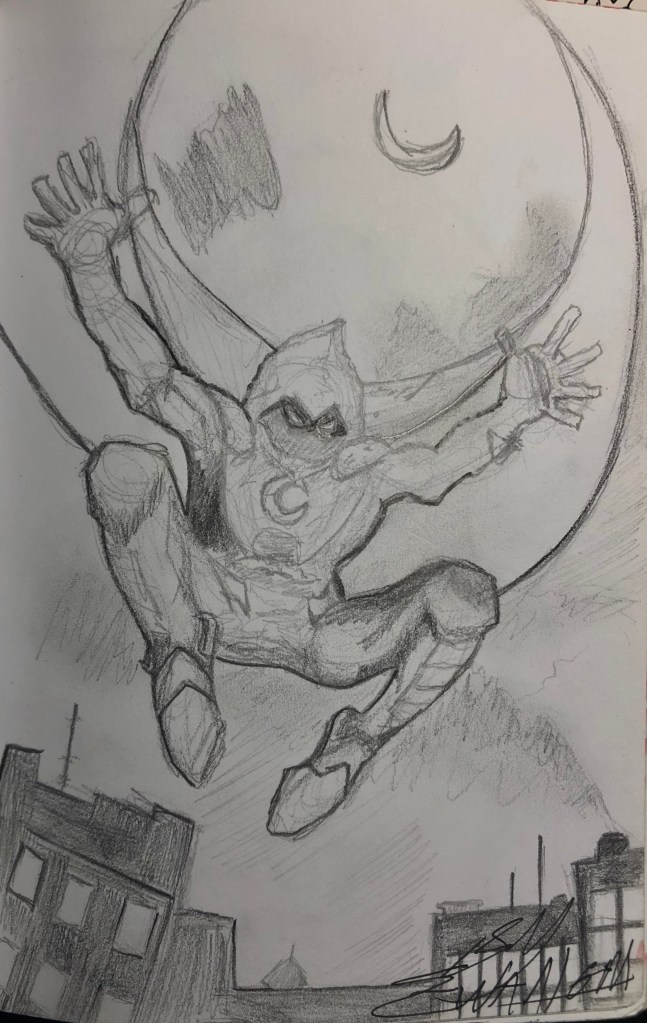
Mike Mignola – Hellboy, Batman: Gotham by Gaslight
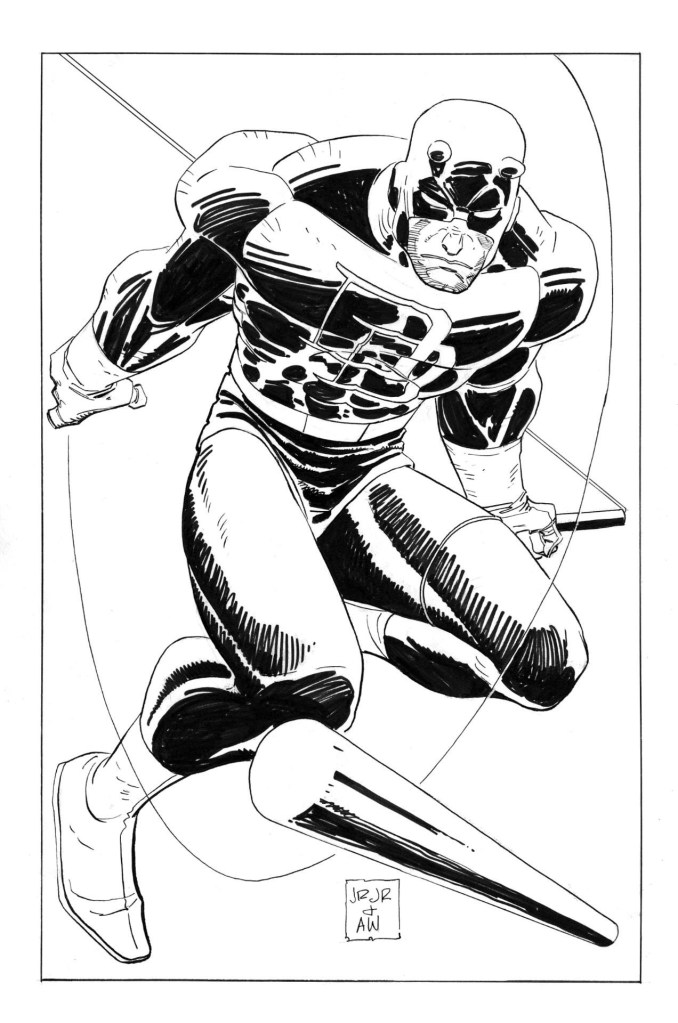
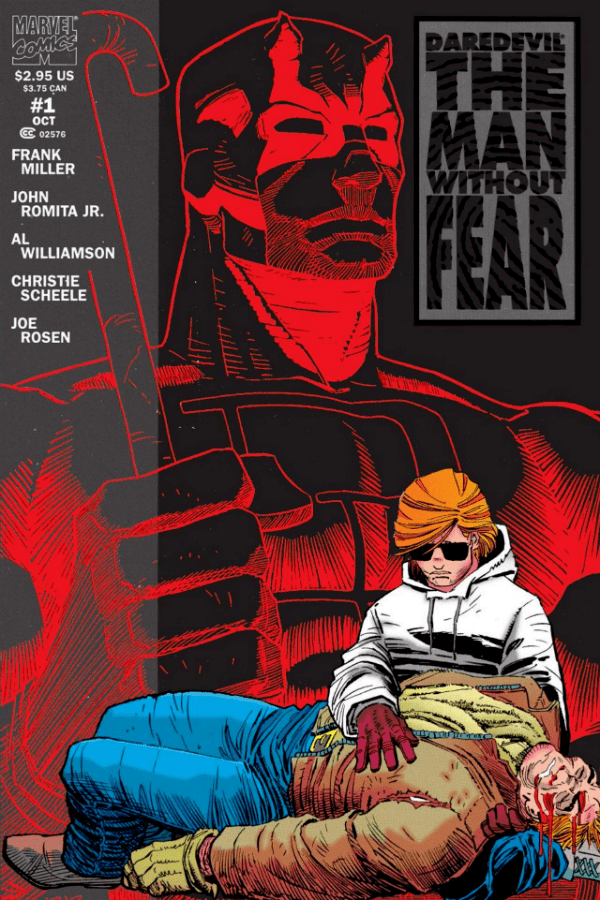
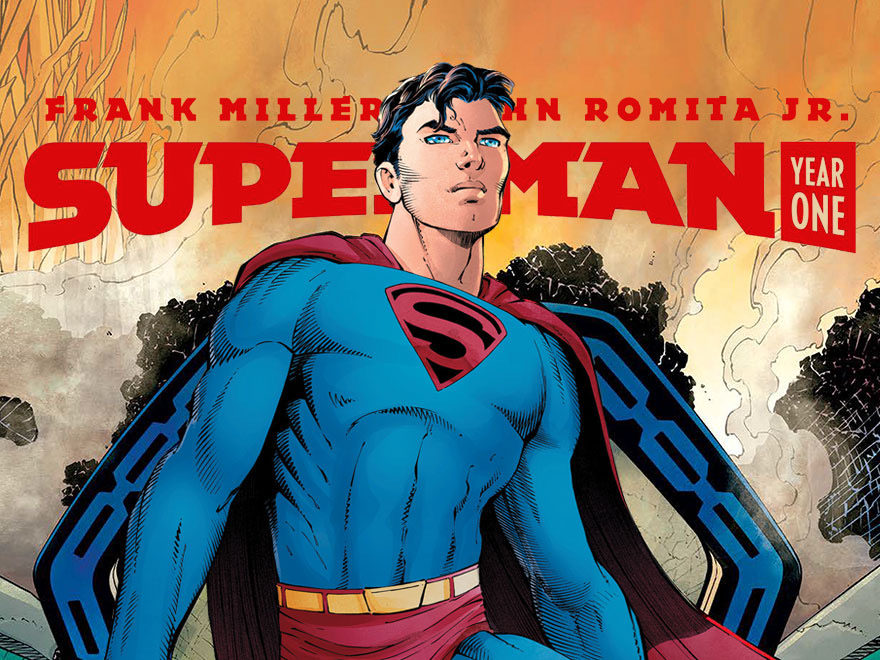
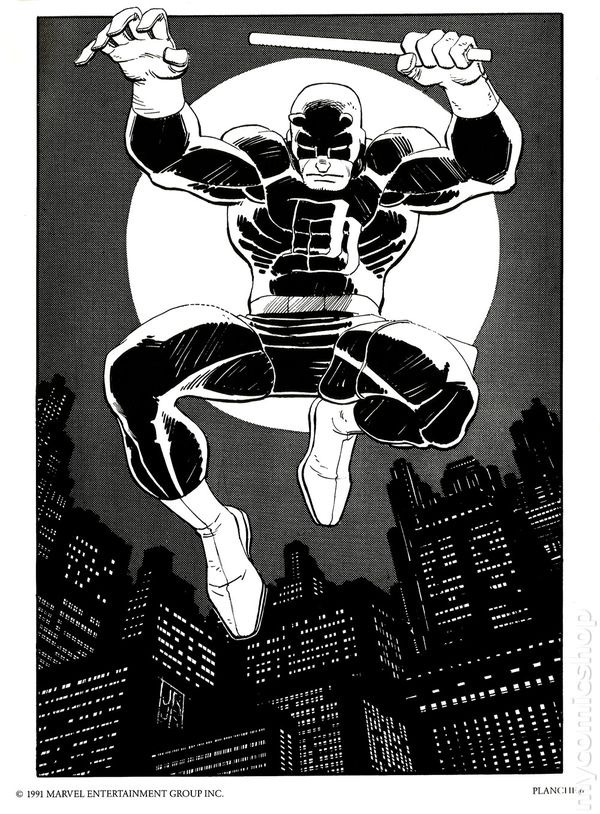
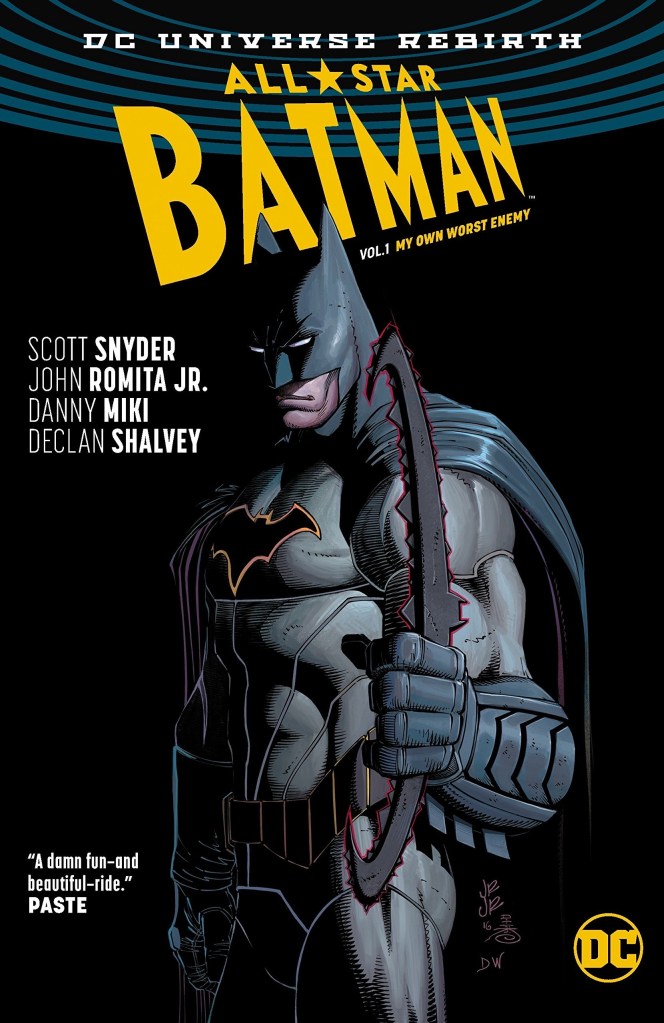
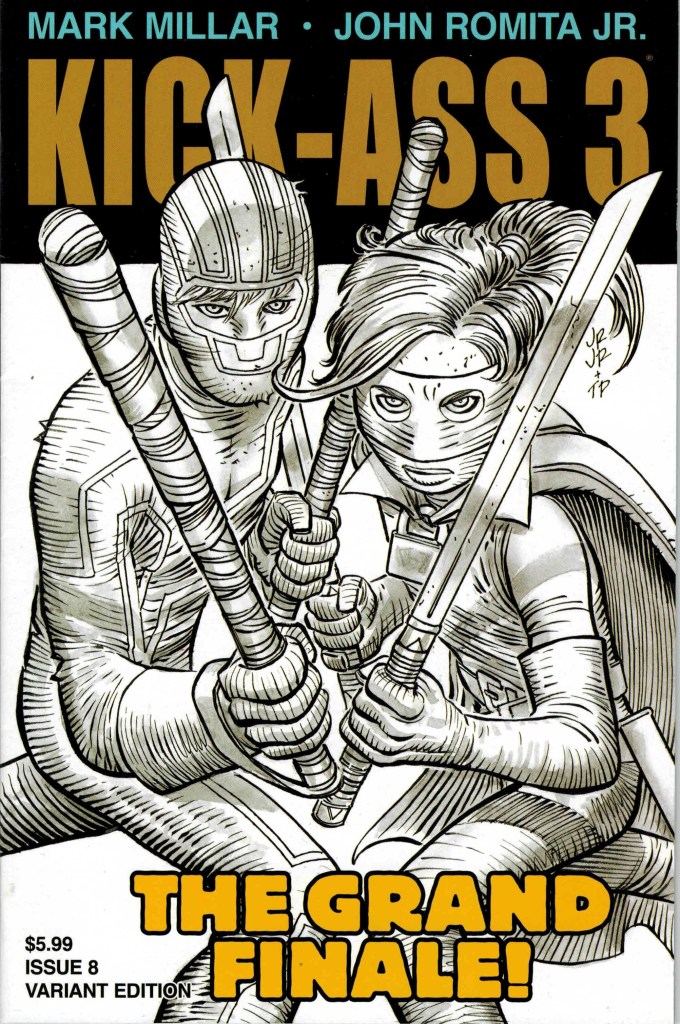
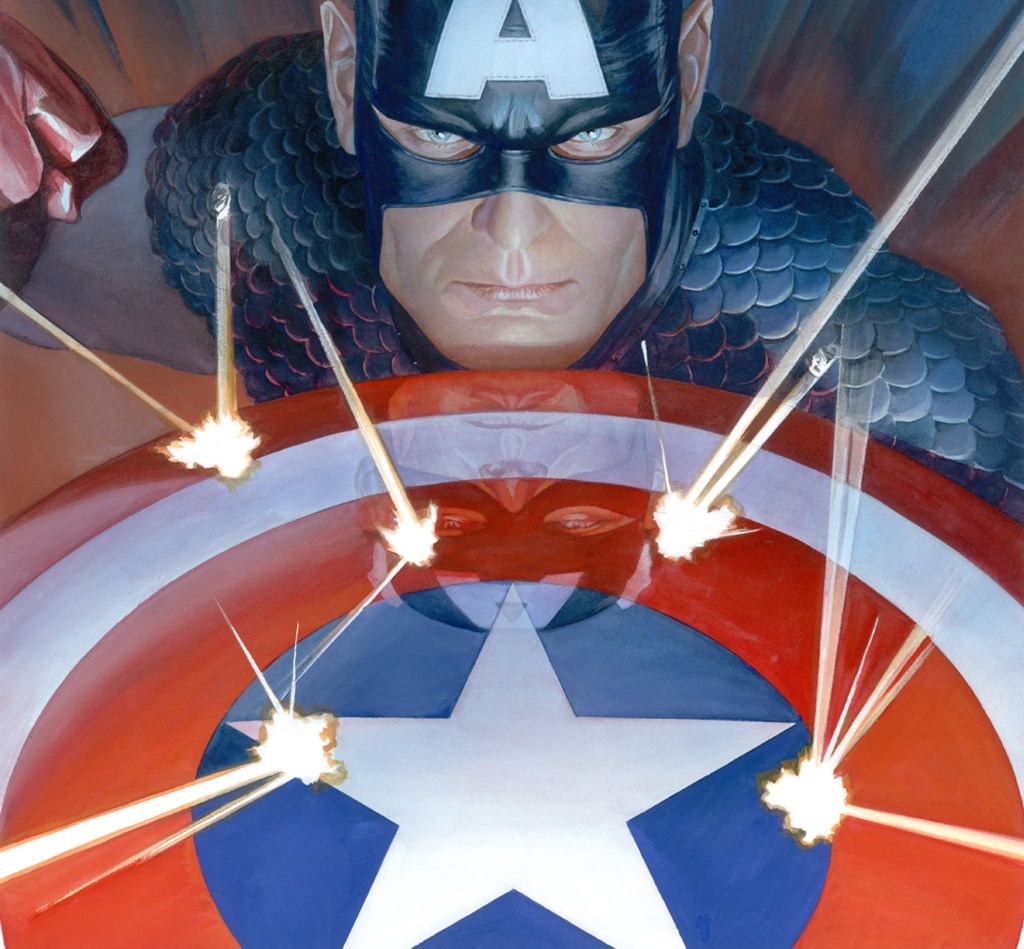
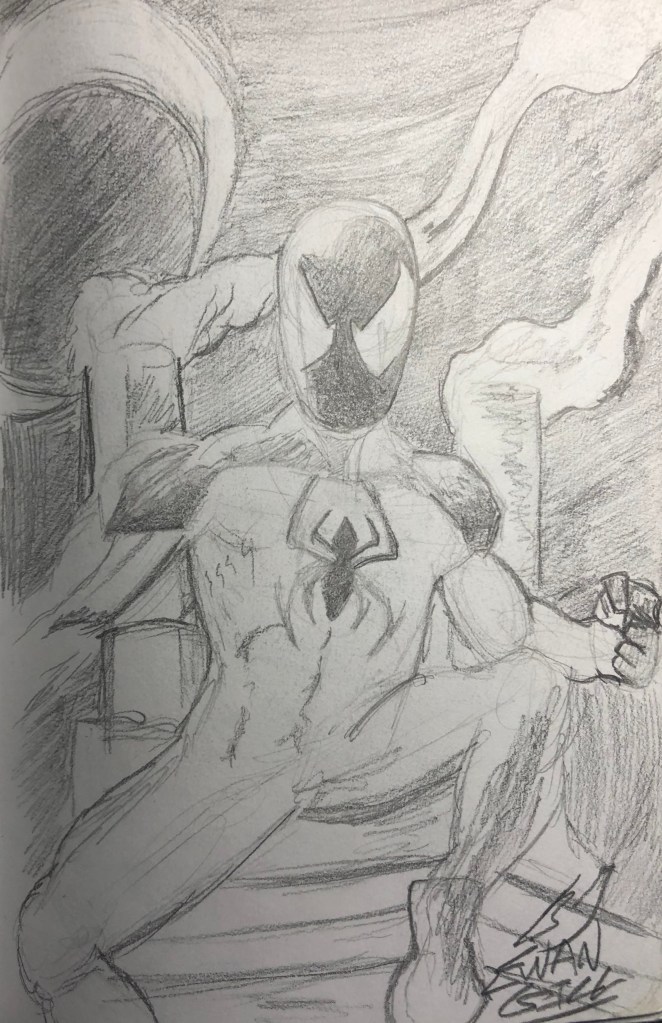
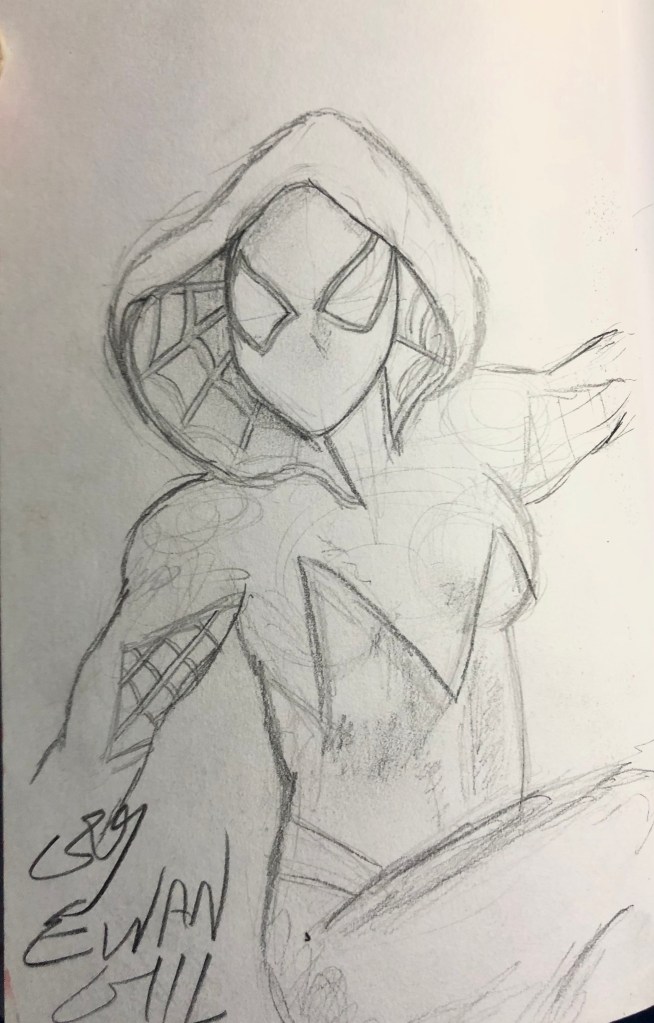
John Romita JR – Spider-Man, Kick Ass, Daredevil, Wolverine, Punisher: War zone, Eternals
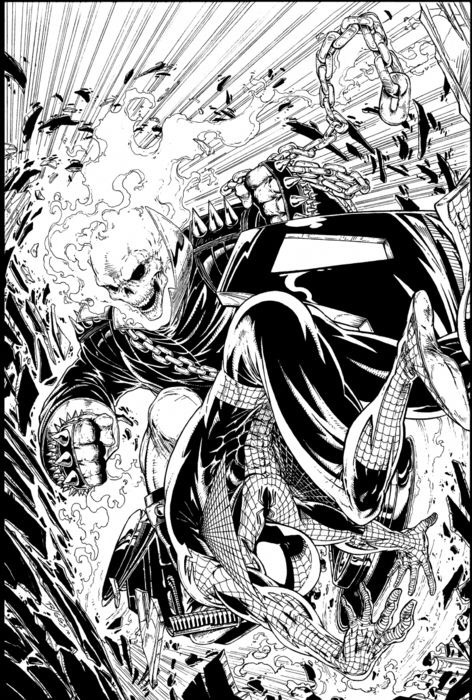
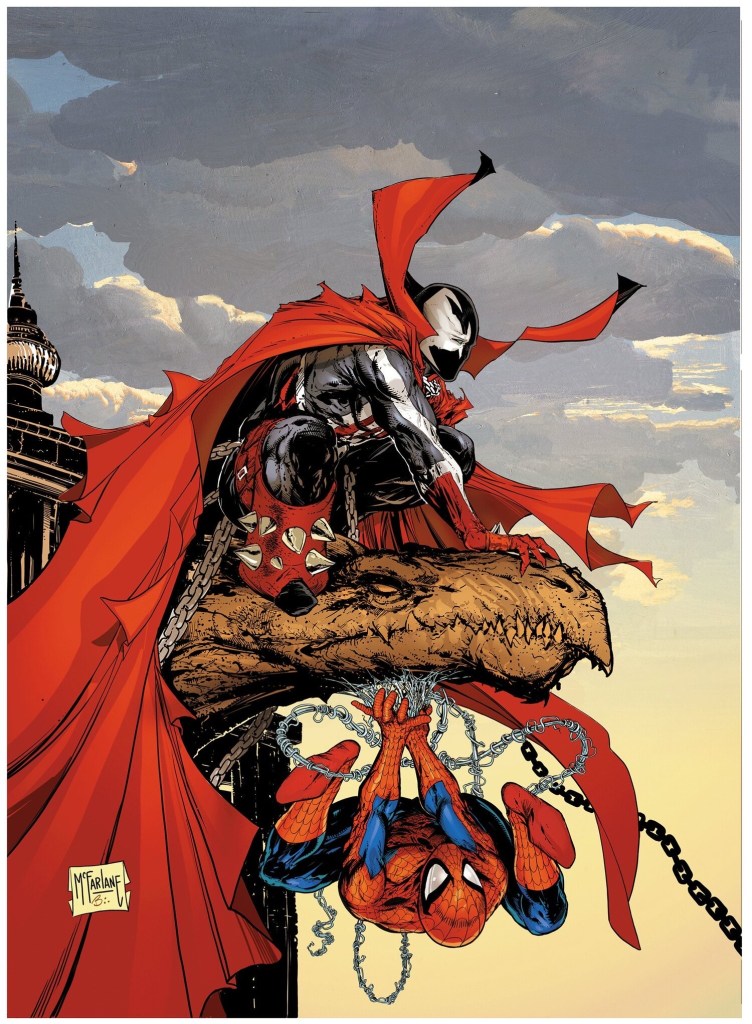
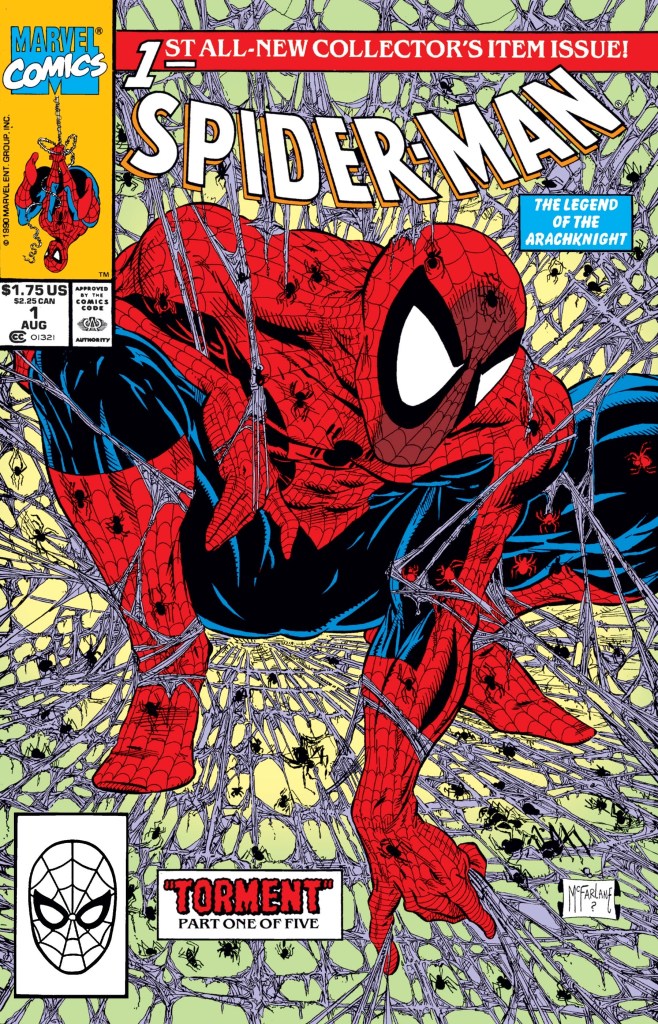
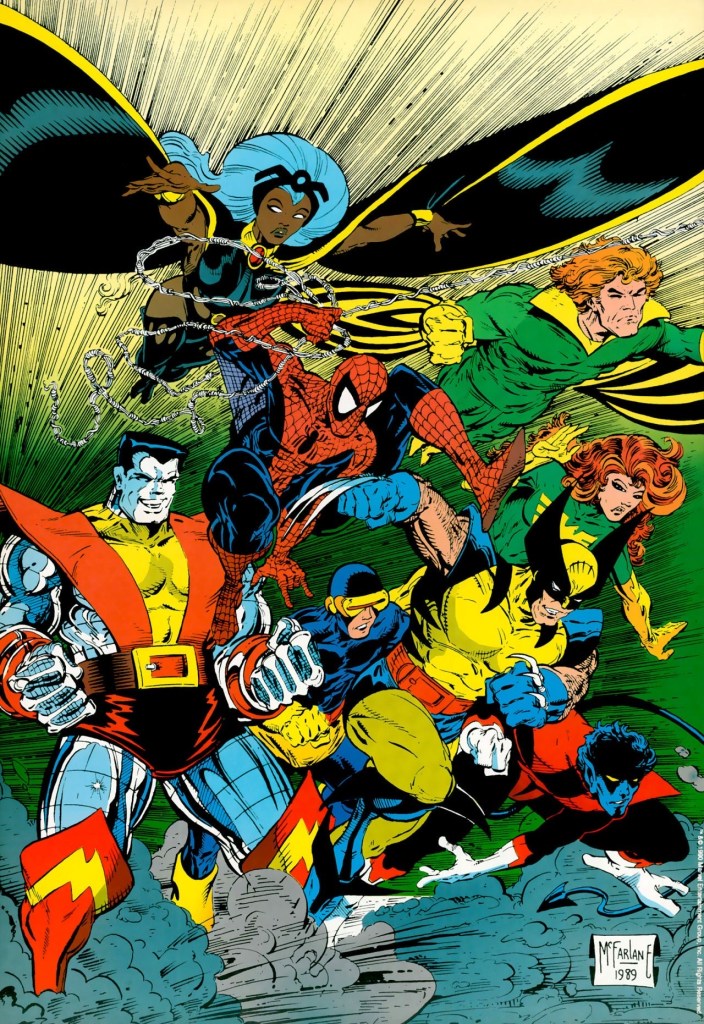
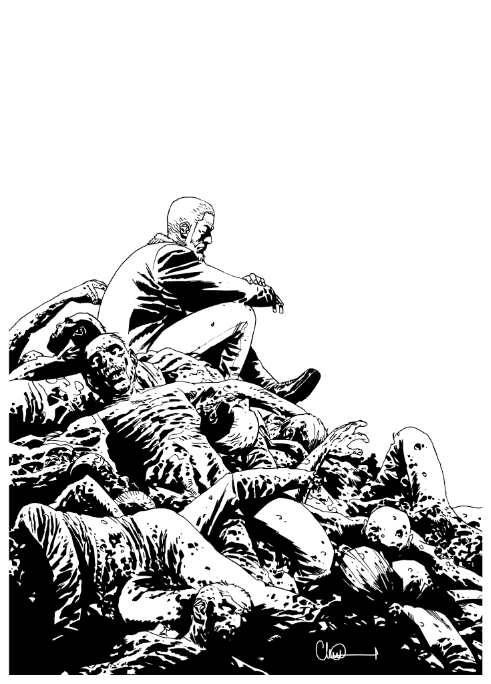
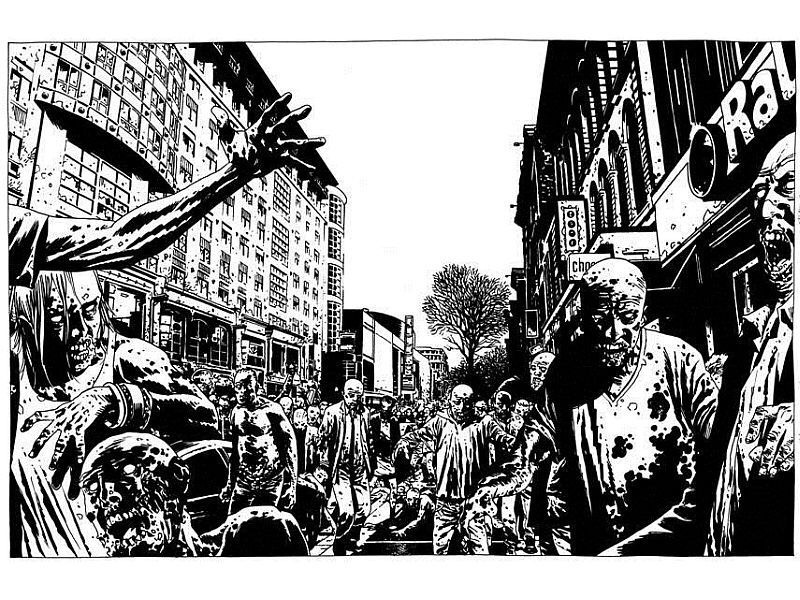
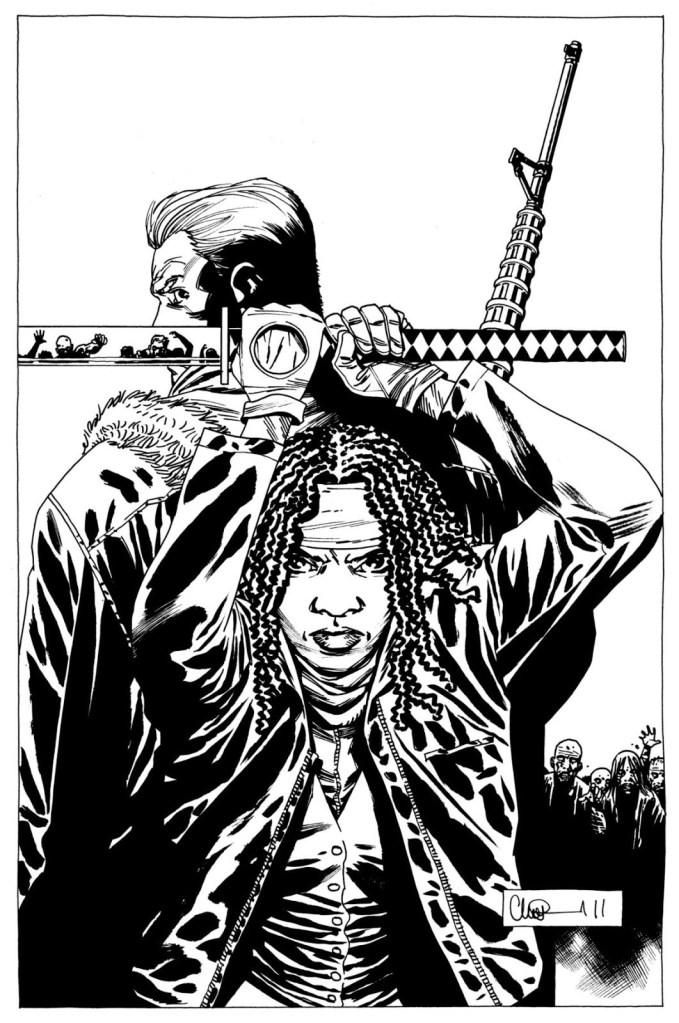
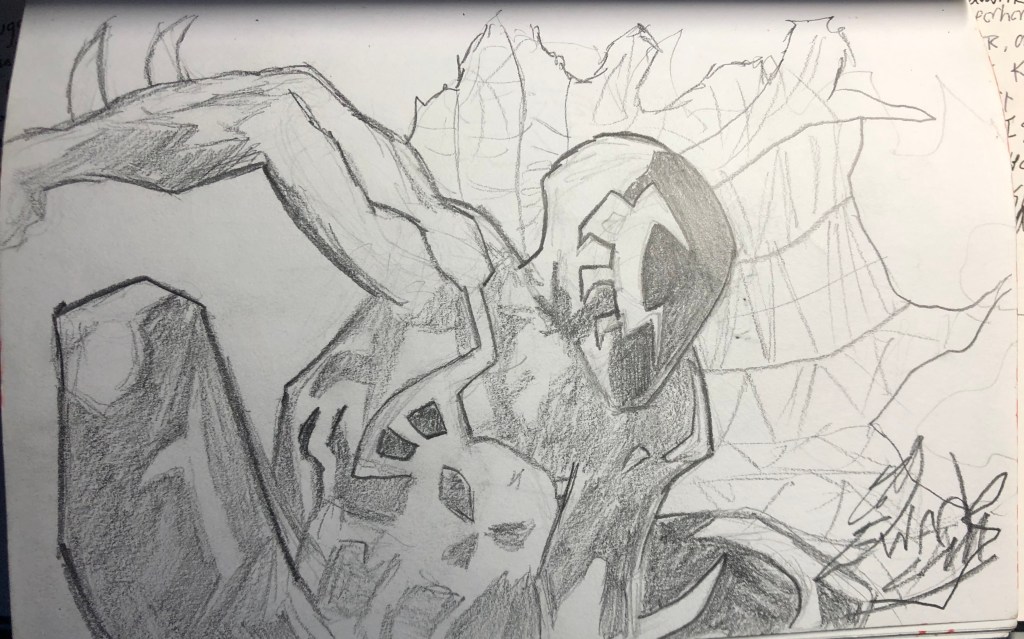
Todd Mcfarlane- Spawn, Spider-man,
Why do I like it?
I like it because, eversince I was a child, I would continiously draw superheroes into my sketchbook and as ime went on, I kept getting better at and even to this day, I still continue to draw comicbook character either superhero or non superhero or even my own made up characters.
What do they mean to me?
For as long as I can remember, I’ve always loved drawing, wheather I’d be using a pencil, a pen, charcol or a crayon I would sit down for hours drawing what I liked, It was’nt until I was about 7 years old that I discoverd a genre that captured my interest
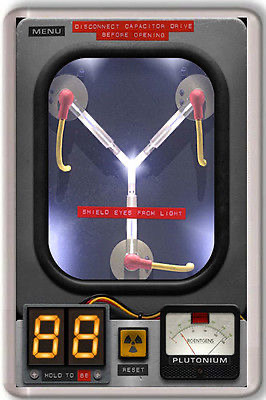
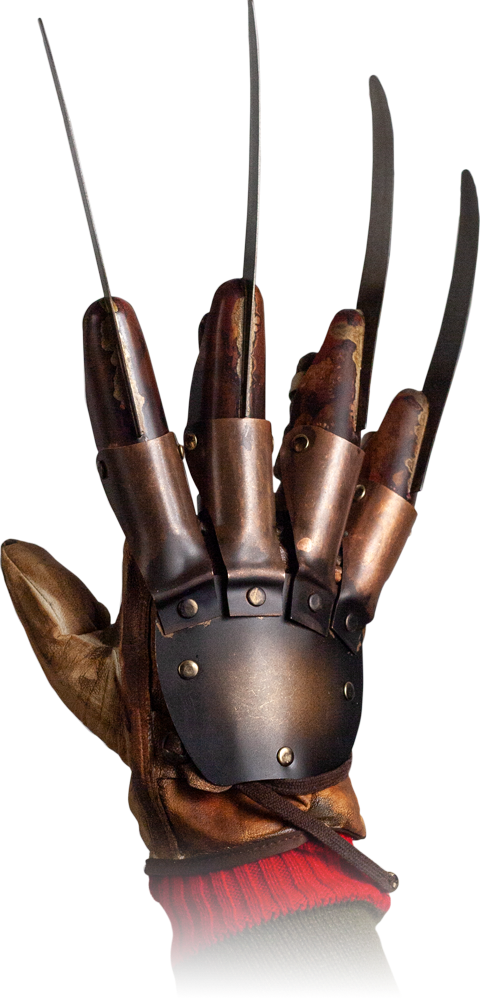
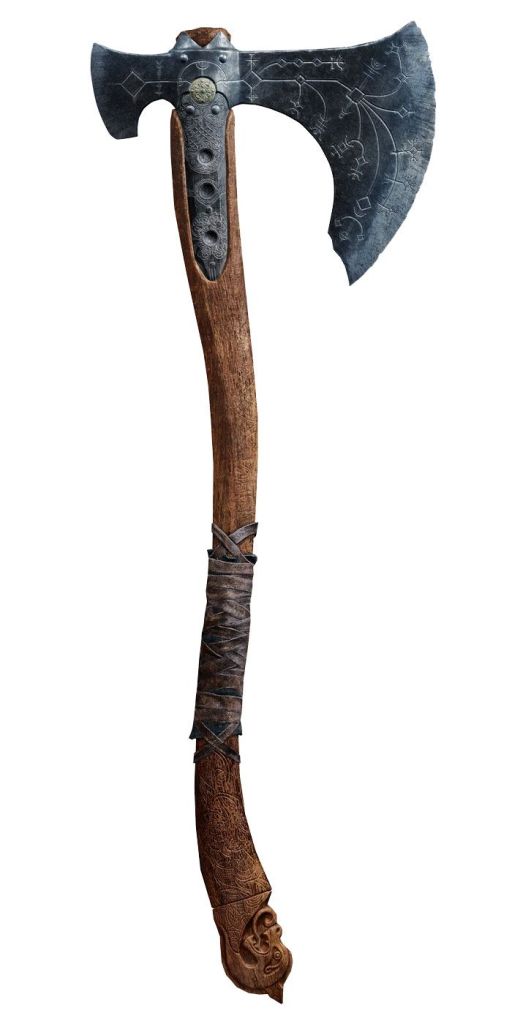
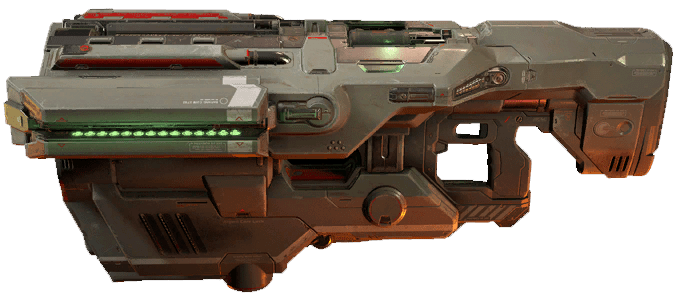
These are movie props from various movies, tv shows and video games
I like them because of how iconic they are and how they play a big or small part in some of my favourite movies, tv shows and video games, and I’ve always wanted to make them my self.
Movies Props
Lightsaber – Star Wars Franchise
Captain Americas Sheild (Various Marvel Movies)
Hal 9000 – 2001 A Space Odyssey (1968)
Face Hugger- Alien Franchise
Billy the puppet
Freddy Krugers claw glove- A nightmare on Elm Street franchise
The flux capacitor-Back to the Future trilogy (1985-1990)
Wolverines claws- X-Men franchise (2000-2020)
Michael Myers’ Mask – Halloween franchise
Tv Show props
The Amban phase-pulse blaster- The Mandalorian (2019-)
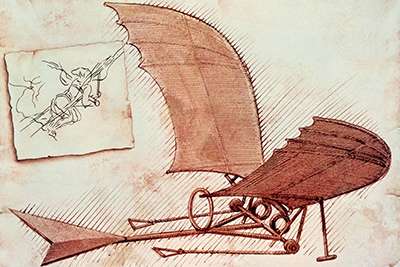
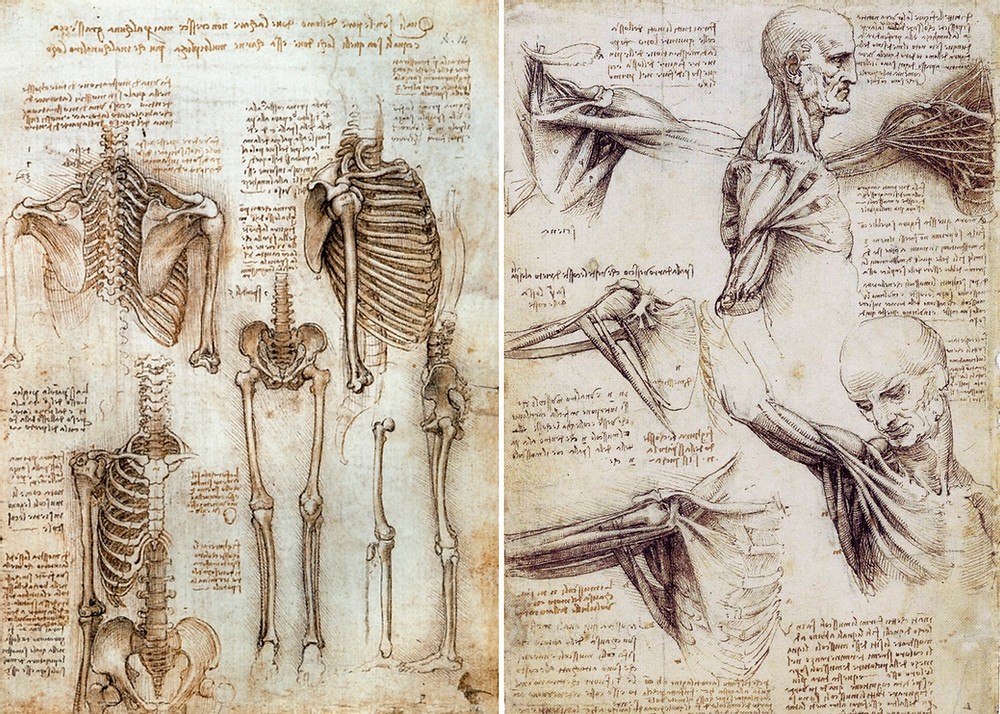
Leonardo Da Vinci was a renisance artist and is considered to be one of the best painters, inventors, carpenters, scientists, designer etc, of all time. he was also known for inventing early iterations of well known technology such as the helicopter, the tank, the parchute and the robot.
I’ve always had an interest in how knowlege and multicapable he was, and how he was a pioneer in medical science and technology, and even to this day, his diagrams still hold up as medically accurate.
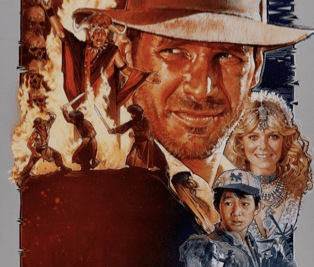
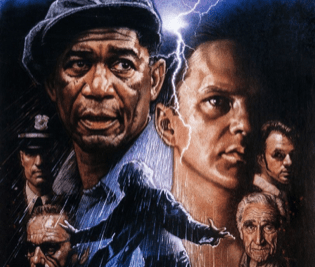
One of my choices for the The Gesamt Kunstwerk Project is specifically the movie poster art work of Drew Struzan. Before anyone could just take pictures of others or gather images from Google images and photoshop them together and post them online, most movie posters were hand painted, some of the most distinctive ones were stylized to grab the peoples attention with exotic color choices, character and background layouts and even small part of one or two scenes as a way to capture the size and scope of the movie, one of the artist who is best known for this style is Drew Struzan.
Drew Struzan is an american illustrator and painter, best known for hand painting posters for movies, he first started off by painting Album covers for music bands, such as: Alice Cooper, The Beegees and Black Sabbath, he then slowly transitioned into the movie business, but only doing small B movies that didn’t leave that much of an impression on people, that was until in 1977 when he was asked to paint the poster for the movie that kick started his popularity that movie was called ‘Star Wars’, after that he continued to paint many more poster for many famous mainstream movies, most notably George Lucas and Steven Spielburg proporties, in fact around the early days when they started making posters by photoshoping the main actor into a blank back ground, Struzan was comminisioned to paint posters for the Star Wars prequal trilogy decades after the original trilogy ended.
Known Movie posters he made:
Star Wars (The original and prequel trilogy) (1977-2005)
Indiana Jones (1981-2008)
Back to the future (Part 1,2,3) (1985-1990)
The Shawshank Redemption (1994)
E.T: The Extra Terrestrial (1982)
The Green mile (1999)
The Thing (1982)
Harry Potter and the Philosipher’s Stone (2001)
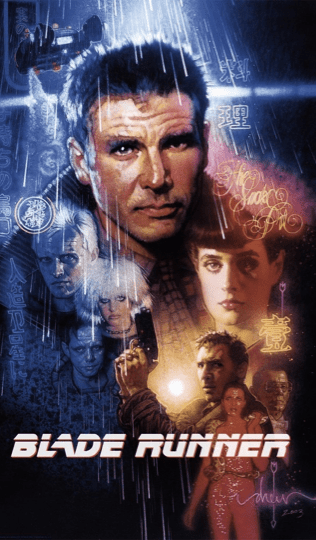
Blade Runner (1982)
Hook (1991)
Why do I like his work?
I like how each poster gives a layout of the movie, displaying the main characters, locations and even particular scenes, also the artistic style really draws you into the movie even before you watch it, rather then posters today that just photoshop the actors in a blank back ground.
What does his work mean to me?
When I look at his work, it’s make me as well many others to belive, that he like the rest of the film crew working on the movie that he is putting in months if not years of dedication into one film, he wants to encourage others to experience the action, drama and magic of the movie, the kinds of posters he does (as well as many other people who create these kinds of posters) prove he’s seen the movies, rather then just reading a short plot summary or watching the trailer, he shows off the best of what to see in these movies, what’s worth seeing (e.g Andy Dufresne’s escape in Shawshank Redemption, Anakin Skywalker and Obi Wan’s Exciting and heartbreaking duel in Star Wars Epidsode III Revenge of the Sith or the invitation to monsters, magic and Wizardry in Harry Potter.
Here’s a link to his website for his artwork, including: Album covers, comic covers, movie posters, products, unused posters, etc
For my first assignment of third year, I’ve been tasked with bringing together a collection of Objects with artistic proporties, objects that mean something to me and why, So in this project I have chosen ten objects for my fantasy collection, in terms of style, creativity, meaning and overall purpose, thus giving me ideas on how to explore it.
For my collecrtion I have picked:
Drew Struzan (Movie Poster art)
Ai Wei Wei (Lego Portraits)
Leonardo Da Vinci (Medical drawings and Invention Schematics)
Movie Props (Various Movies)
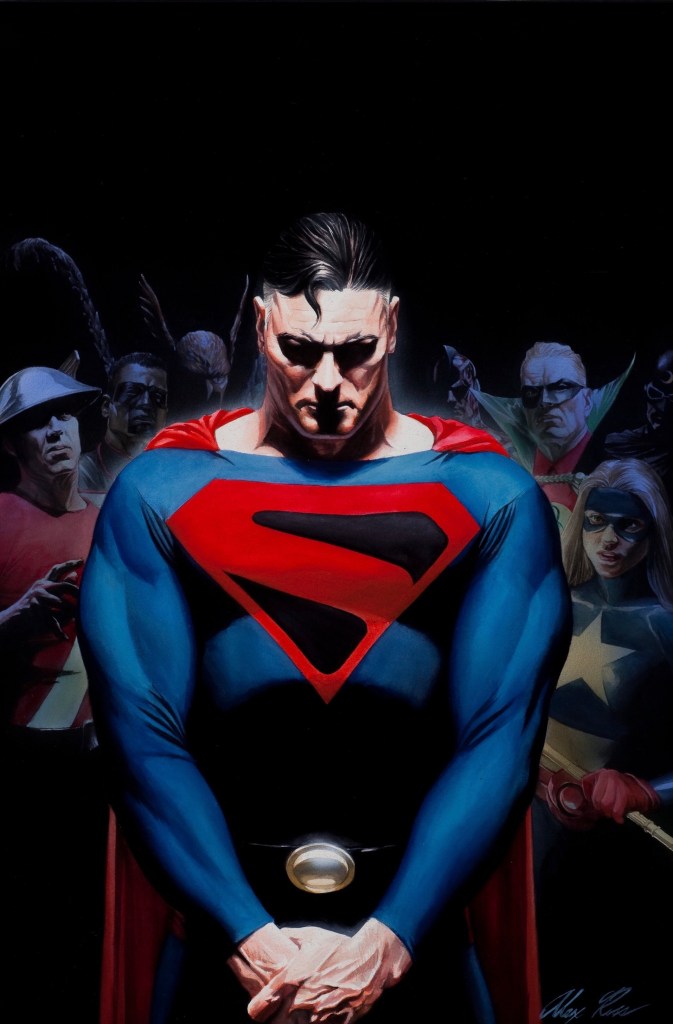
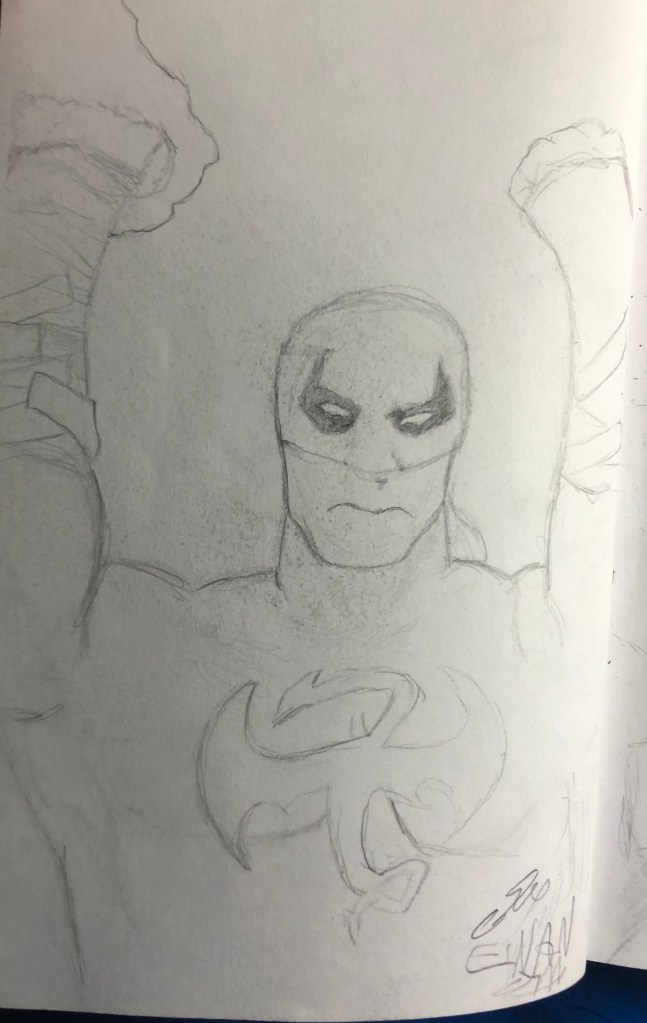
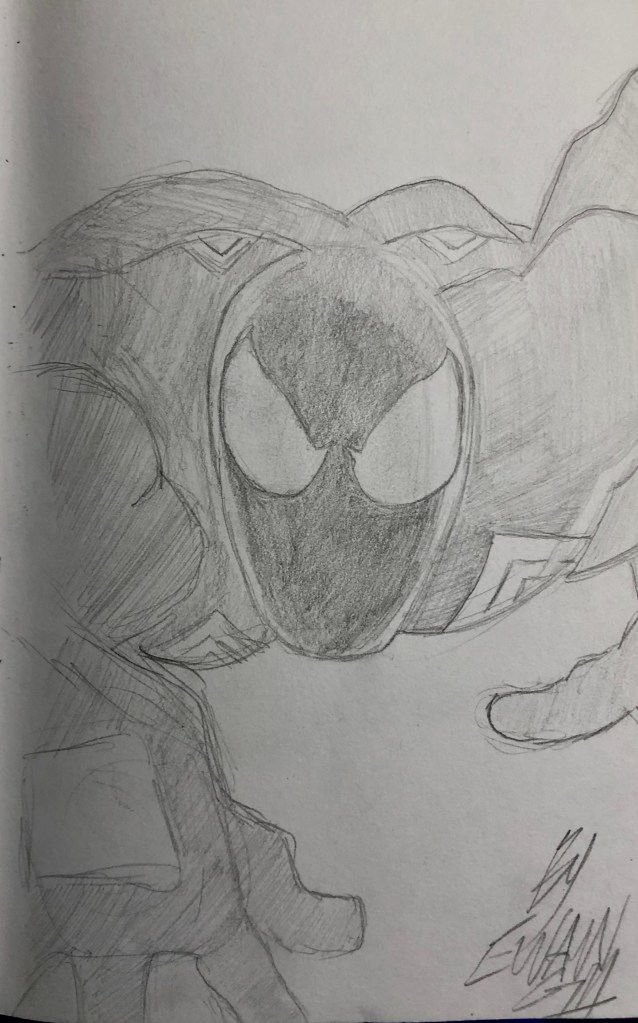
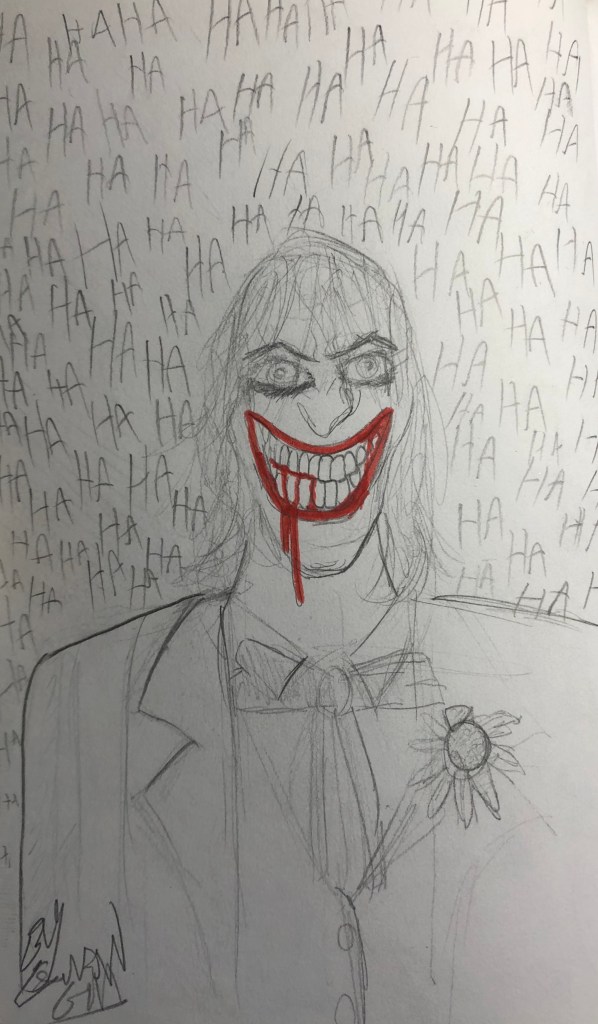
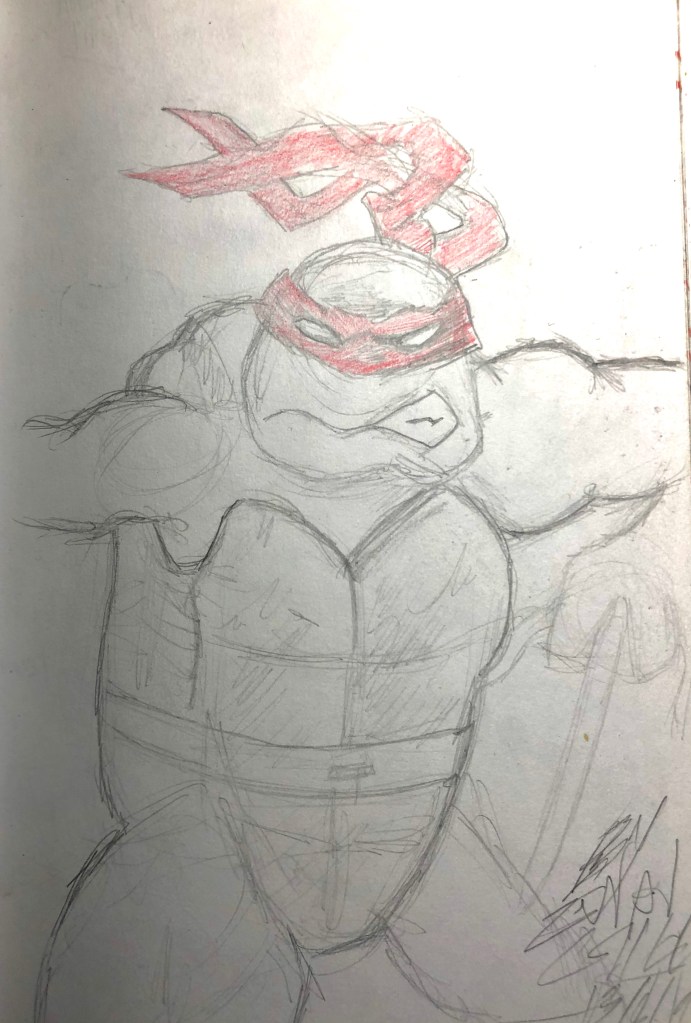
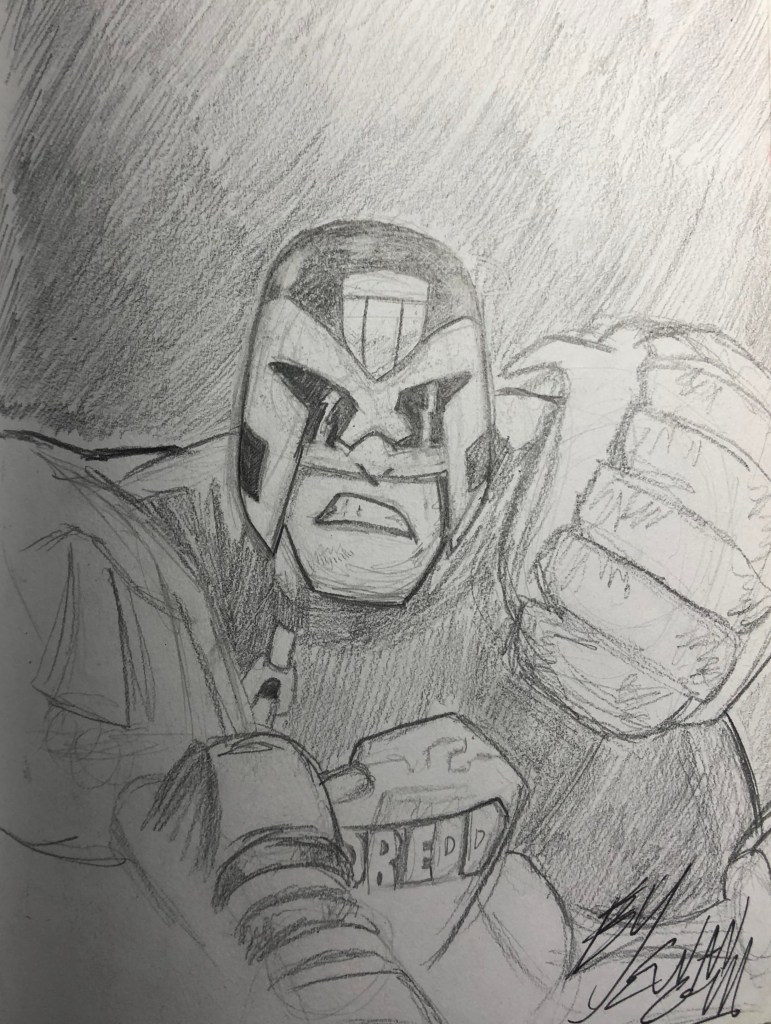
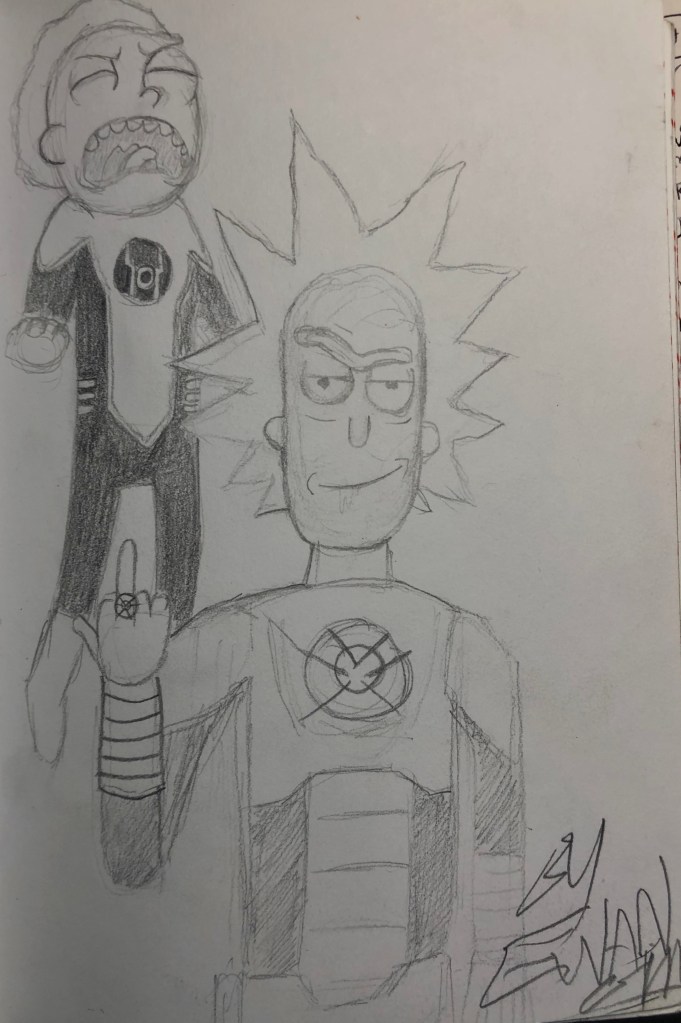
Comicbook Artwork
New York City Landmarks
Robert Welch (Knives)
Doc Marten (Shoes)
William Burges (Welsh Architect)
Macbook Computer (Apple)
There will be seperate blog posts going into full detail about why I chose them and they mean to me.
What will be my creative approch?
From picking all ten of these choices, I’ve decided that the best approch to combine two of them together, this is so they can both show off their unqiue style together.
Here are some examples:
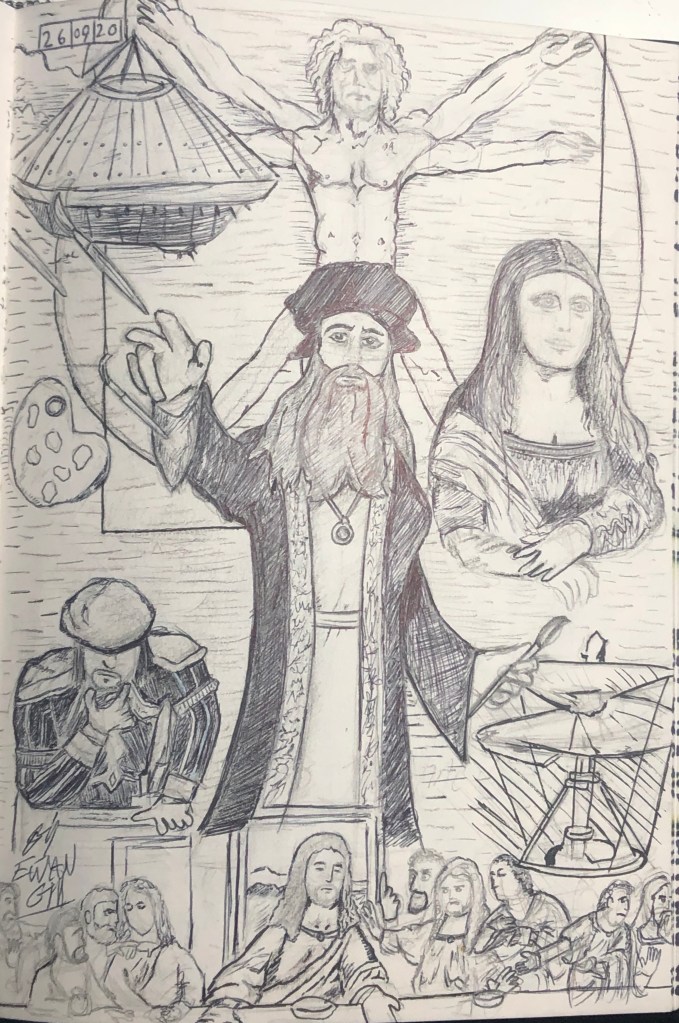
I’d take Da vinci and all of work and painting and combine them into a Drew Struzan style poster, this would allow me to show off this paintings and inventions to show first glance on what his work and legacy was about, sort of how Struzans posters showed first glance to the people before they even saw the movies he advertsied.
I would create Da vinci style schmatics of my favourite movie props, and replicate his style of sketching, the coffee stained styled paper of his drawings, almost in a way that he built them, (e.g: A Lightsaber, The Flux Capacitior, Freddy Kruger’s Claw Glove etc.)
I would create lego brick style paintings of New York Landmarks or possibly create 3d printed pixel pieces (with painted patterns) that magnetically attach to a framed wooden board with magnets.
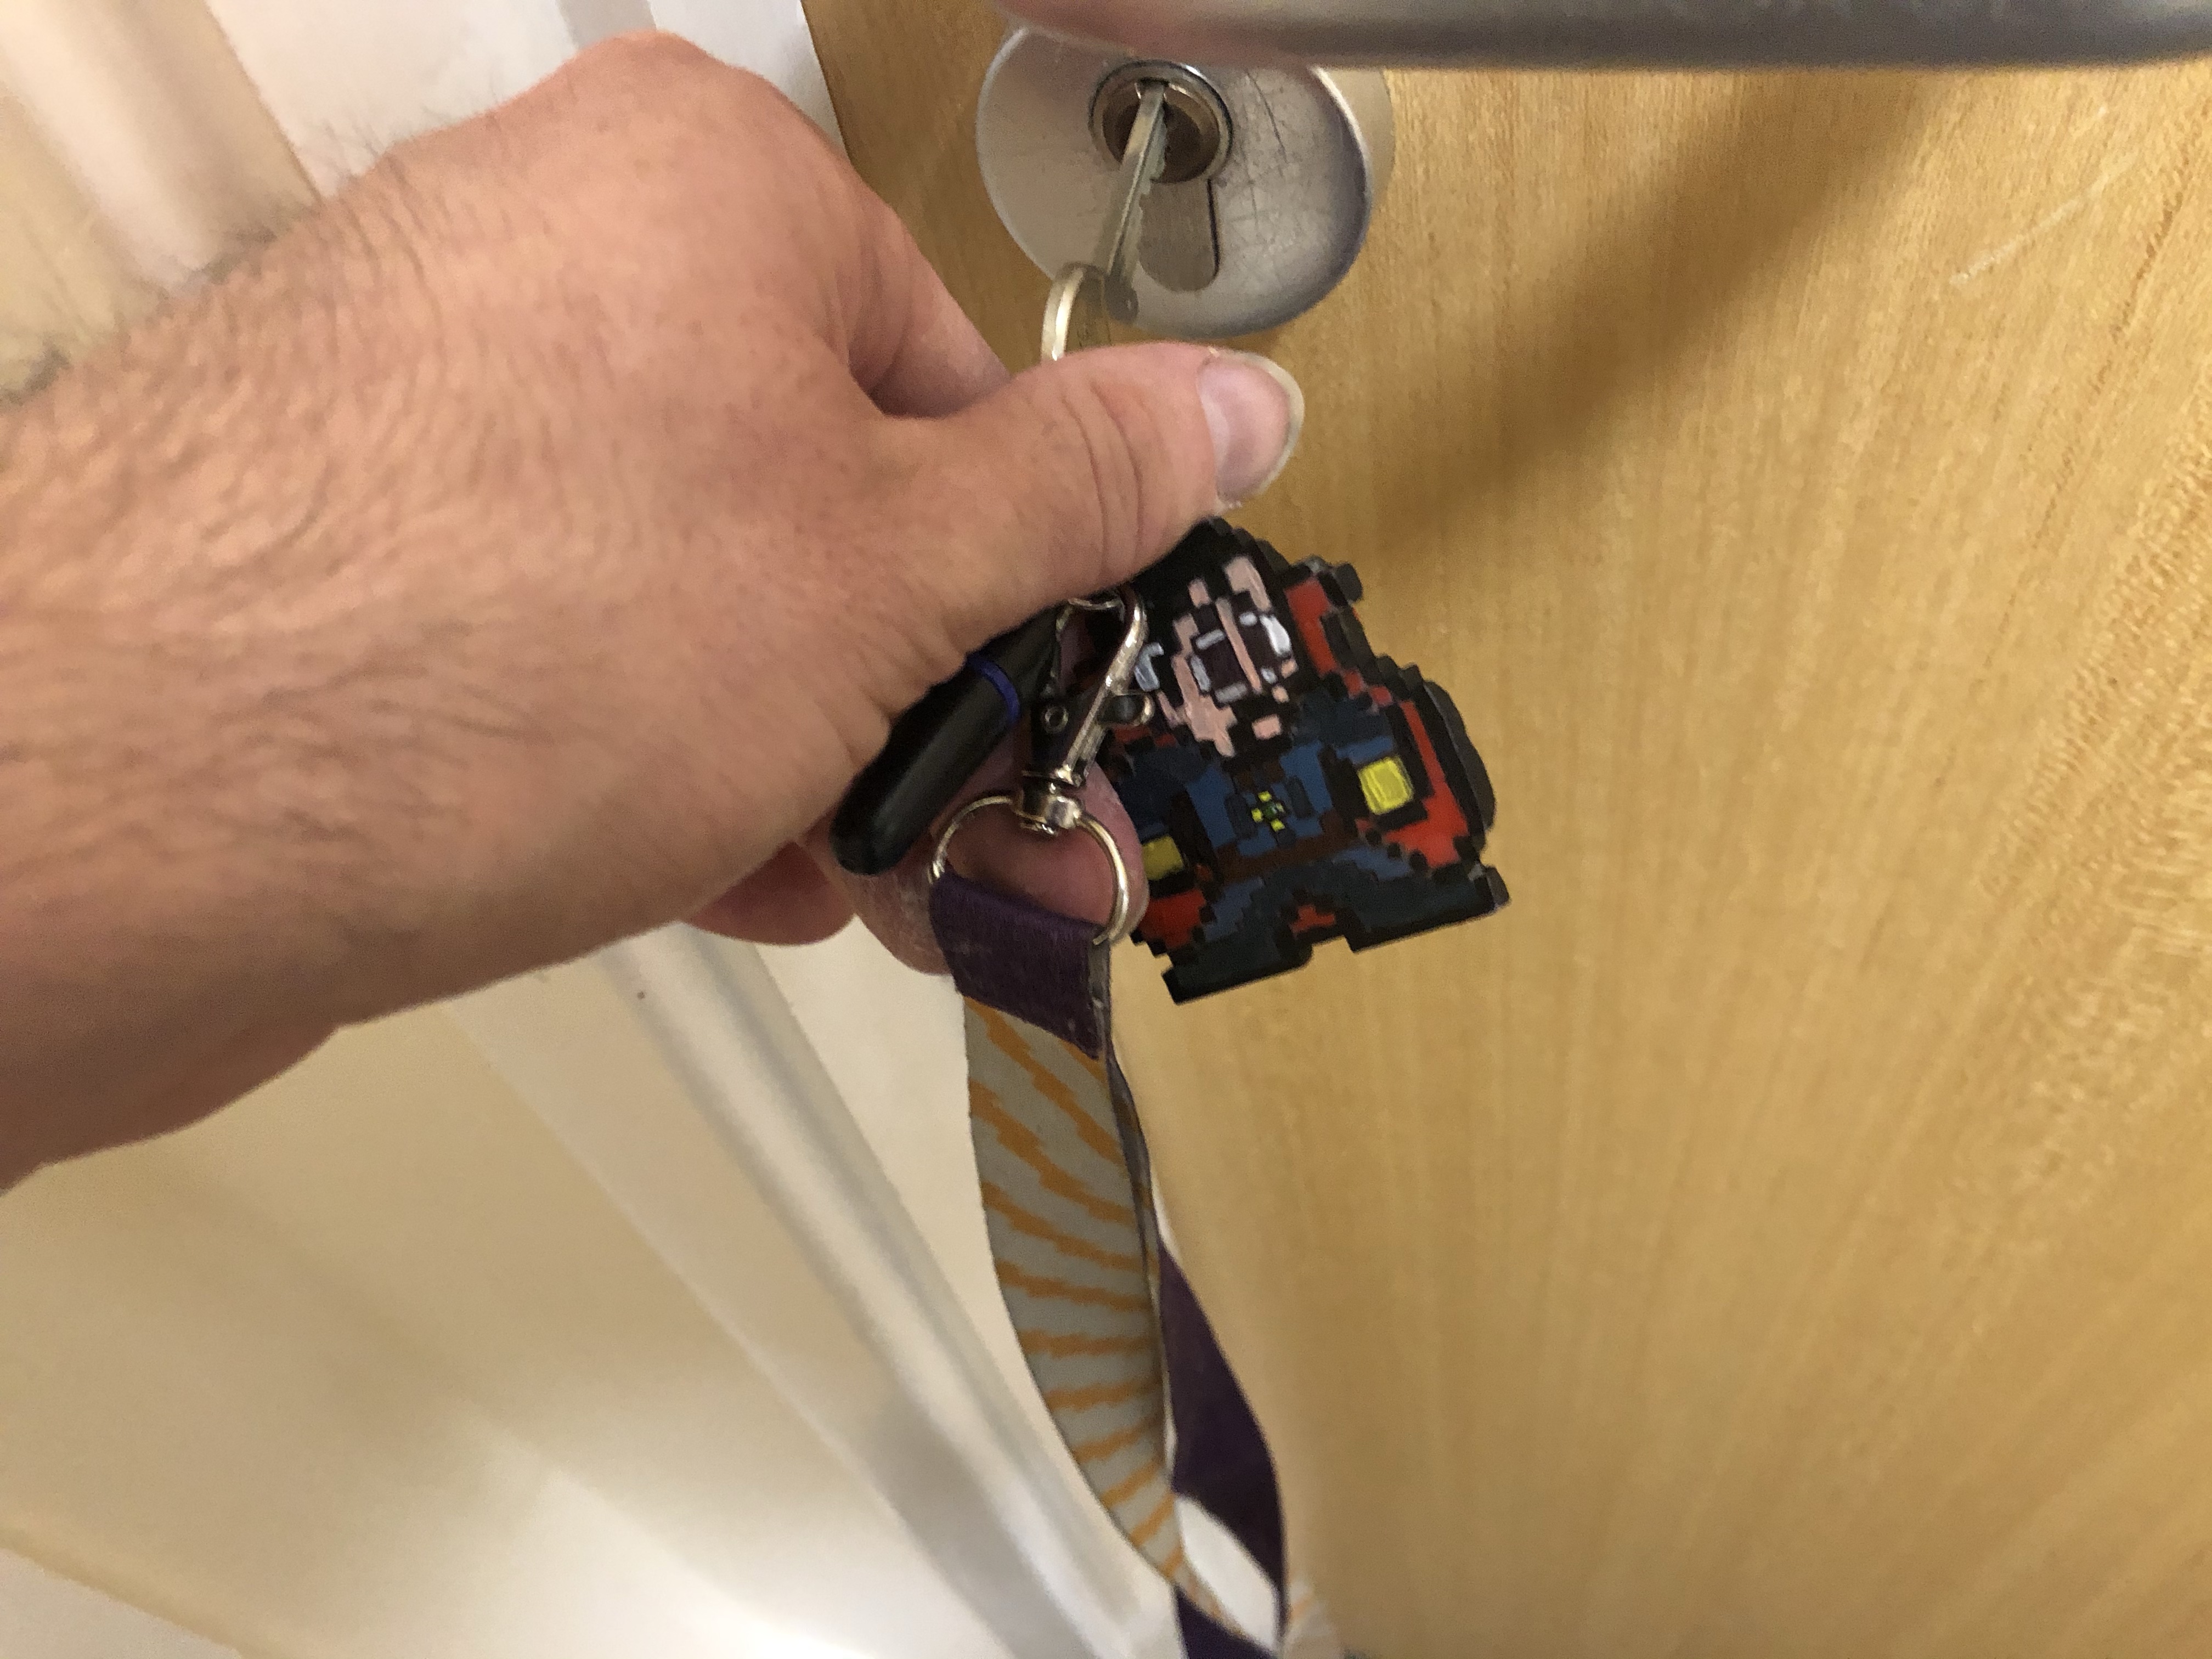
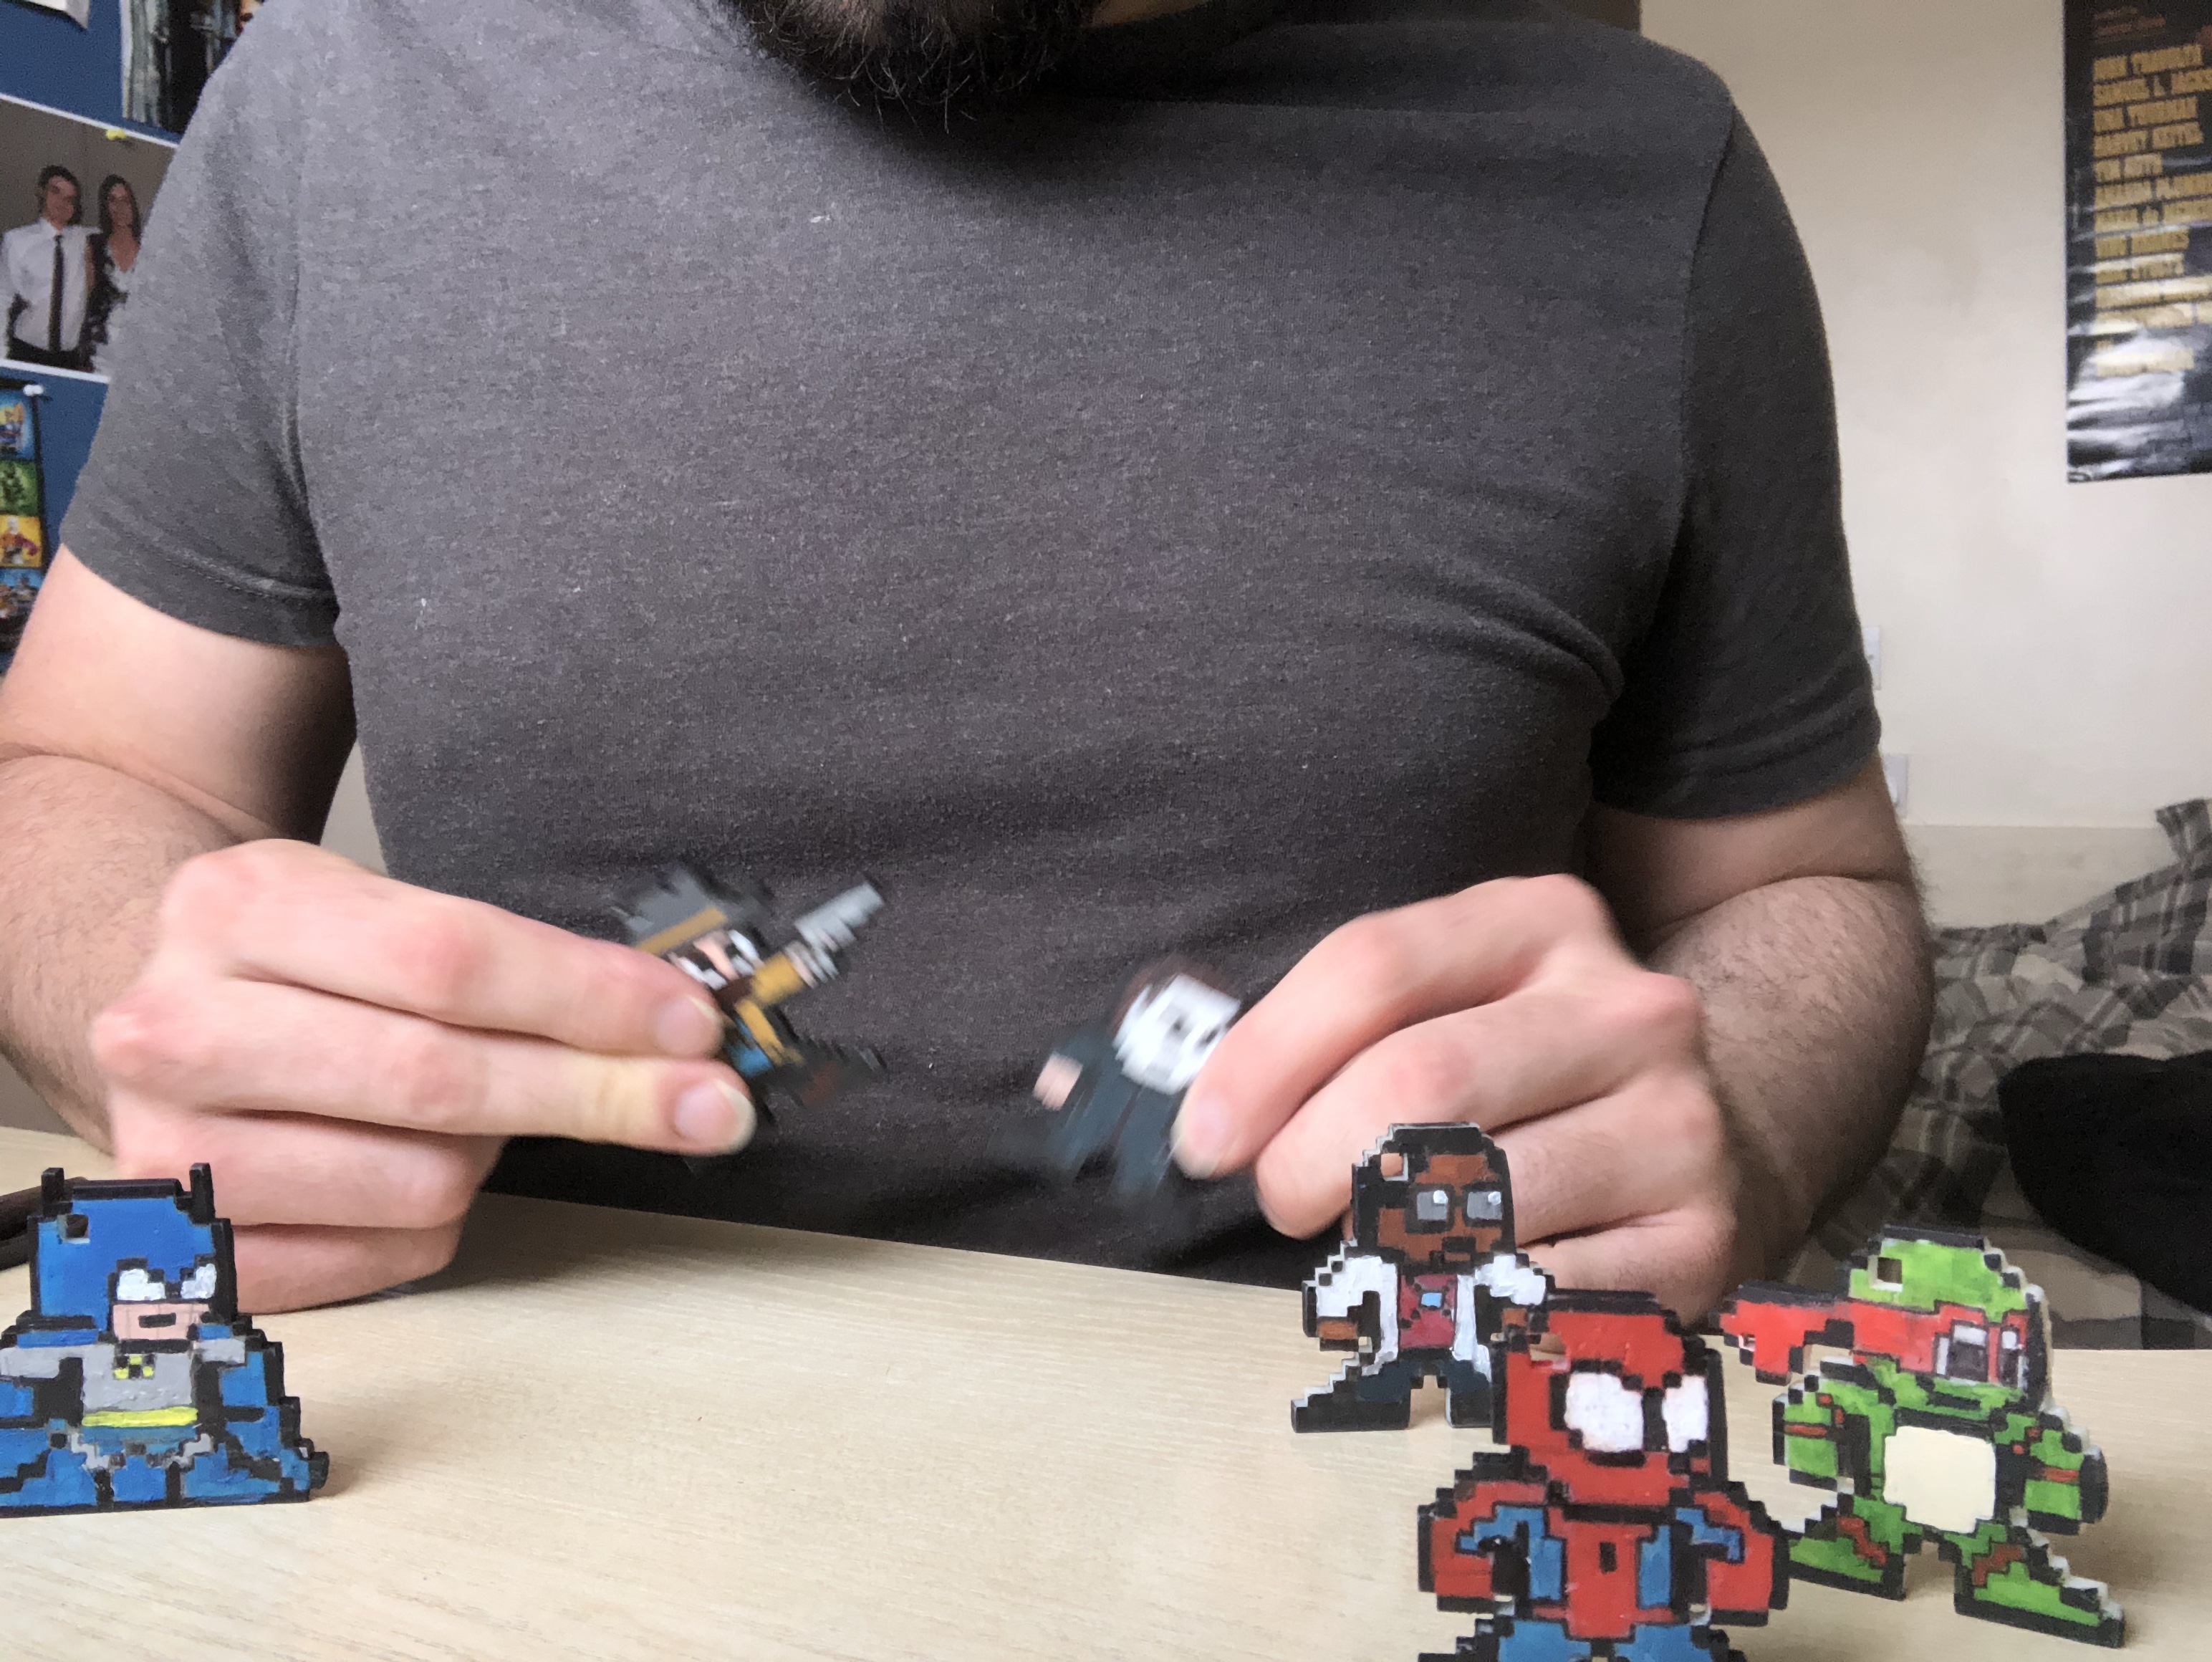
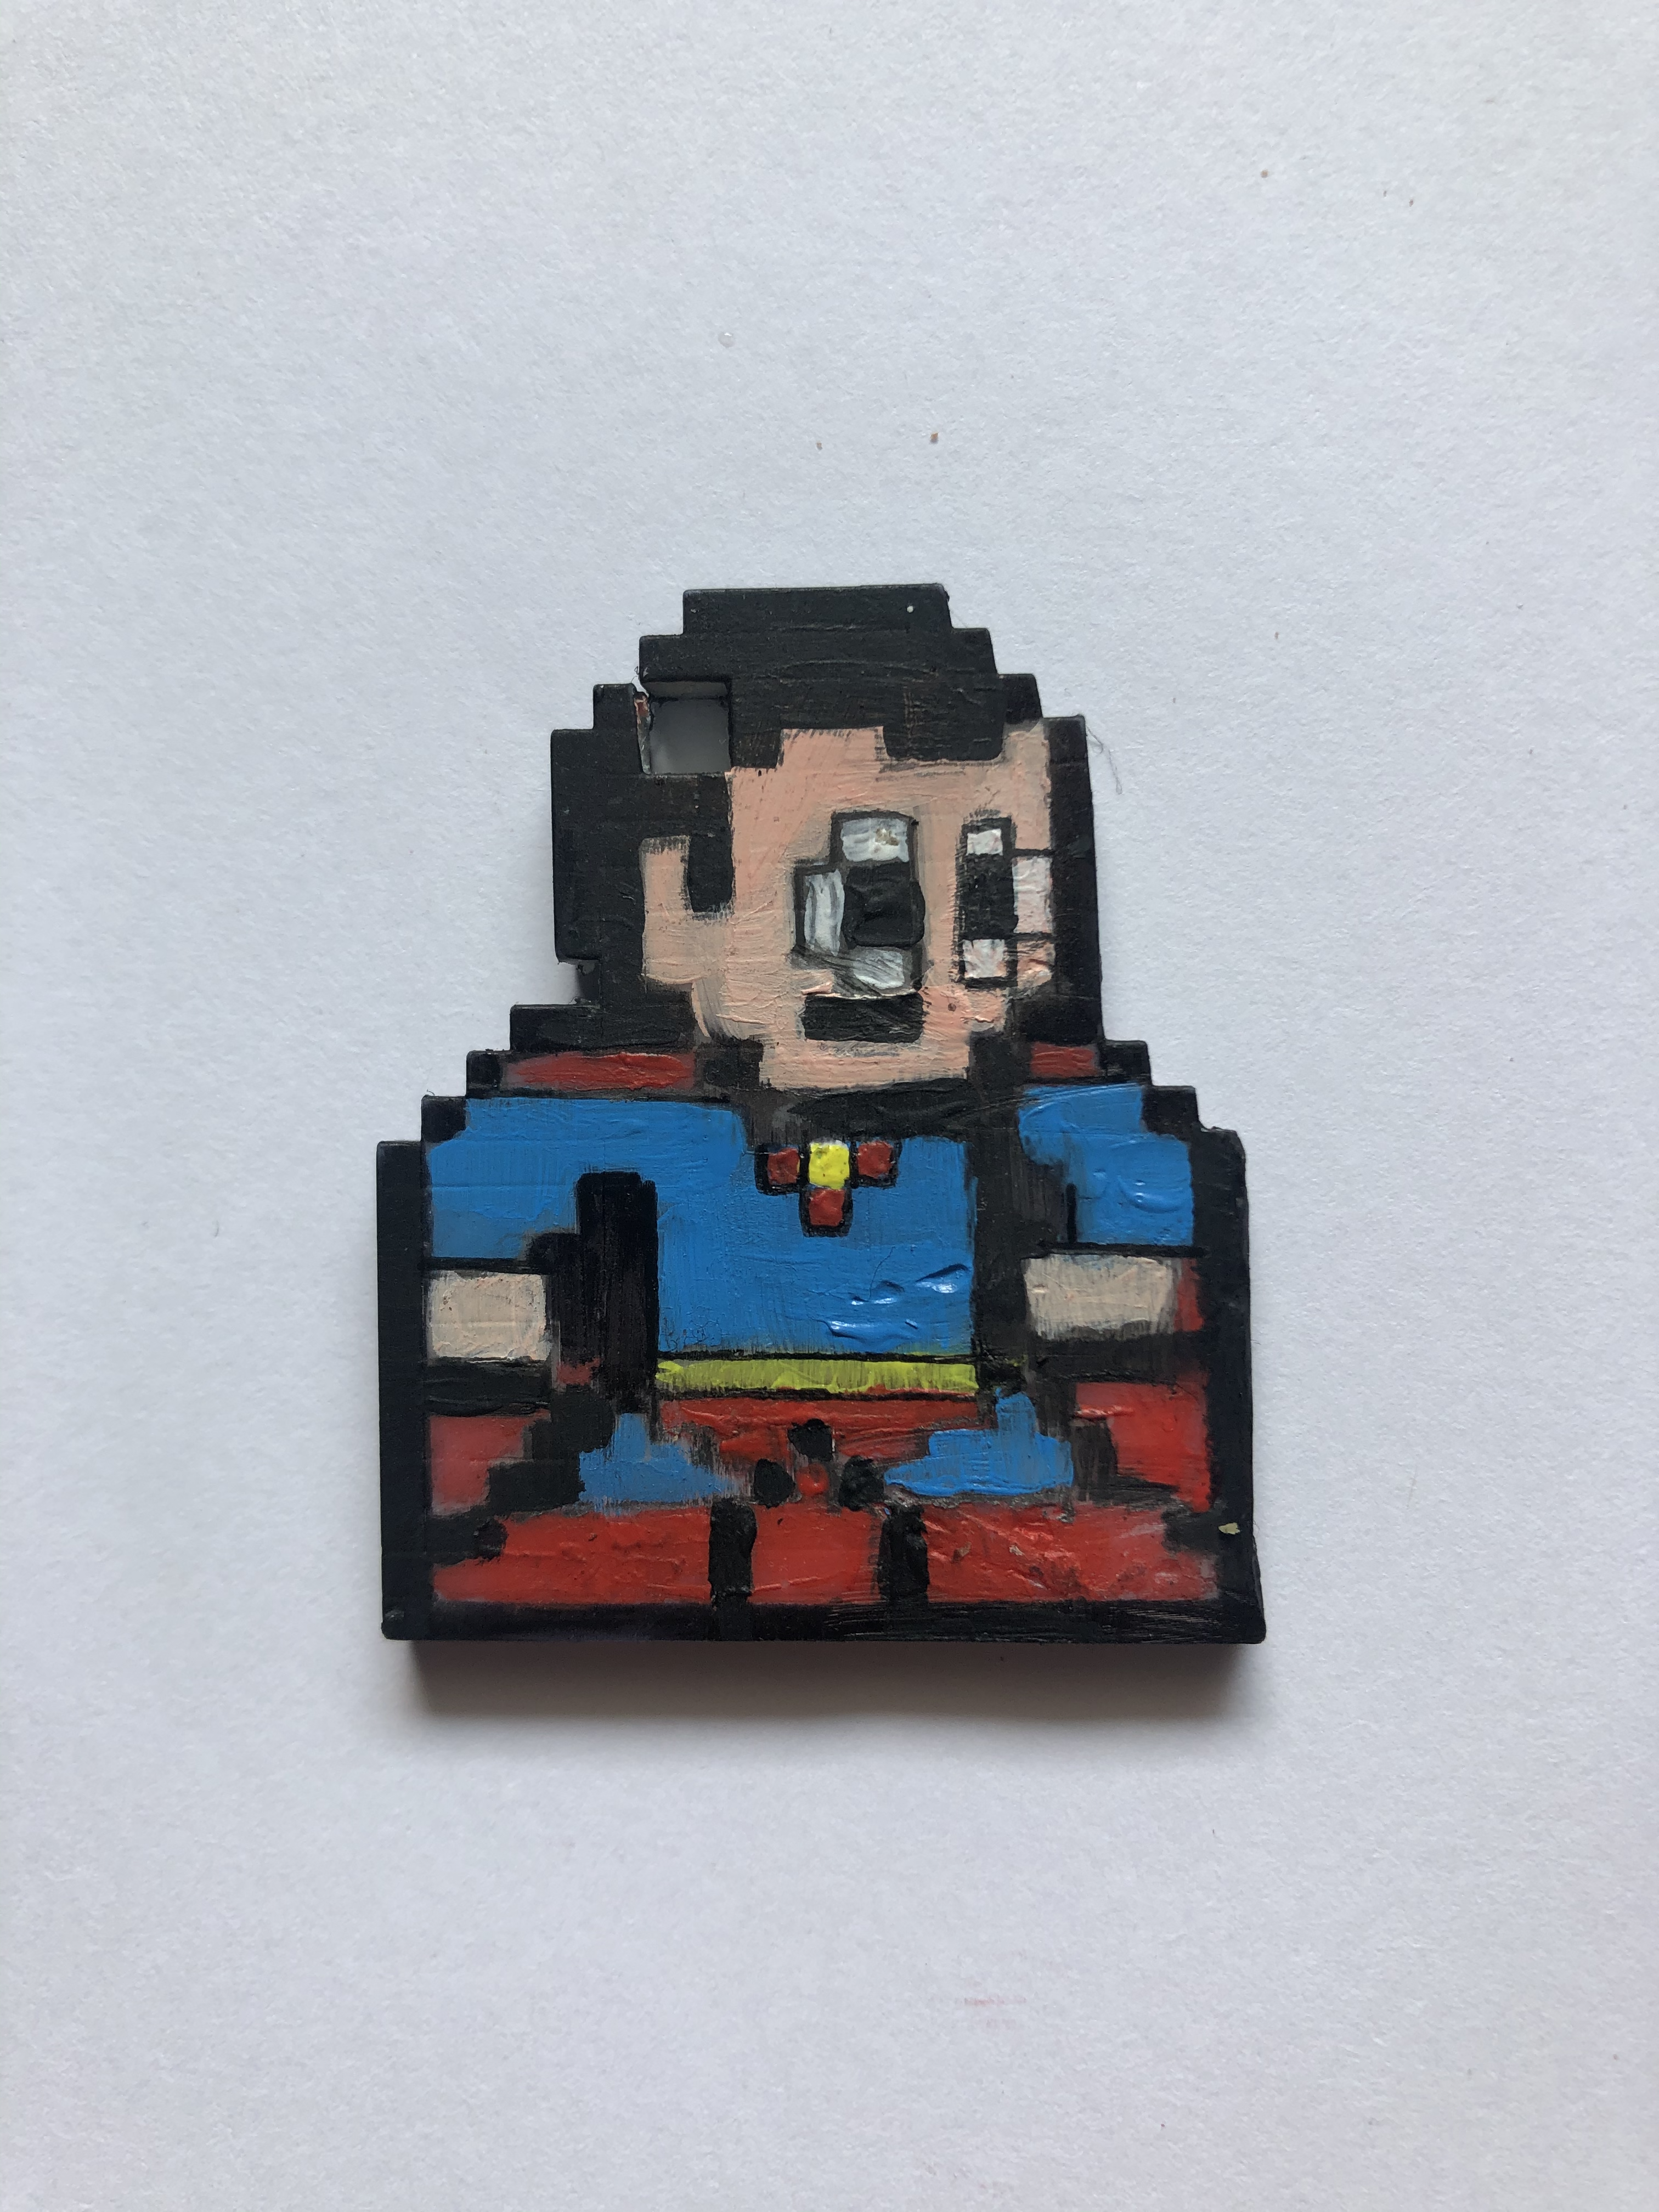
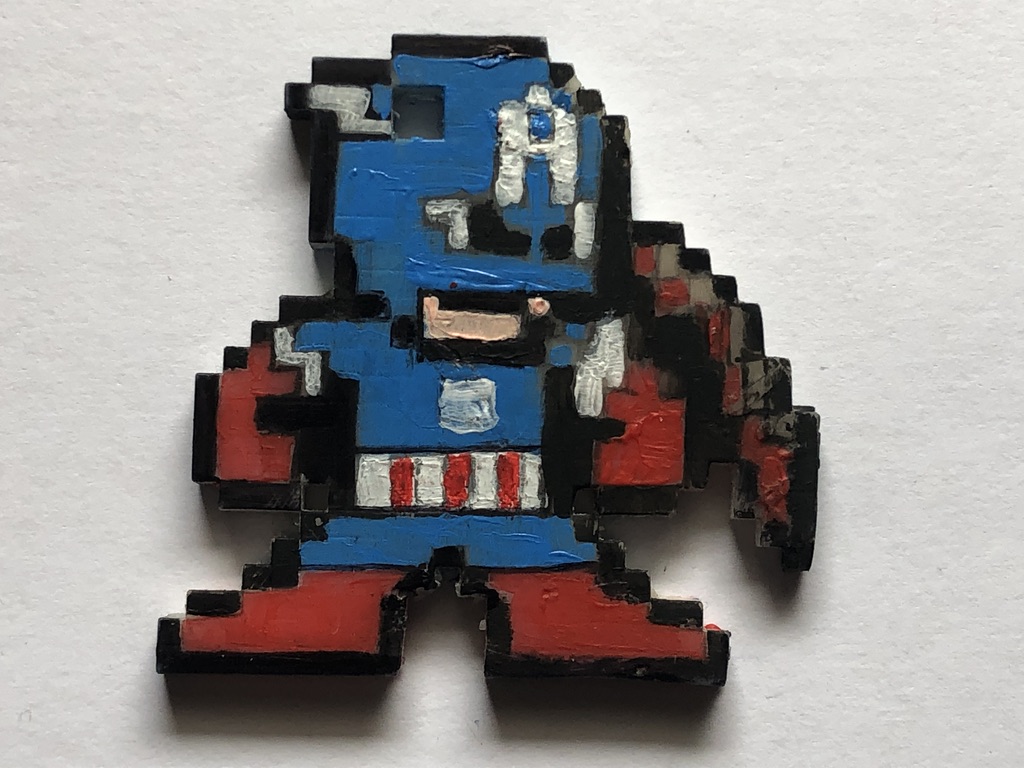
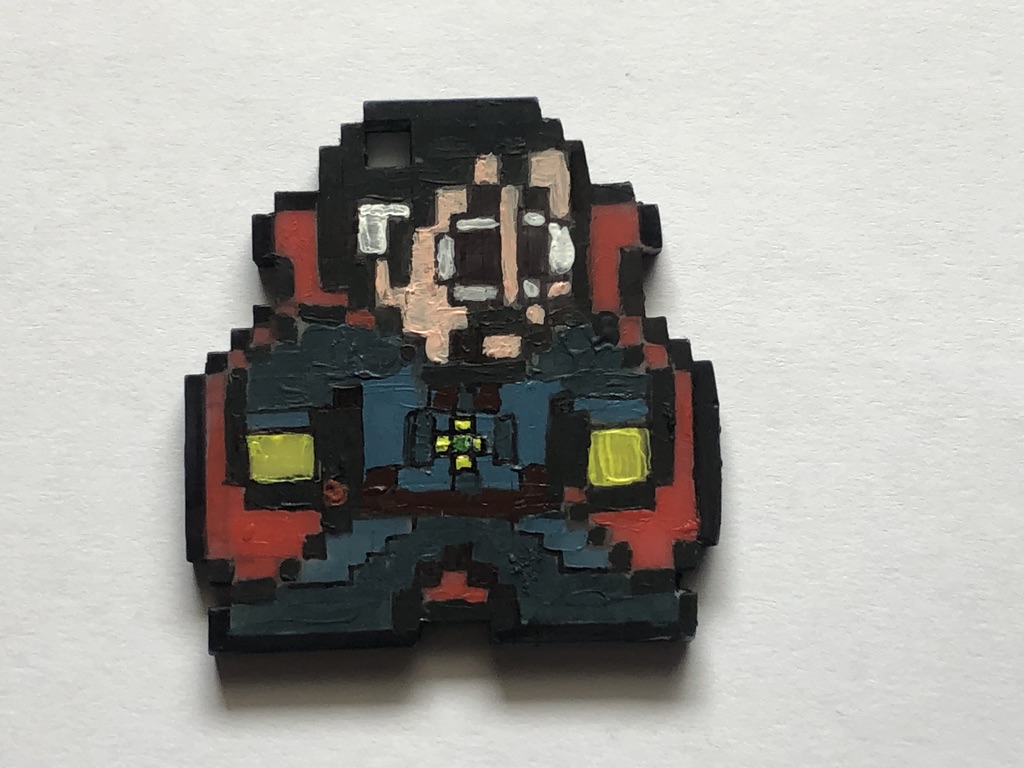
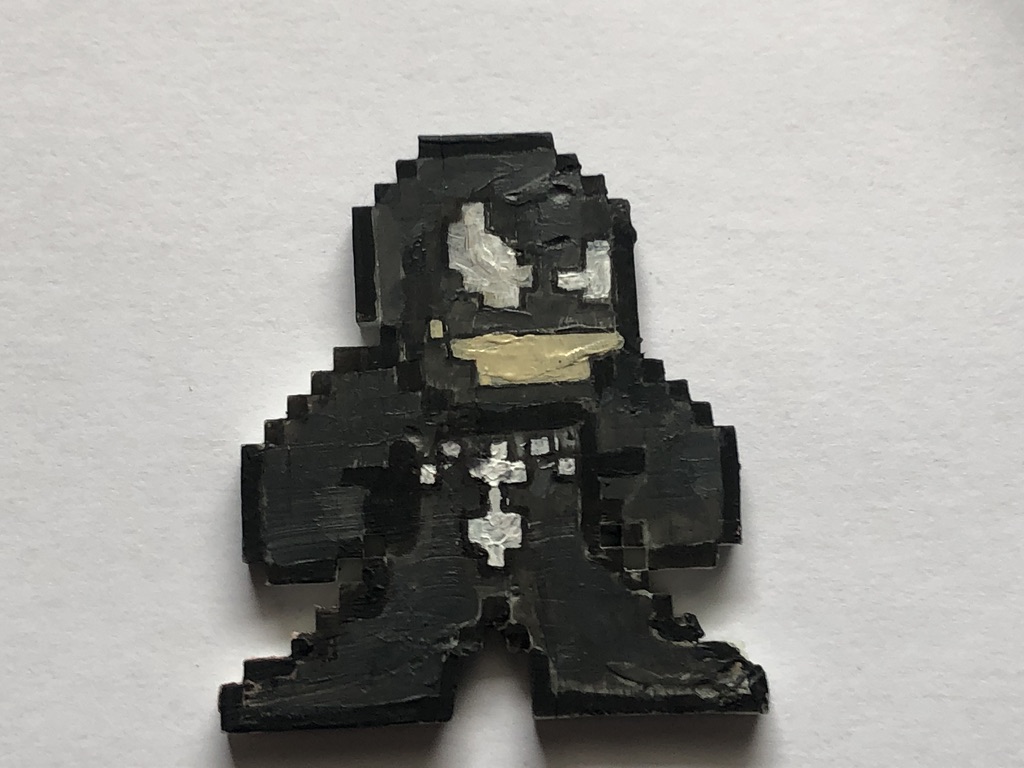
I’ve recently done an update on my final project concerning my Pixel models, In my first blog post about my final project, I mentioned how I had an idea to put two in one in my models, how their both key chains and desk knick-knacks (using small magnets to attach to bottle caps), with this, I took it a step further and made them three in one, so they are Key chains, desk knick knacks and fridge magnets
That way you can either stick them on your fridge, place them on your desk as a Knick knack or take them where ever you go.
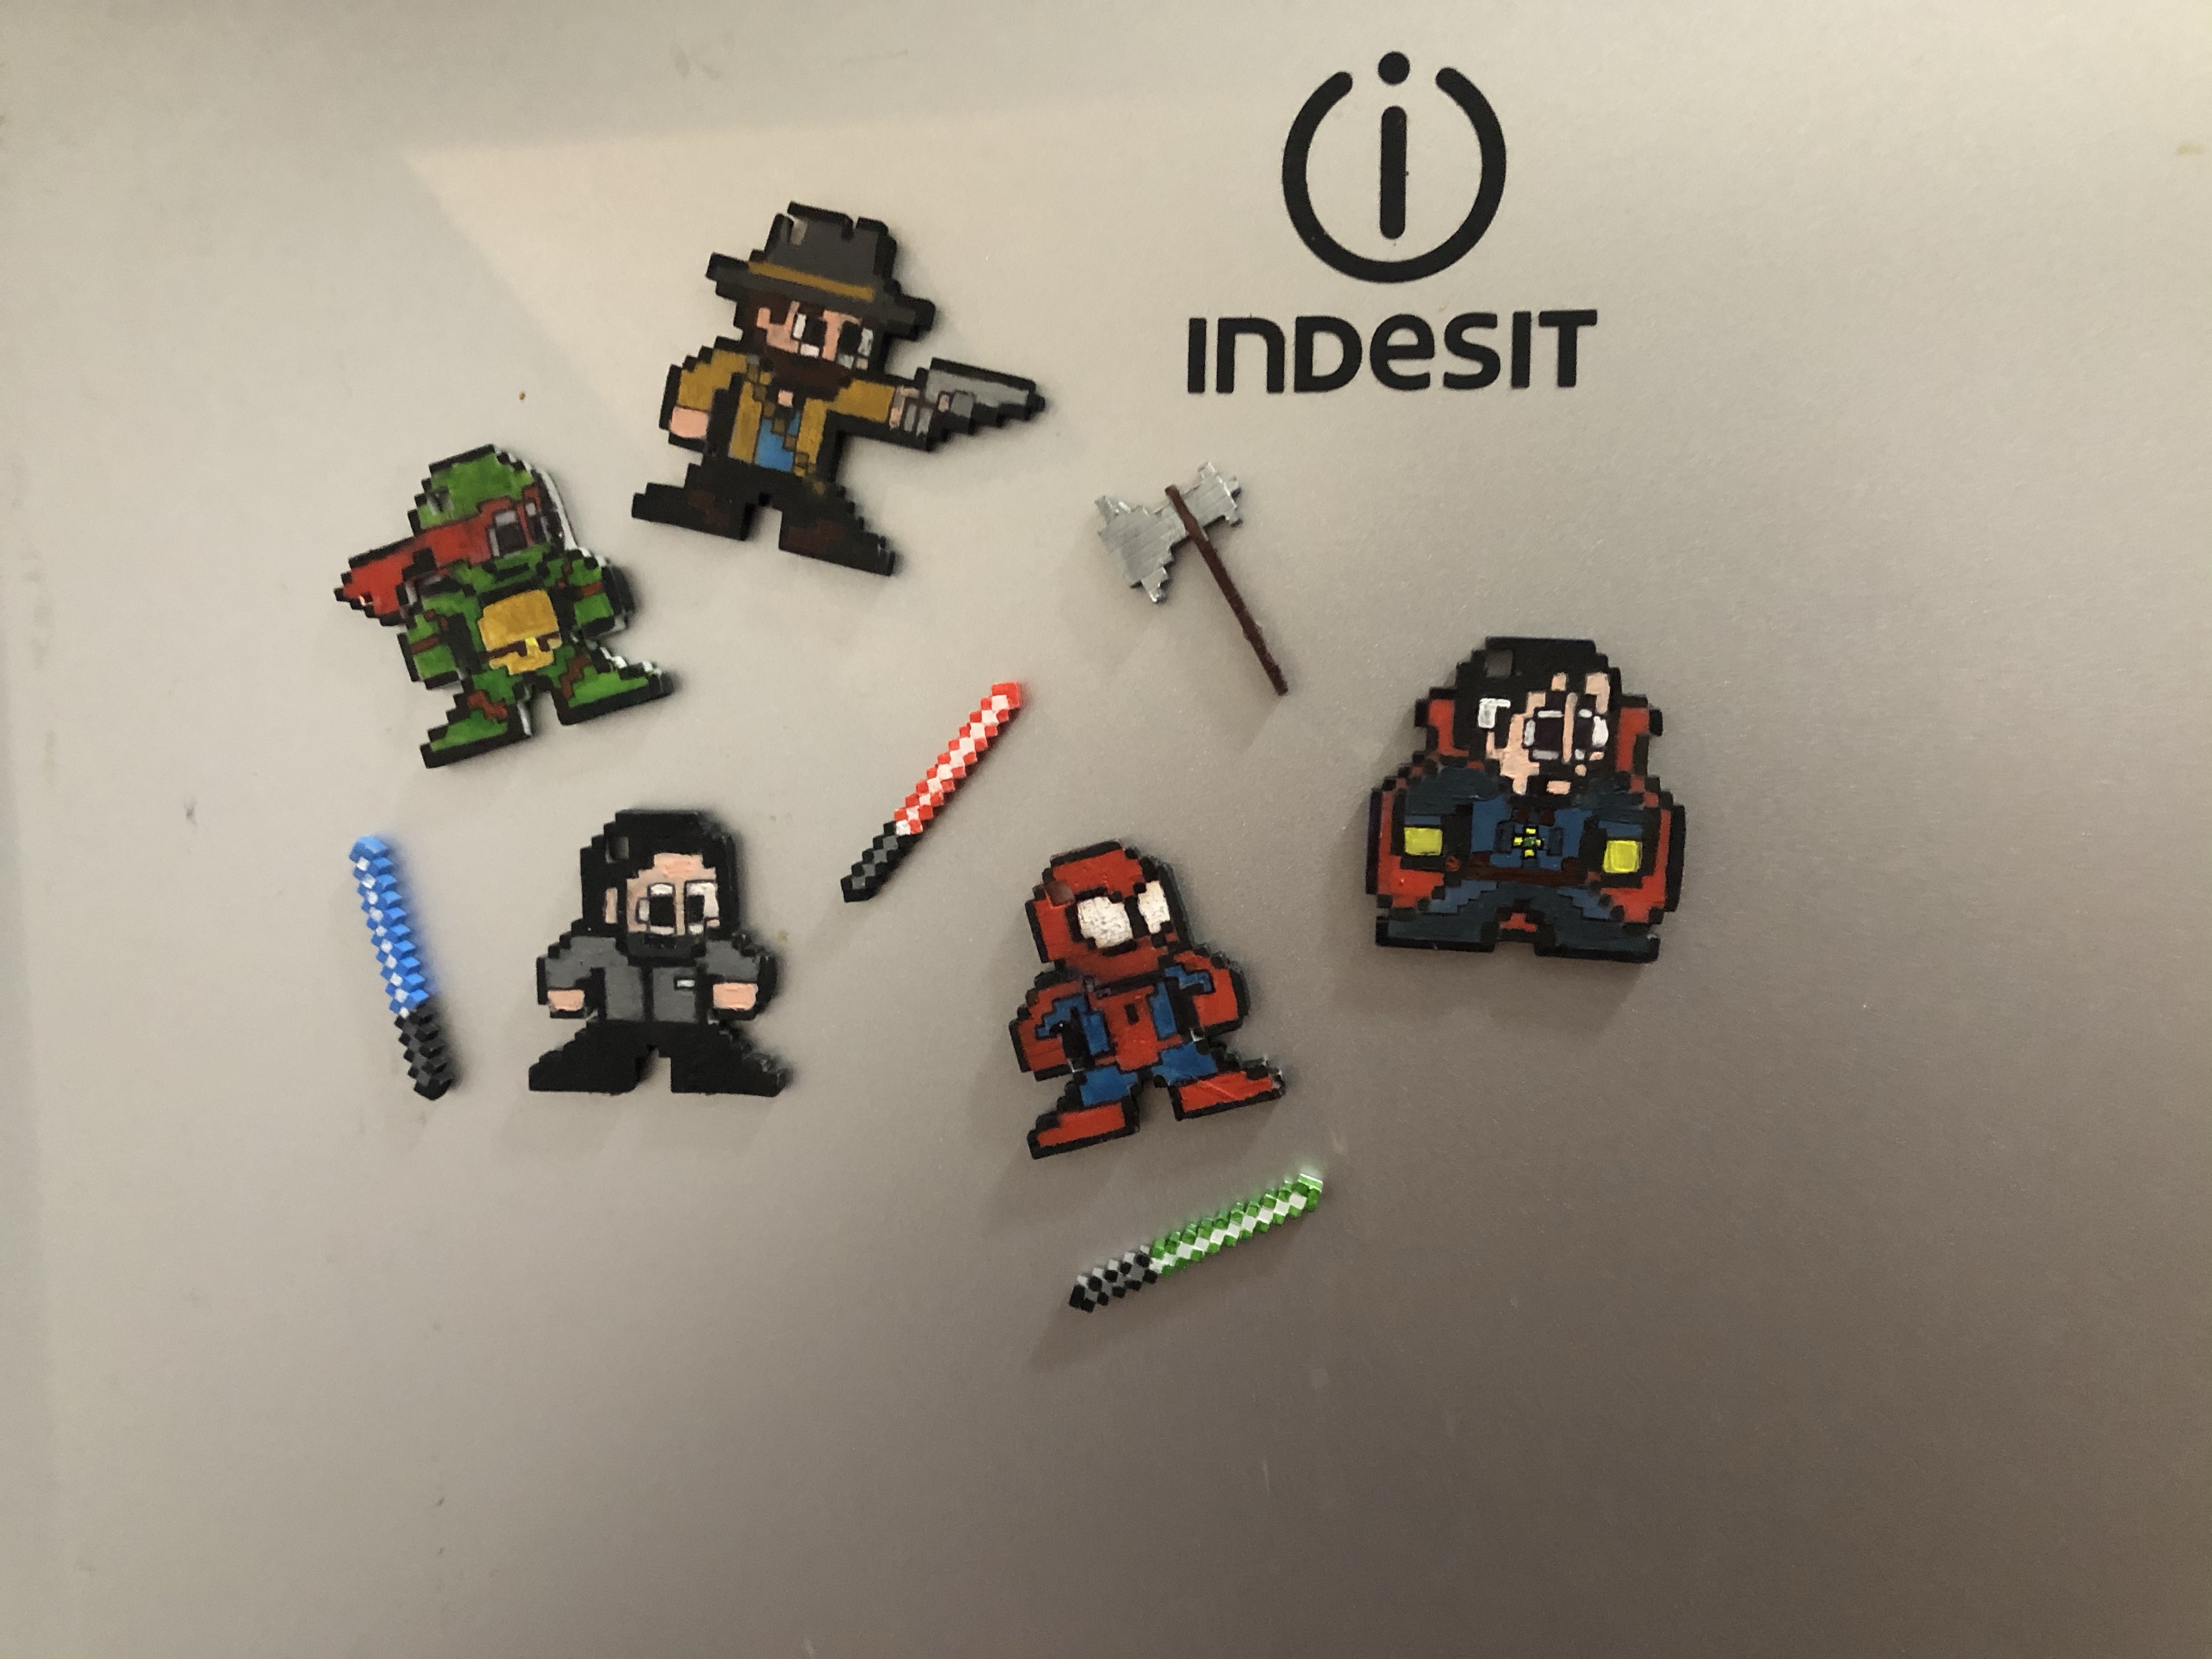
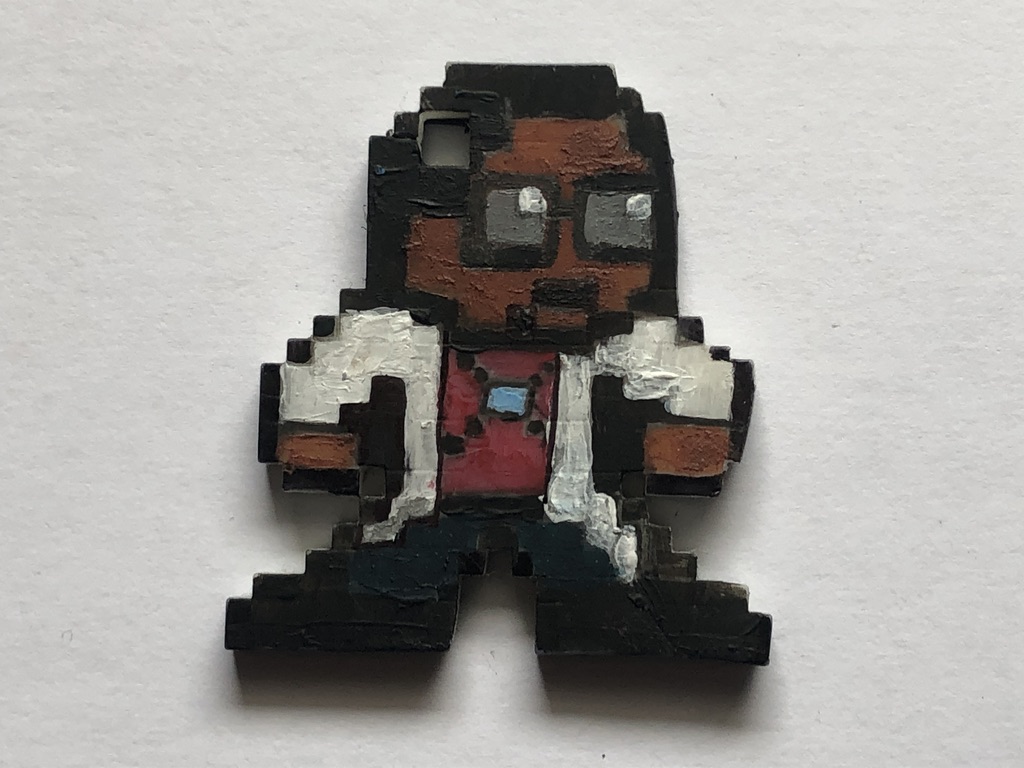
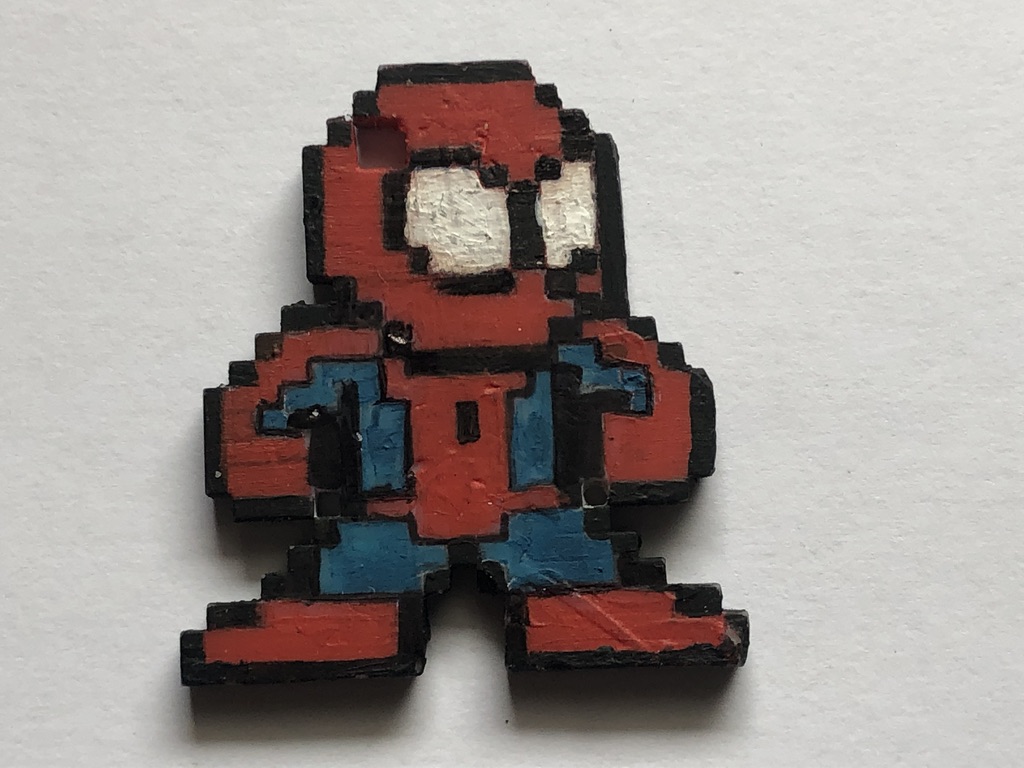
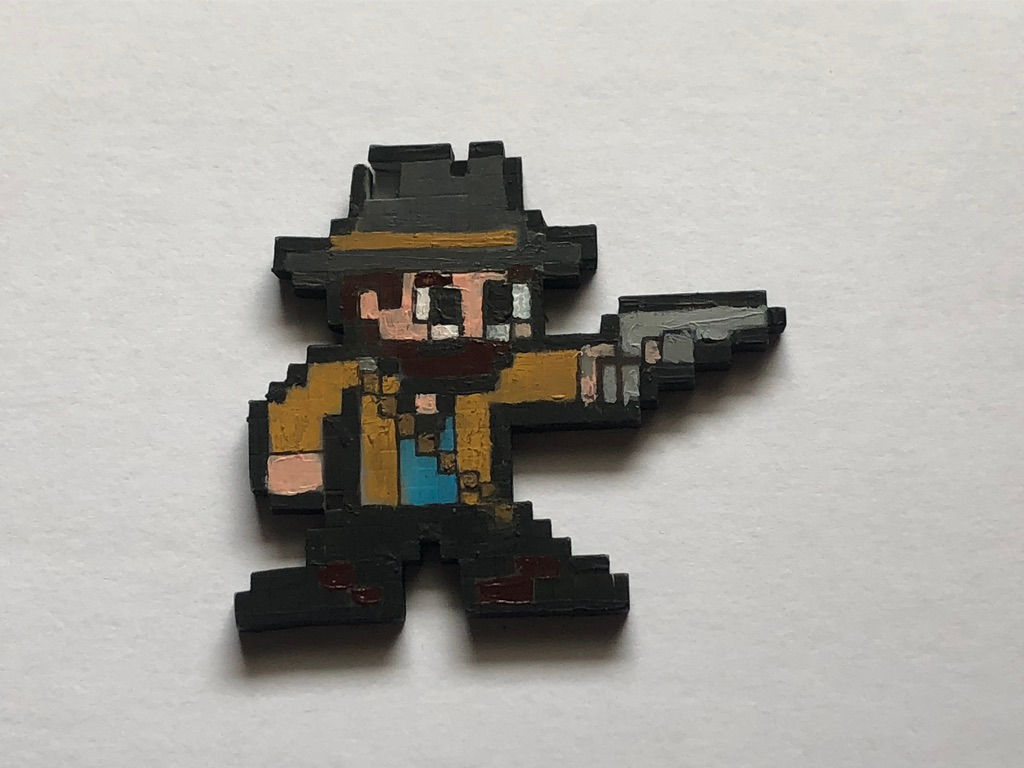
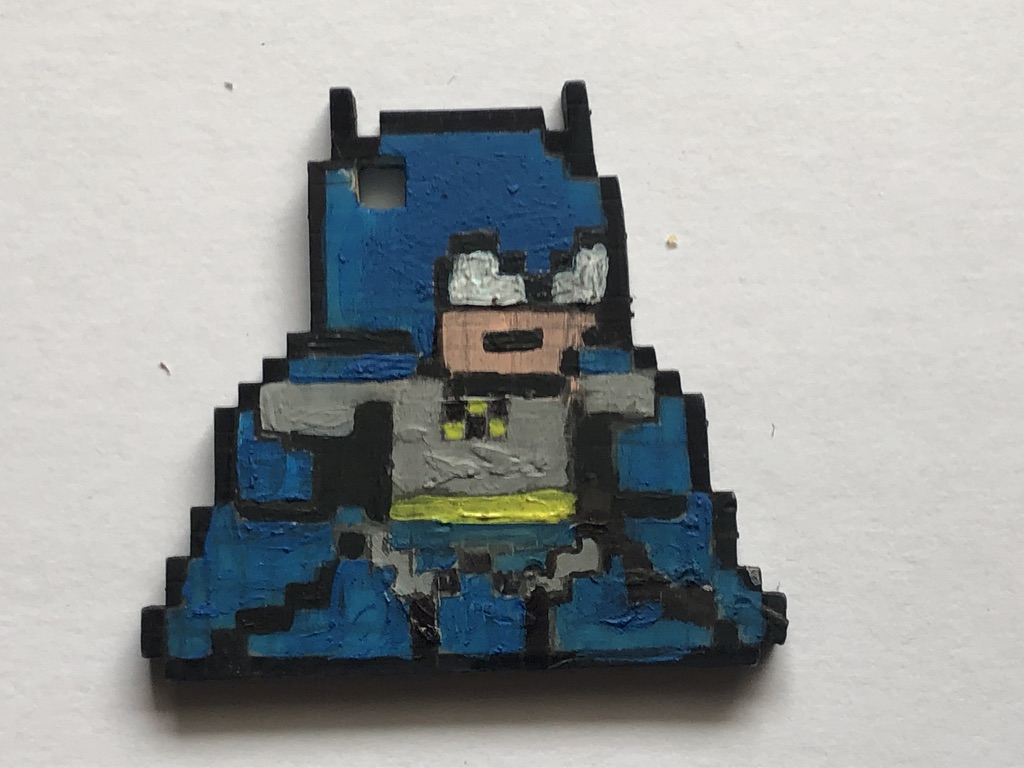
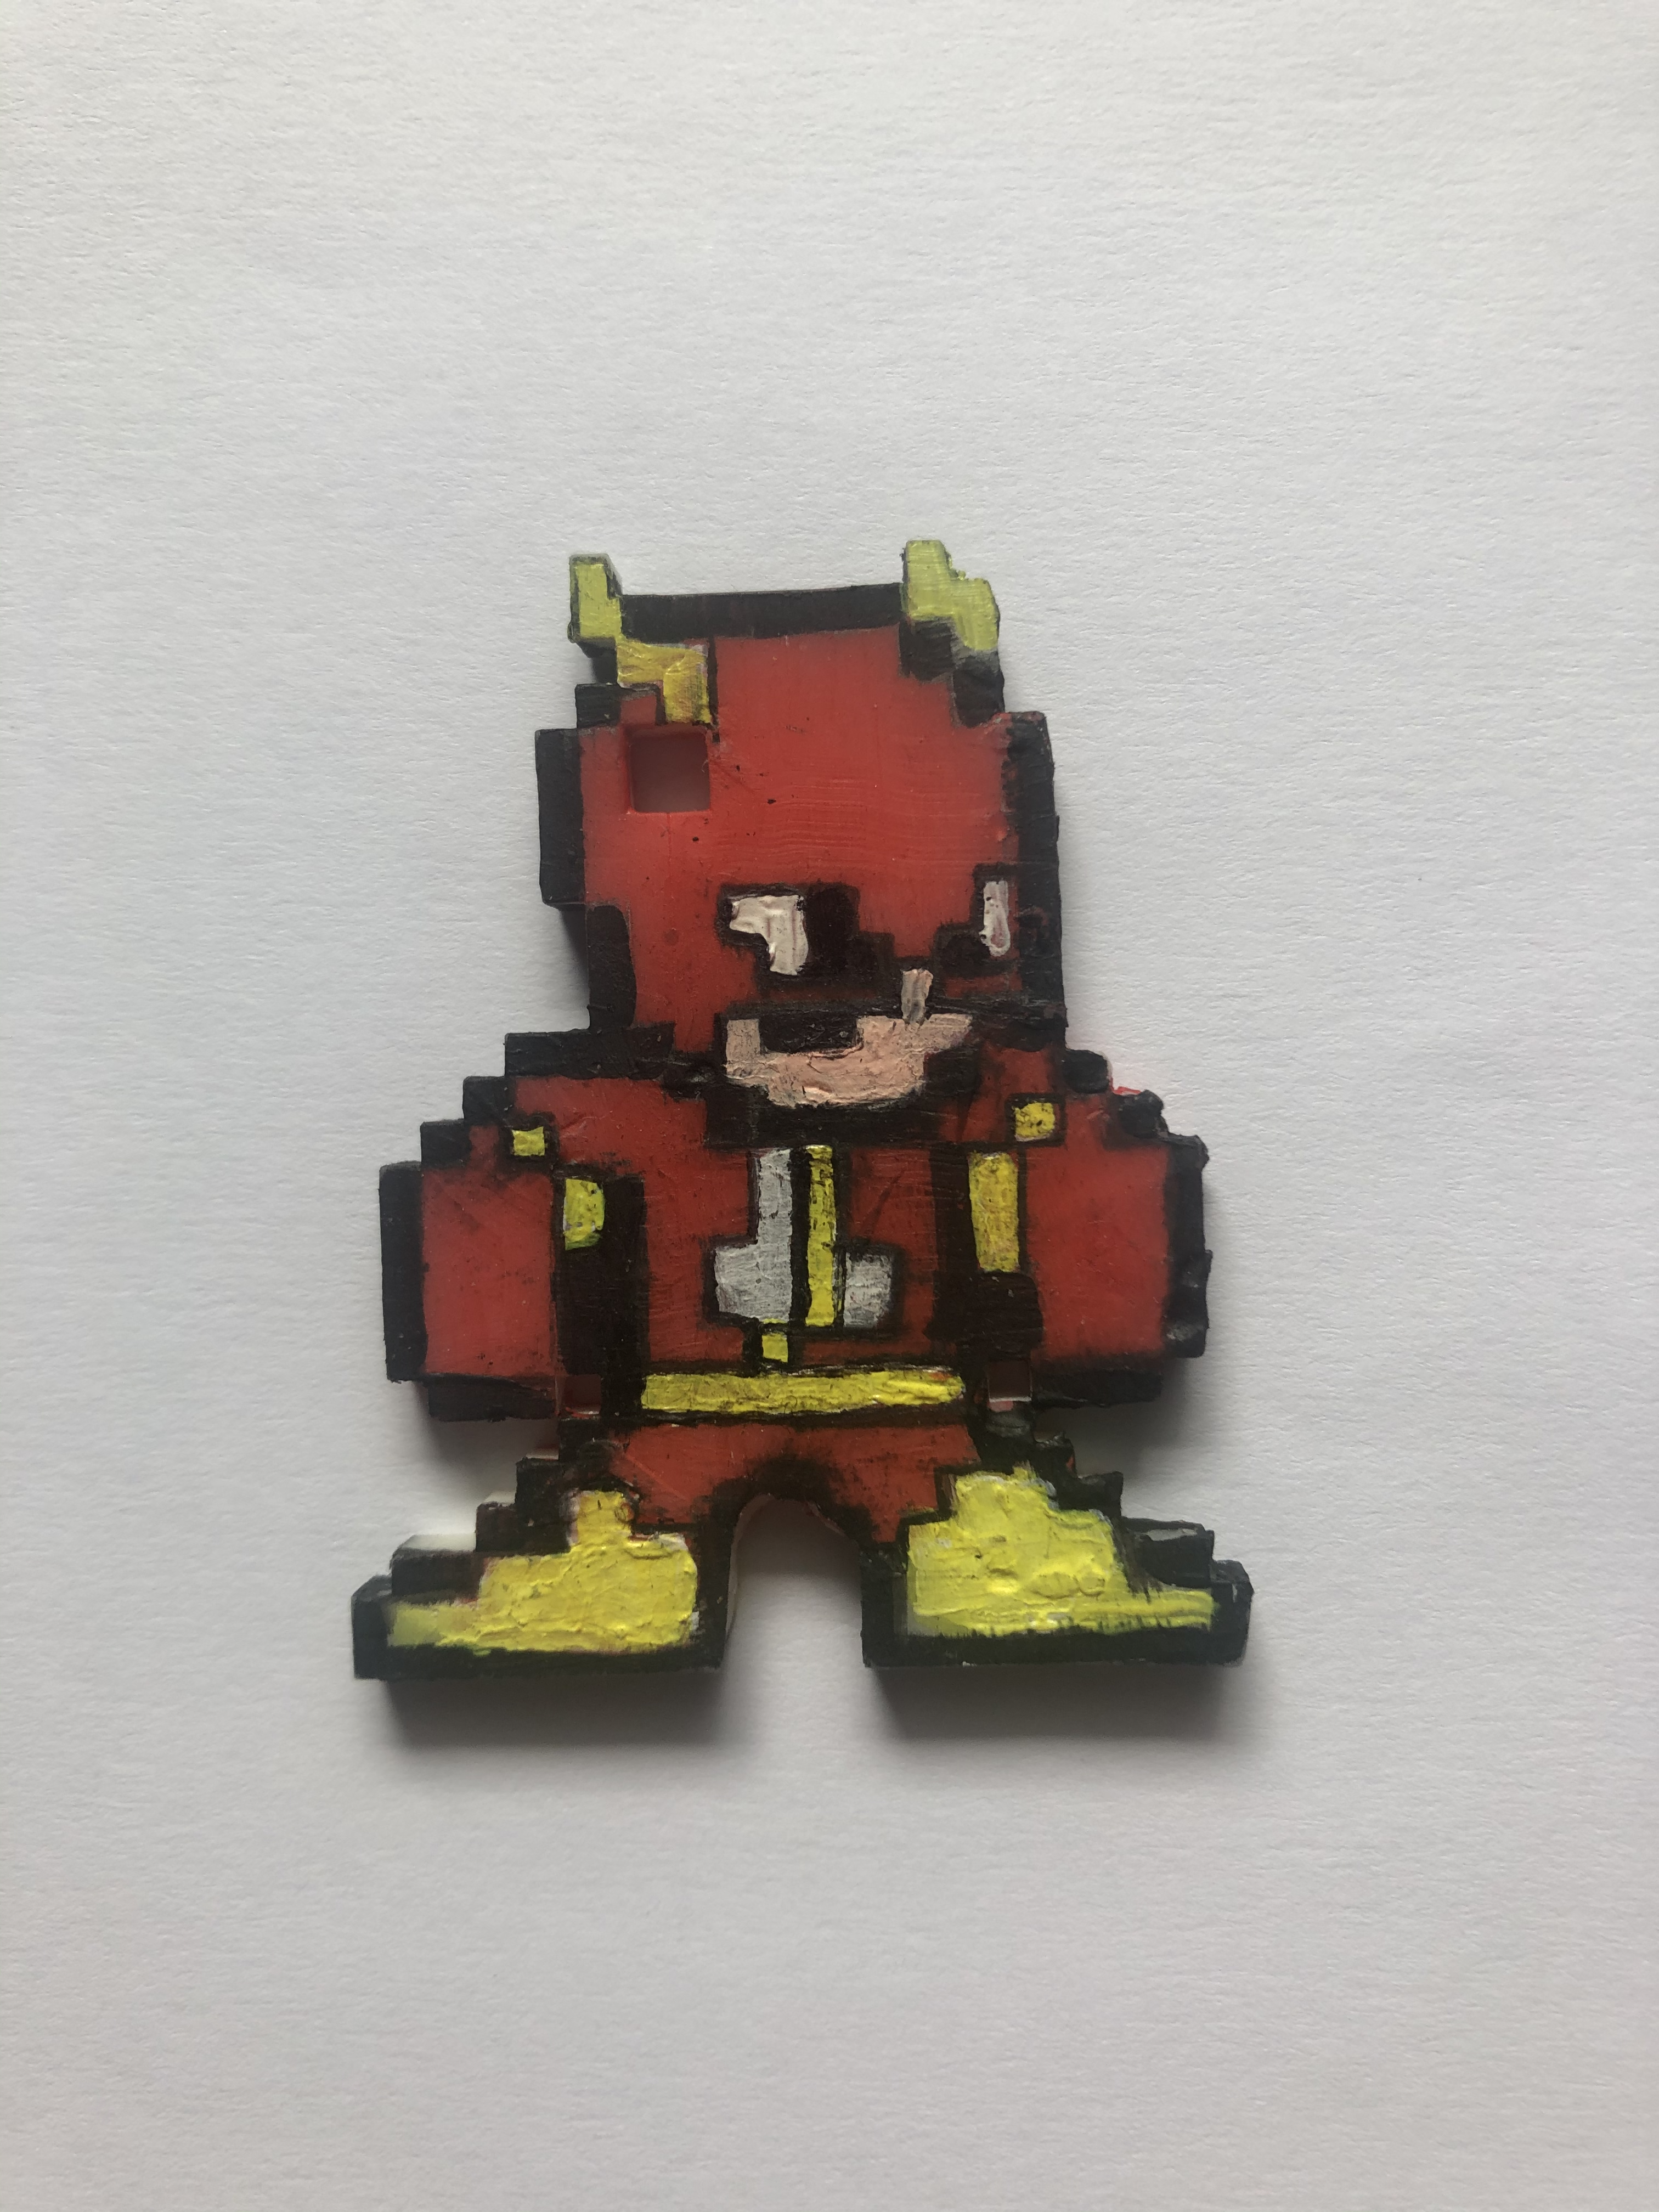
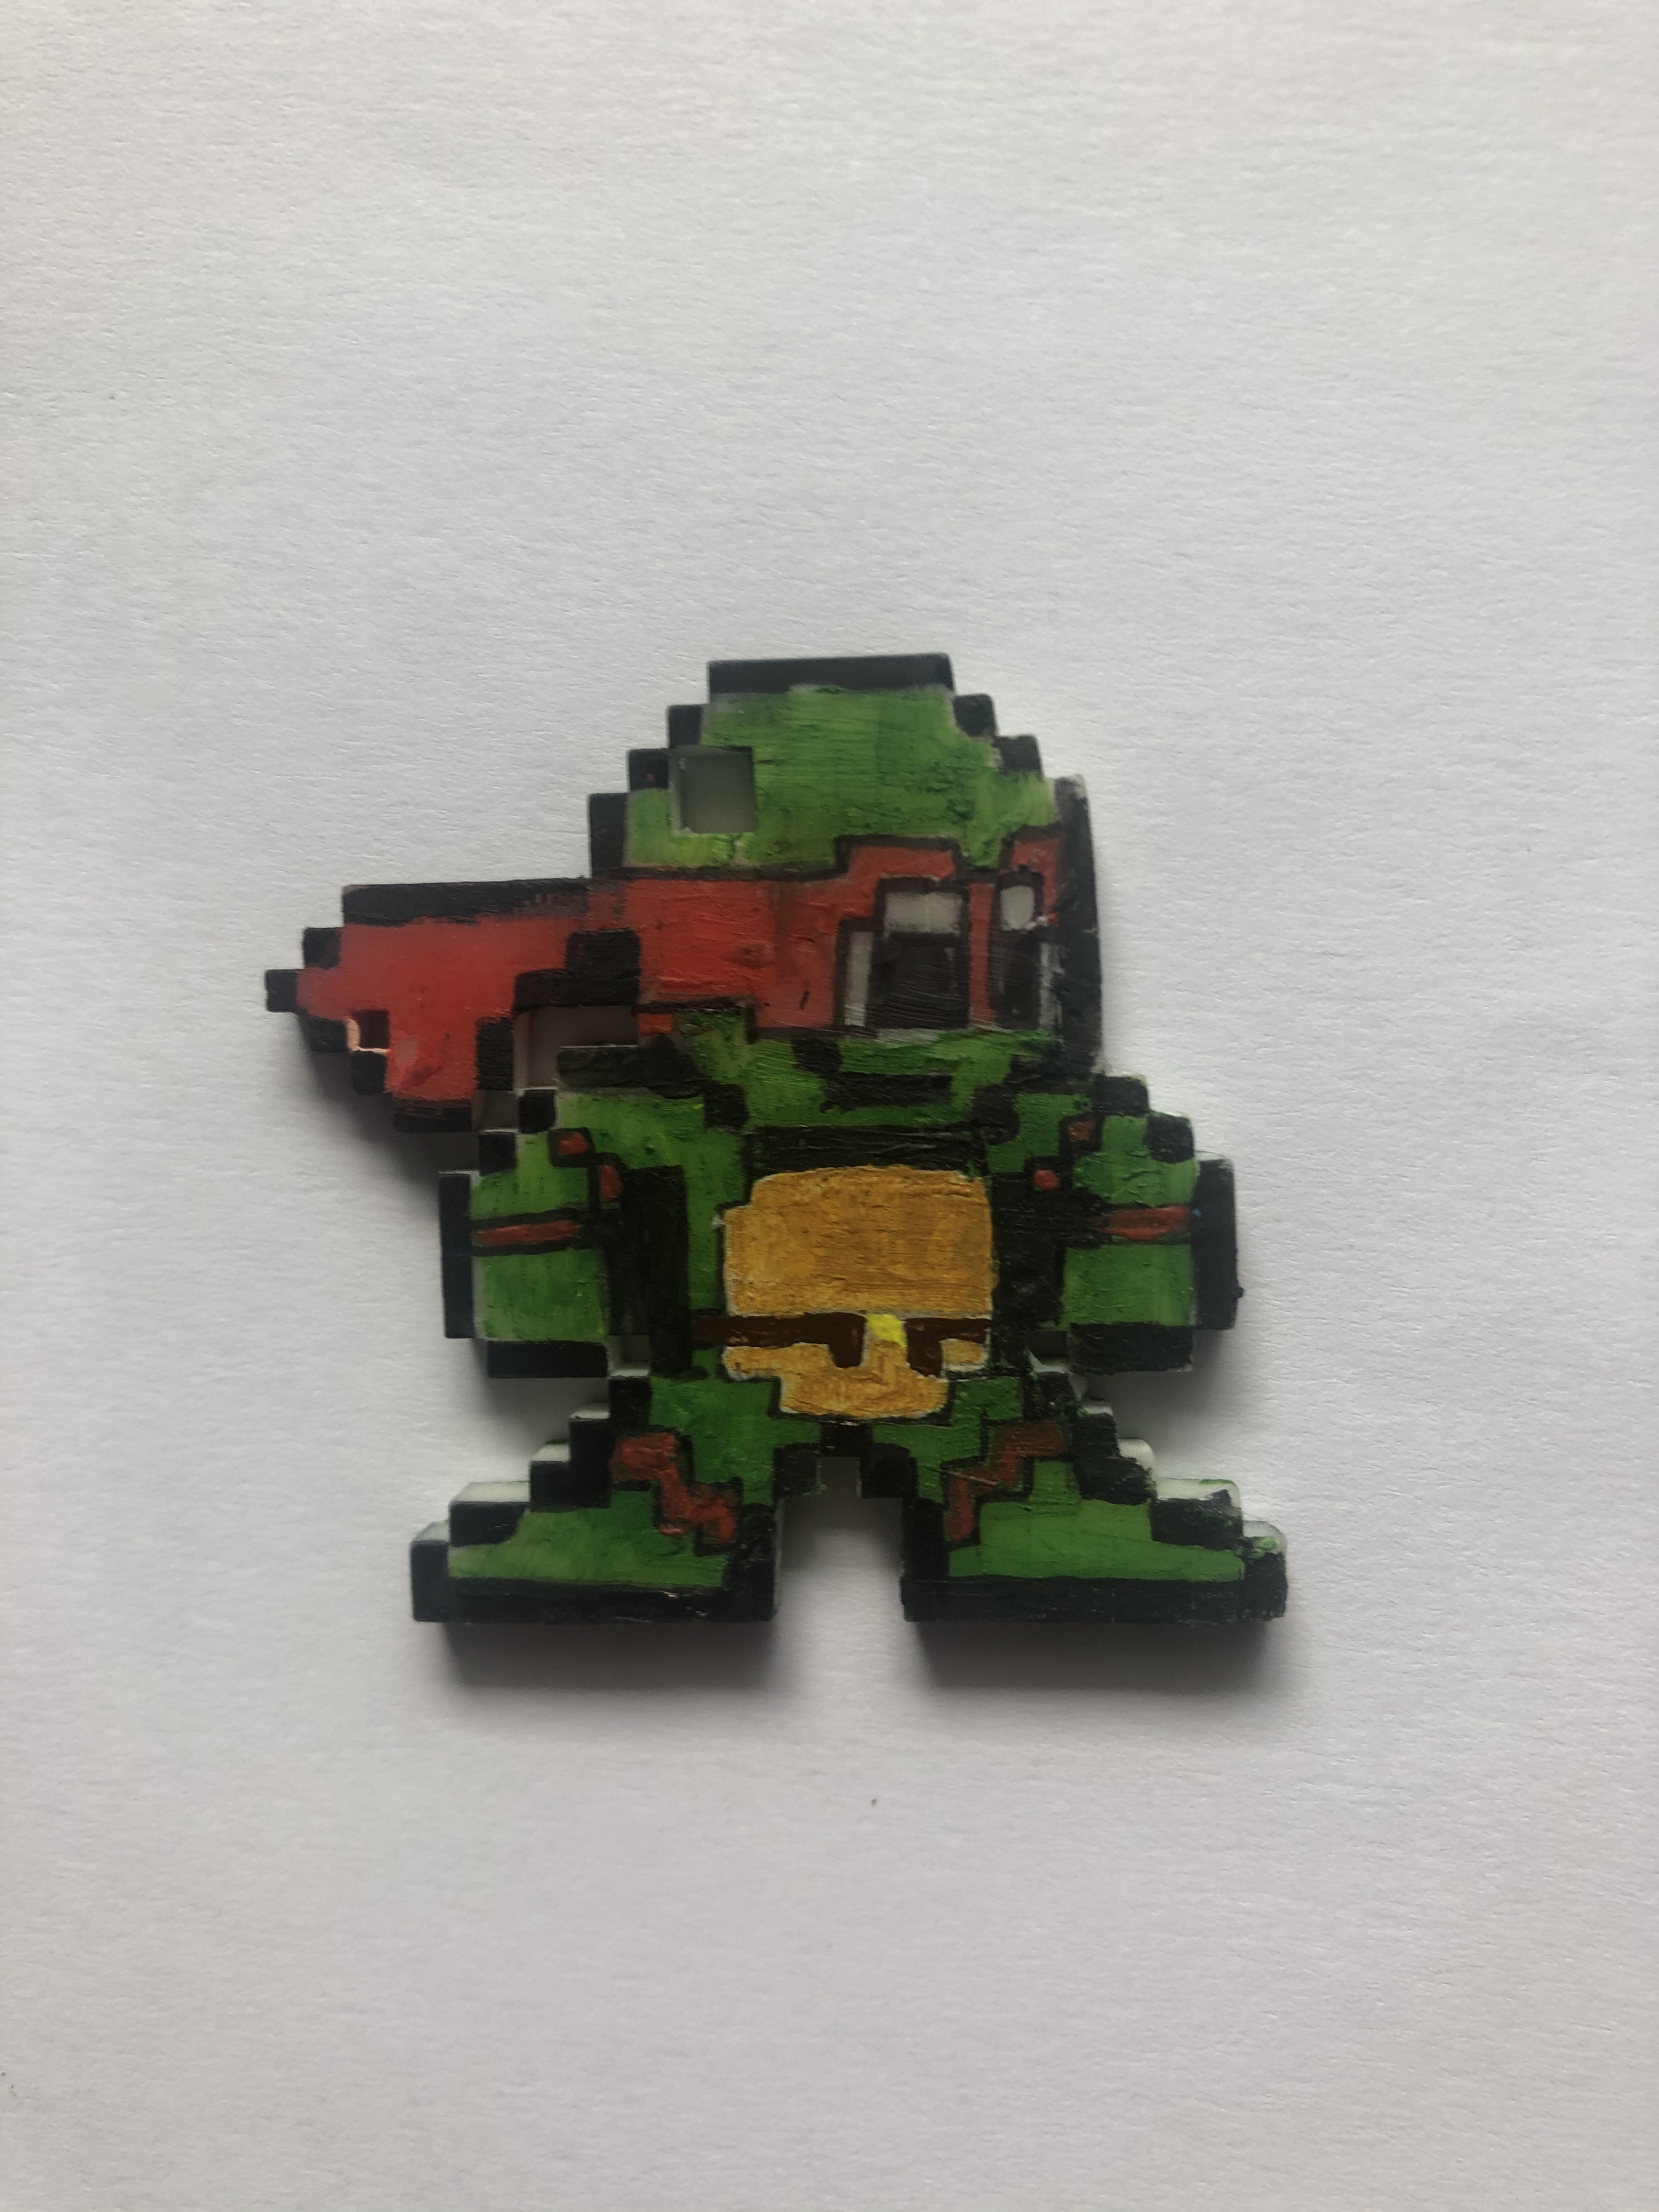
Here is a collection of all the 3D printed pixel models I have made for my Final year projects,
Most of these are designs I found on the internet, some are of my own characters and designs, here are some links to the designs I found on the internet:
For my final year project, I decided to expand on a particular element for my foundation project from 2018.
What I did was make a 3-D printed pixel model of me, that I designed, printed and hand-painted (as part of an alphabetical set of models of me, relating to 26 art movements, e.gA =abstract, B=Bauhaus, C= Cubism, in this case, P was for Pixelation) so with that, I saw an opportunity to design and create more of these models to display or even sell them as merchandise.
Making Process
The first step is drawing the design, (The designs are based on fanart creations of 8bit Megaman graphics styled characters from movies, tv shows and other videogames) the best way to draw the designs and keep the square count consistent, I bought a square paper notebook to draw the design.
(Note: The numbers on the edges help me keep track of how squares are used and could even be used to tell apart or create different templates).
When creating my own designs I would often use inspiration from other designs this is so I can keep the design consistent with the other. (depending on the character’s body build, accessories or pose, the square ratio may vary)
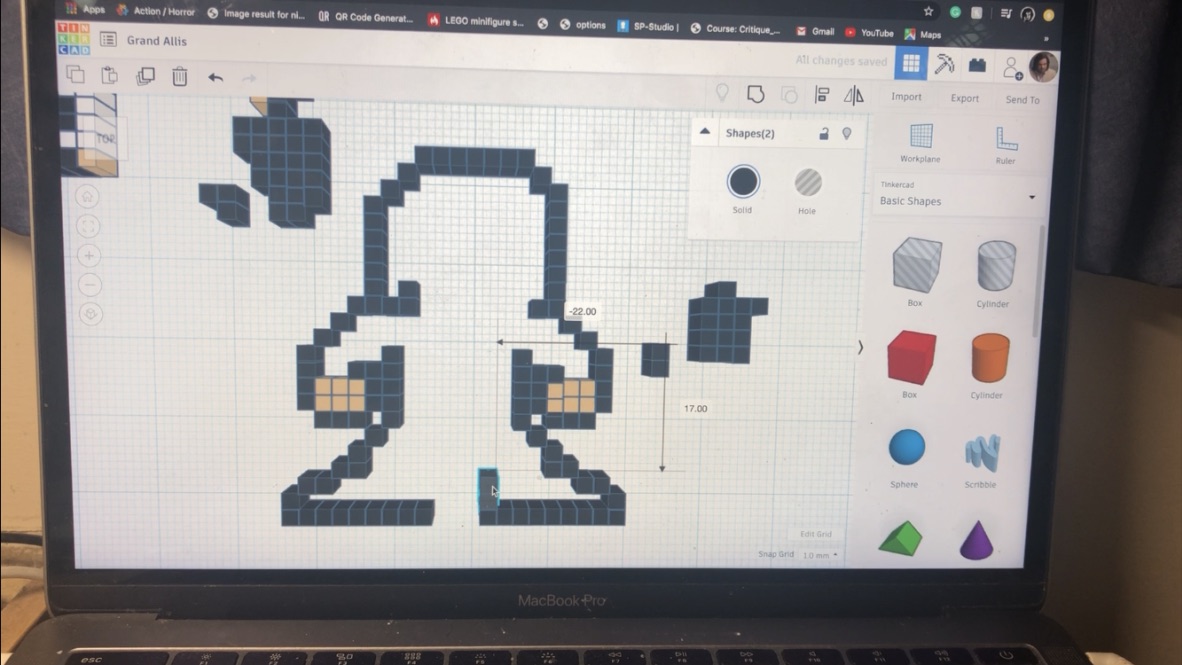
CAD design
The next step is to translate the design on to Tinker cad, I first start by arranging the squares in the right place (I use the square note pad design as instructions, I make sure to colour coordinate to tell the difference and to get a preview before printing (even though it comes out in plain white).
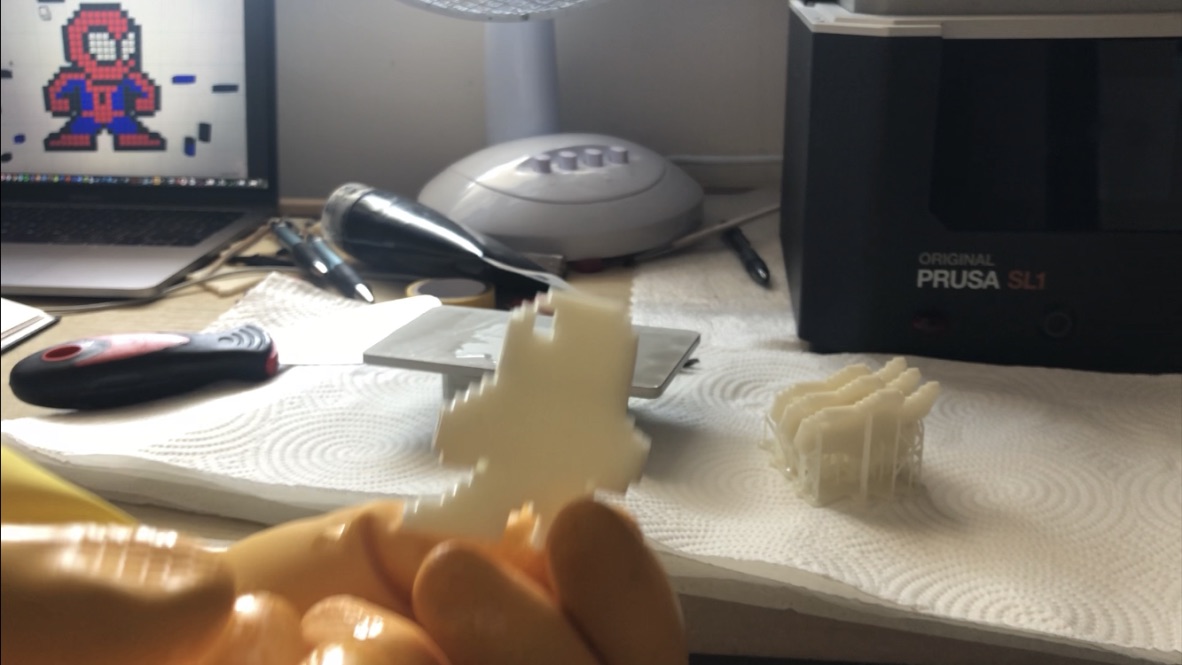
Once the design is finished, I would then export it into an STL file and import it into Prusa slicer for preparation and slicing, once I set the model(s) to a 60-degree angle ( in order for it to come out the way I want it), after that, I would slice (add supports) and export it in a USB.
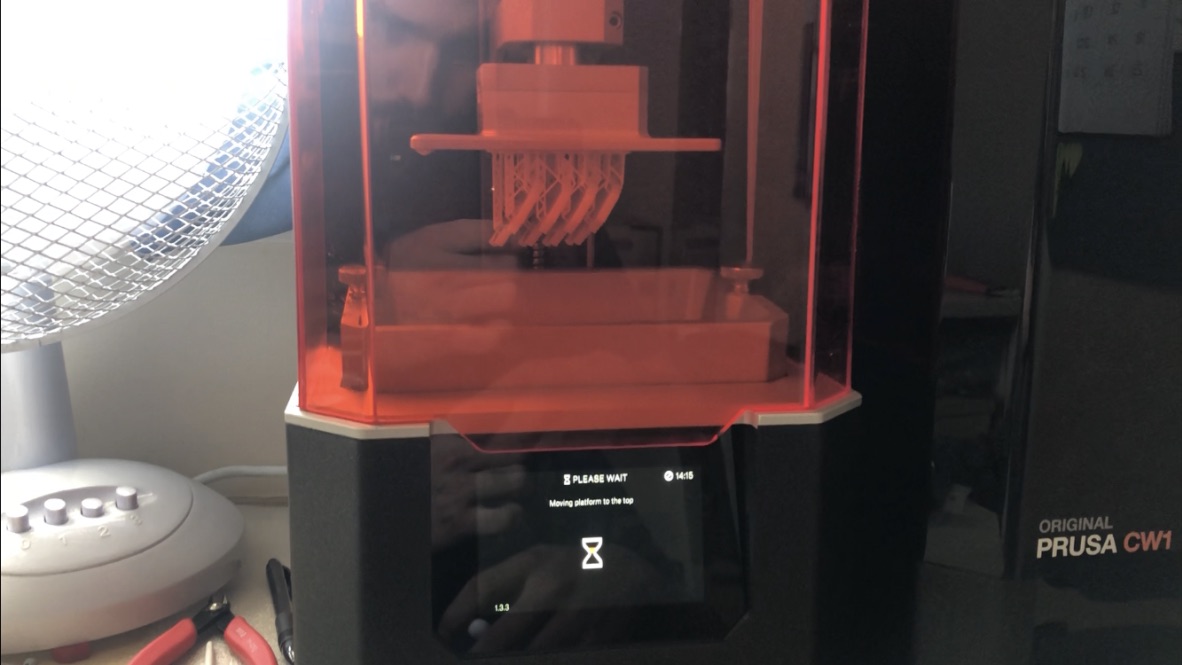
Next step is setting up the printer, first I would pour the right quantities of liquid resin in the tank, then I’d select the file from the USB, (the printer I have is resin-based and uses ultraviolet technology), so once the metal plate lowers down and sinks into the resin, the ultraviolet light then arranges which part goes where thus sculpting it in place
After a few hours (depending on how big the design is or how many I’ve made at once) I then remove the metal print platform, I’d then scrape off the print and cut off the excess plastic, next I would then wash the print using isopropanol (or nail polish remover), once cleaned I would then placed the model(s) into the washer to dry and cure.
Painting
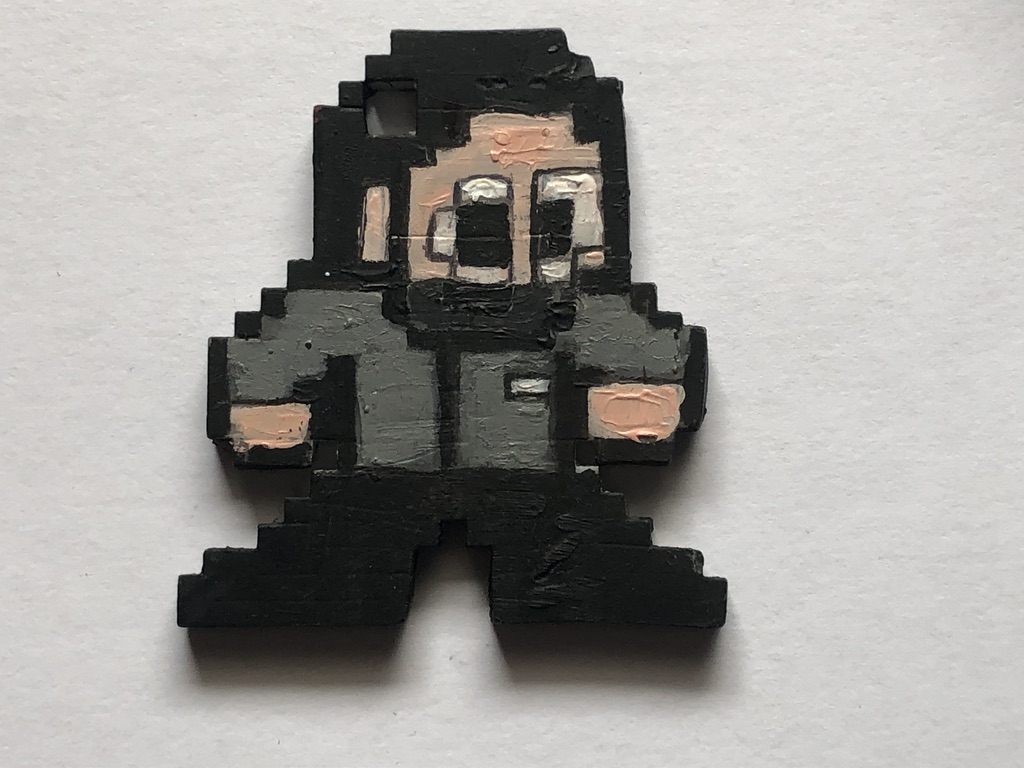
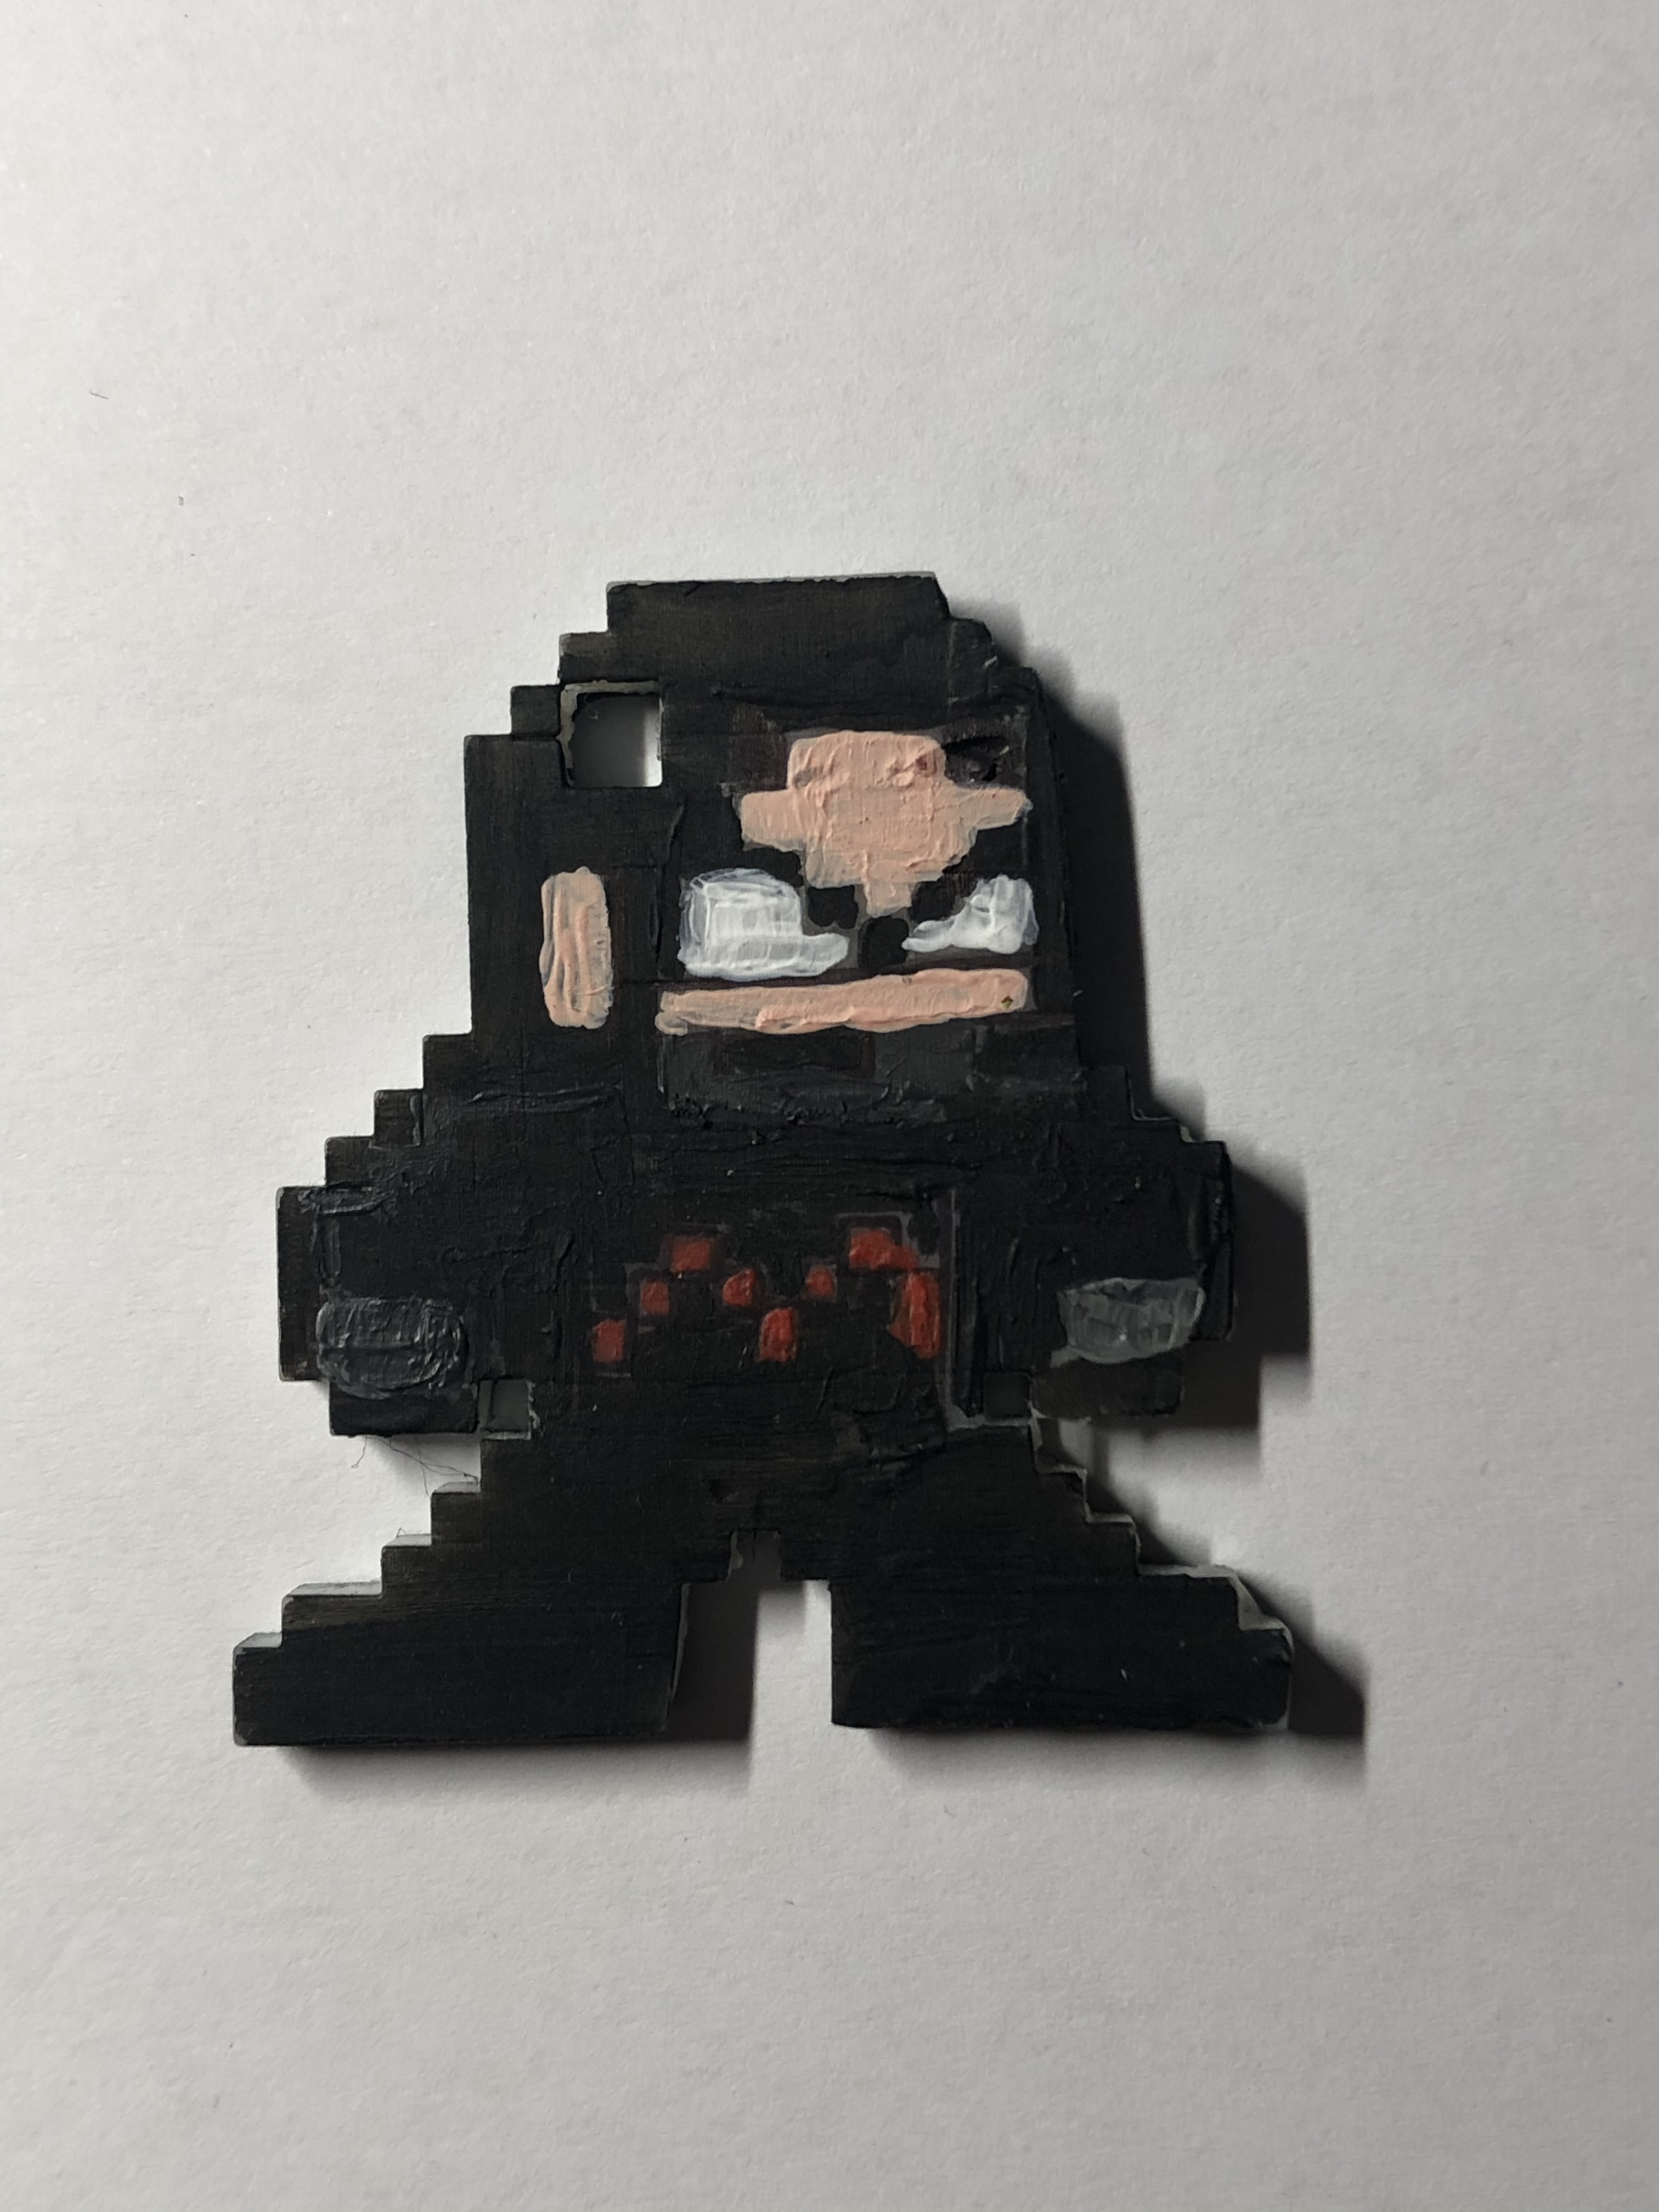
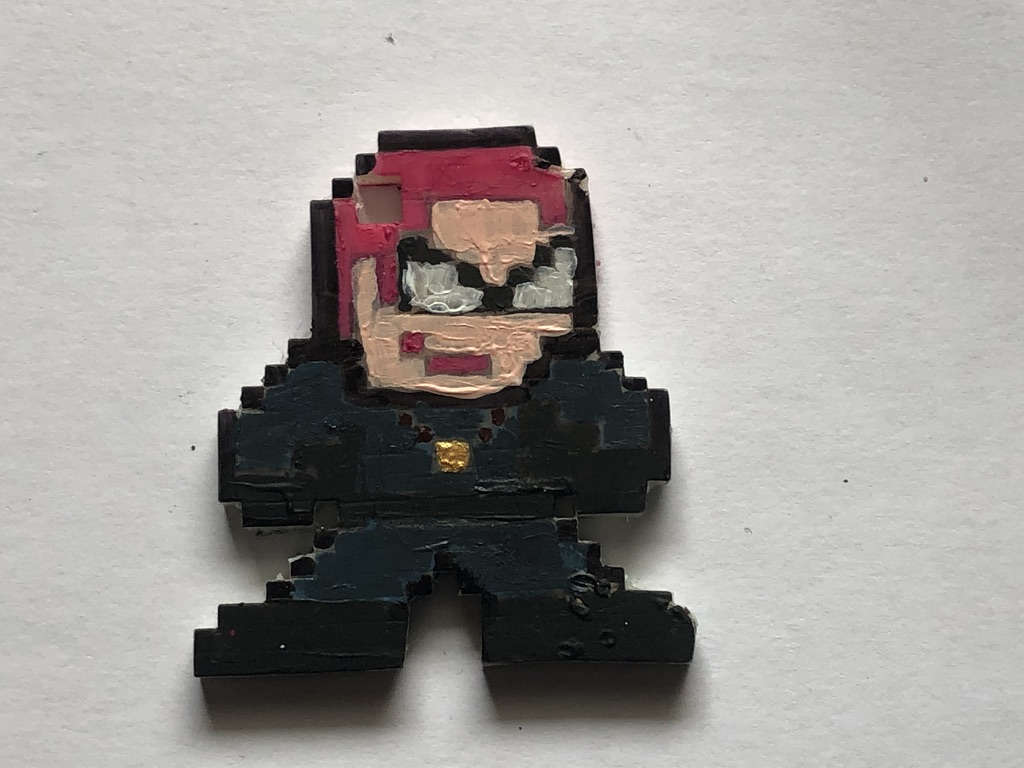
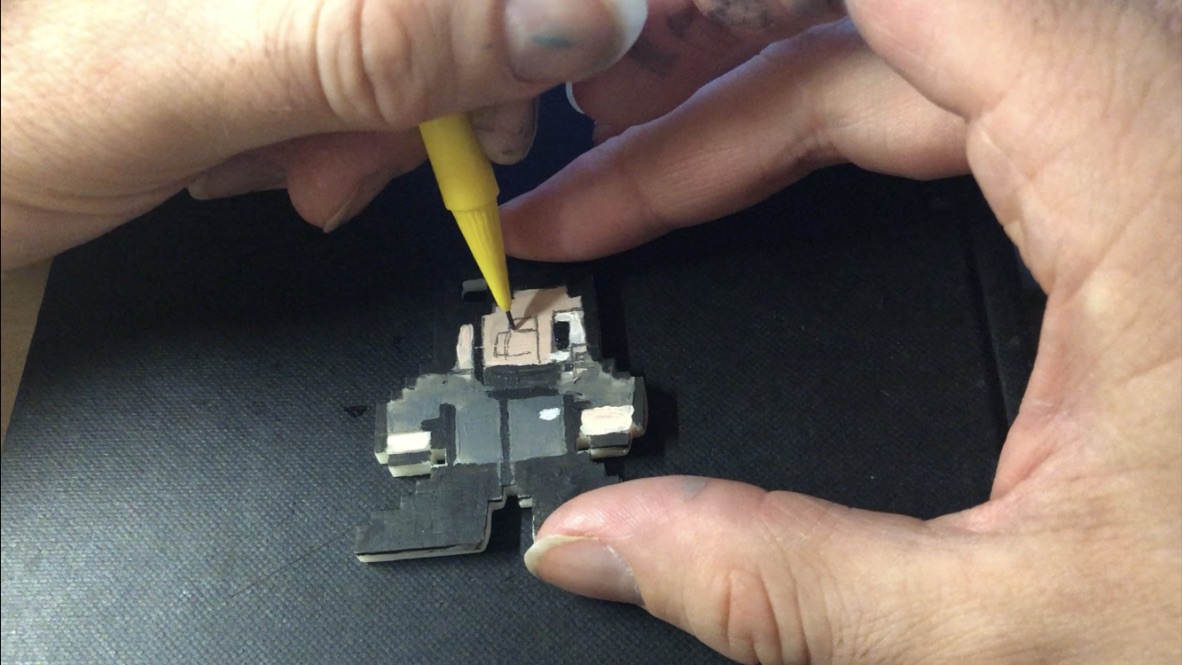
Next, I’d take the model(s) and paint them, I’d first start by drawing the grid of small squares to help arrange which colours go where, like a jigsaw puzzle, I’d start with the outer line, that way I would draw distinctive lines indicating which colours go which (depending on the design), I would then outline the coloured shapes with a pen to help them stand out.
After that, the model(s) is finished.
Designs
For this year, the theme I chose to go with for these models is a superhero theme (as well as other icons of tv, film or video games)
The designs for theses characters are based on ones I found on the internet, where they created Megaman style looks for many icons of comics, movie, tv and videogames.
I used these designs to help count how many squares there are per length (particularly the ones that have a grid background, to make counting easier) and draw them out in my square paper book, I would then use the drawings as instructions when designing on tinker cad
Ideas
This project does have a few business opportunities and ideas of what they could be sold as and who they can be sold to and how they can be sold.
Key chains
Way back when I made my original model from 2018, I had a side idea for this pixel model idea, not only could it be apart of my art collection exhibit, but it could also be used as a souvenir, either a desk knick-knack or a keychain (because when I created the original model, I intentionally gave it a key chain hole, so it could also be used for someone’s keys or backpack), for example, I had a friend, who liked my model so much, that I decided to create an exact copy for her to keep as a key chain.
Another idea, I’ve included with my prototype models is I’ve managed to find a way to make them both key chains and deskc knick-knacks by gluing on 3mm x 0.5mm magnets to the bottom of the feet and on a bottle cap. Anothet idea I could do for the magnets, would be to print accessories to attach to the characters. (e.g guns, lightsabers, swords etc)
This is a basic idea of what kind of merchandise I could use these designs for and base on what they like, this Leeds to another possibility
Customised commissions
Aside from the comic book, movie and videogame designs I found and copied off the internet, I also created my own unique designs based on me and my own made-up superheroes, this gave me the idea to design and create commissioned models based on customer or friend request, with this I could make anyone for anyone, (possibly try different forms of 8bit, such as Mario Bros, the legend of Zelda or even 16-bit designs)
Another idea (if possible) would be to create a camera filter (on my website) that transforms a picture of someone into an 8bit form (with the possibility of customizing options, e.g clothing, accessories, facial features etc), once they submit the design they want, I would then create on CAD, print them, paint them and have them sent to the buyer.
Check out the making process video on my Youtube channel:
For this assignment, I will be going over my strengths and weaknesses during my time in the figurative modelling project.
What happened during the field project?
Each day of this project would go for 2 days for five weeks
Life Drawing
For each life drawing session, we would experiment in doing multiple drawings with multiple time limits (e.g ten of ten-second sketches, ten of twenty-second sketches, five of one-minute sketches, etc)
Sculpting
The main attribute of this whole project was ceramics and during this, we all sculpted multiple body parts including hands, feet, legs, and heads. During this, I learned more skills and processes in sculpting
Stitching
The stitching was part of a collaboration with the plaster projects, for this, we all had to create our own fabric limbs by tracing our limbs on two layers of fabric, then cutting them out and sewing them together, preparing them for the plaster. This part was fascinating and taught me new skills in stitching
Slab Collage
The slab collage was team collaboration where we’d all create a slab piece together, each slab including an aspect from one of our life drawings, the end result was successful and we all worked well together.
Plaster parts
The plasterwork consisted of including our fabric limbs from the stitch workshop, then mixing the right quantities of water and plaster fro each limb, I’d pour the mixture in and wait for the plaster to dry, I really enjoyed this workshop
Teamwork
For most of these projects, I would often work on my own, the only notable ones being the slab collage and our plaster body parts, when I did take part in teamwork, I got along well with everyone I was working with before we’d begin our collaboration, we’d discuss which one of us does which part of the project (whether it would be based on our particular skills or the part we really wanted to do.
Strengths
During this field, I managed to understand and manage the techniques and context of each lesson, and I have to say I did well in all the exercises, even if some of them weren’t my bread and butter, I still gave it my best
Weaknesses
As I said before I managed pretty well during the practical and theoretical work, however, I believe my weakness is when I’m doing the practical work such as sculpting, I tend to rush a little bit and also another thing that would be best is to keep my blog up to date on a daily basis rather than writing about and leaving the rest till last minute.