On the 22nd of november, I started progress on my secondary artefact.
For this I chose to continue the theme of combining two of my Gesamt Kunstwerk choices into one, for this one I decided to take an earlier idea I had before making my bowl and expand on it.
My idea was to create Leonardo Da vinci style shematics of my favourite movie props as well as everyday appliances (including a lightsaber, flux capacitor, a desk lamp, a pinhole camera etc), so to take this idea further, I thought about creating 3D model dioramas recreating the layout and design shown on Da Vinci’s schematics and how he designed them, by laying out the big and small pieces.
Designs and Context
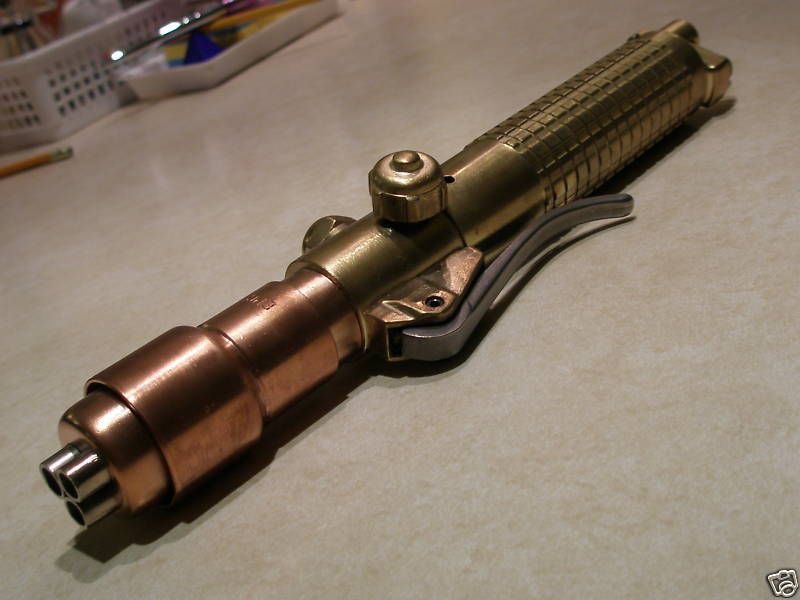
I chose to start by building a light saber and used this design as inspiration.

So my idea was to create the pieces in CAD, print them out, drill holes into each piece and suspend them on rods on a wooden board.
My Designs:


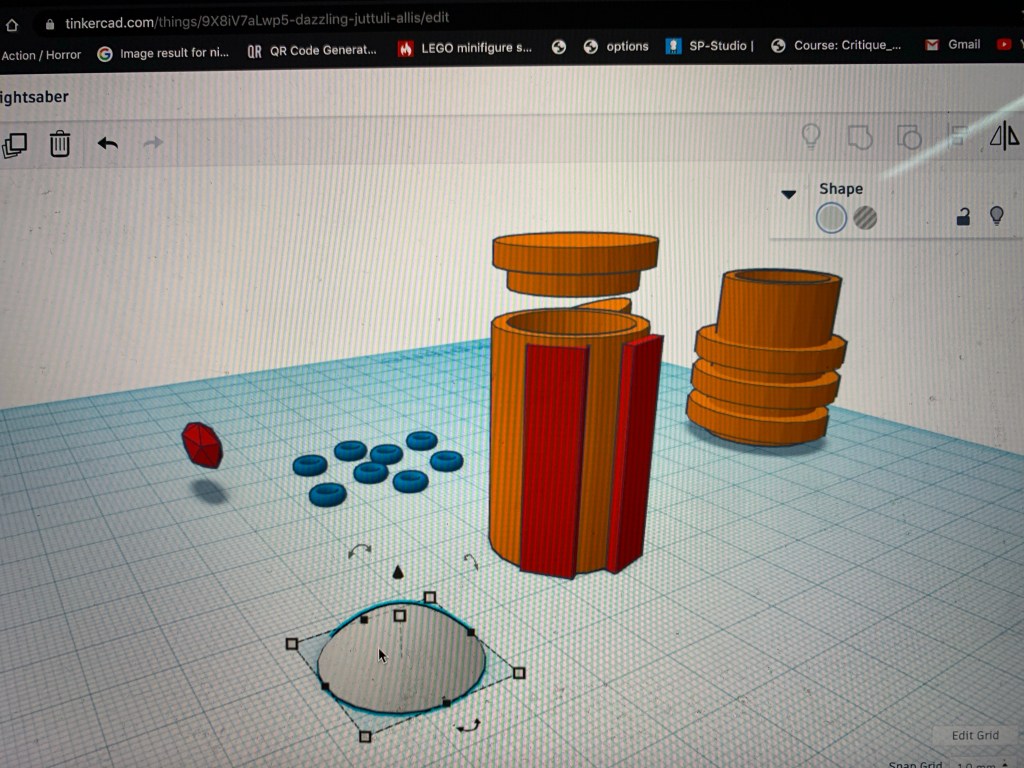
CAD
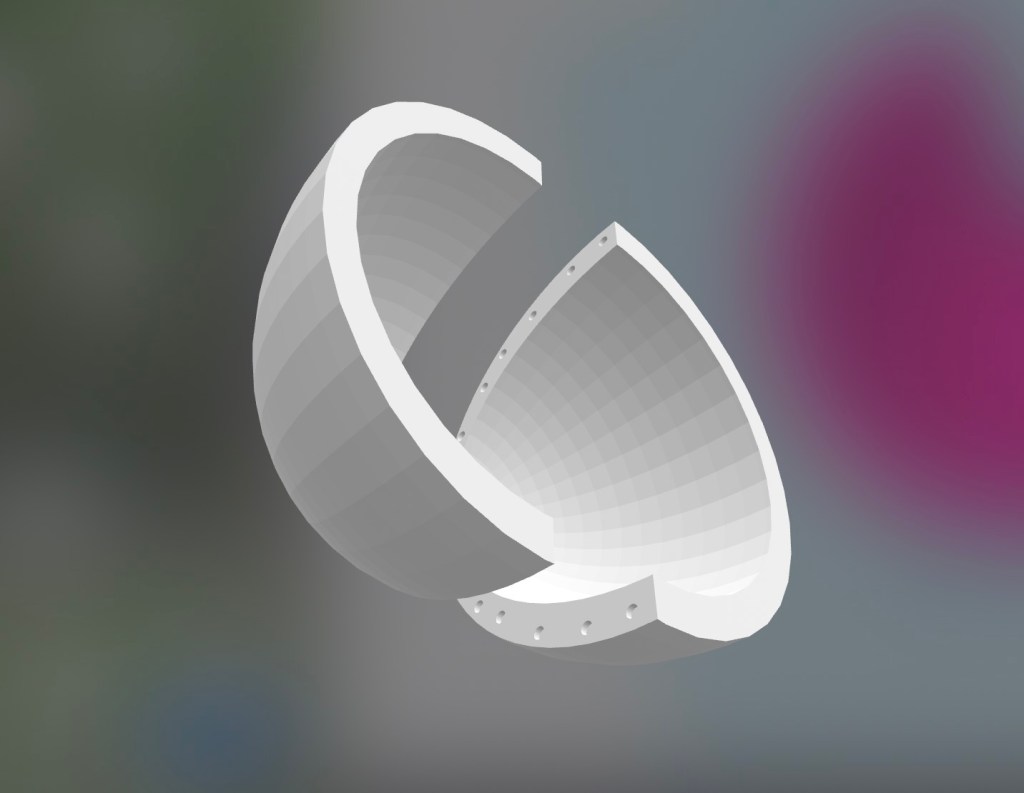
After I sketched out the design and planned out what I wanted to print, I then went onto CAD and started created all the pieces, a lot of these pieces involved a lot of curving and grouping the shape together and even engraving.
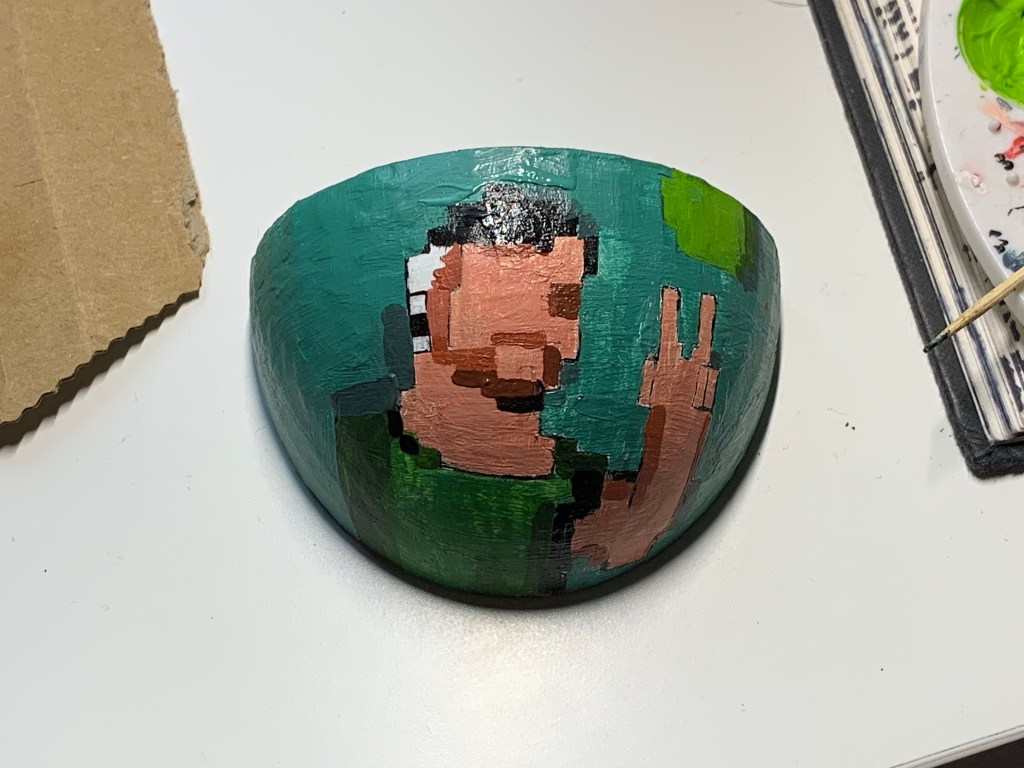
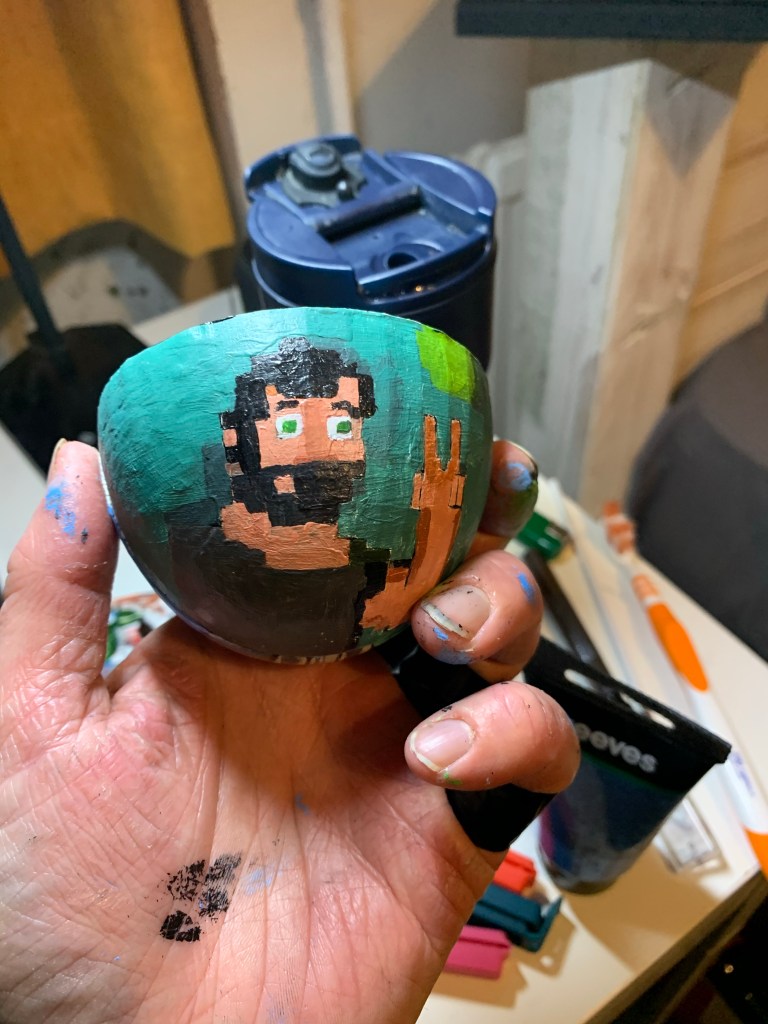
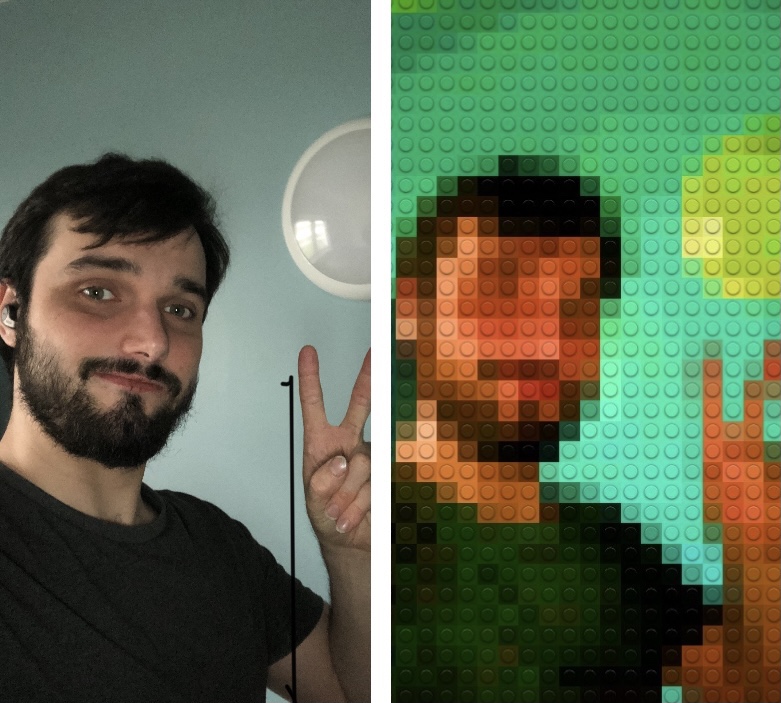
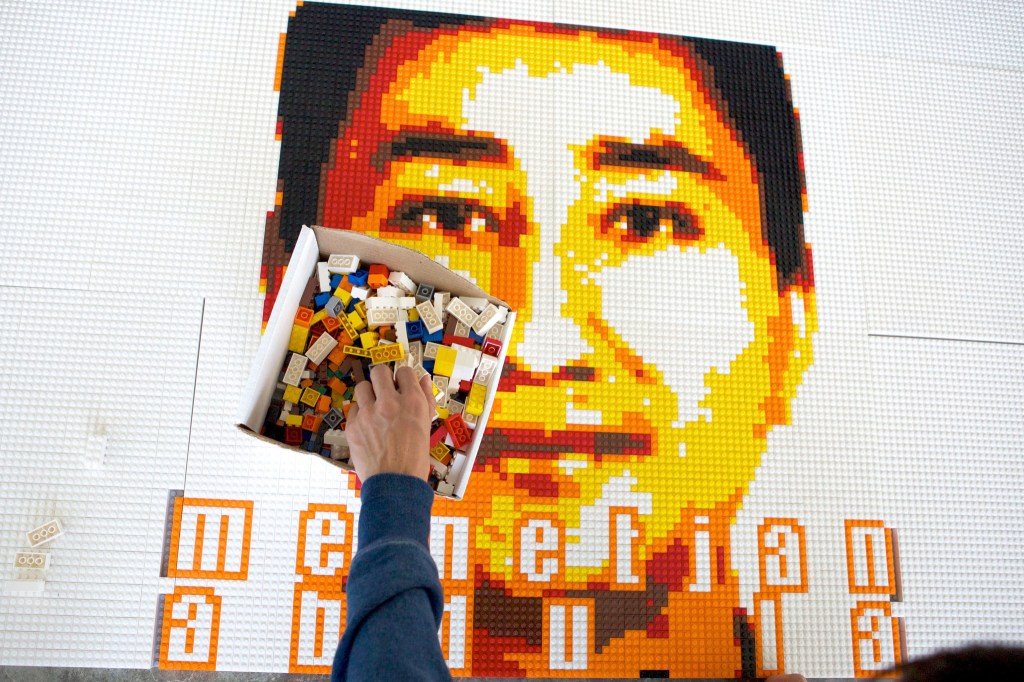
I was excited about how this was a step up from moving small squares into a pattern to make a pixelated character and how I was able to engrave neat and impressive detail into the pieces.
Also, I printed out long rods to support each piece on the board.


Building Process
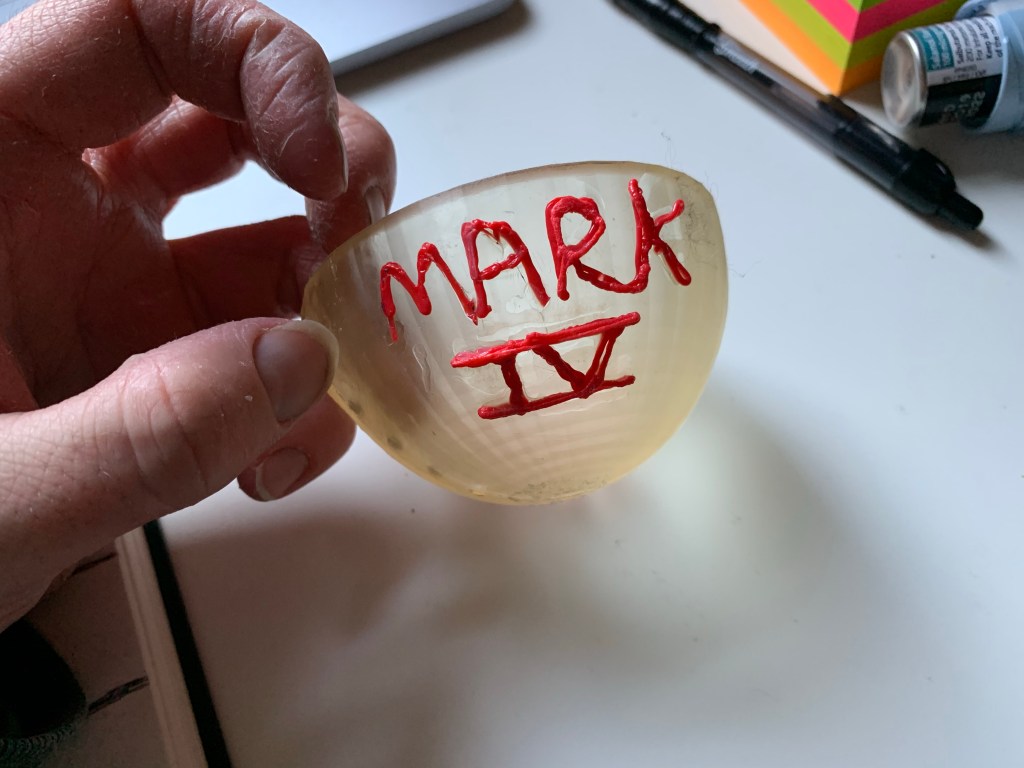
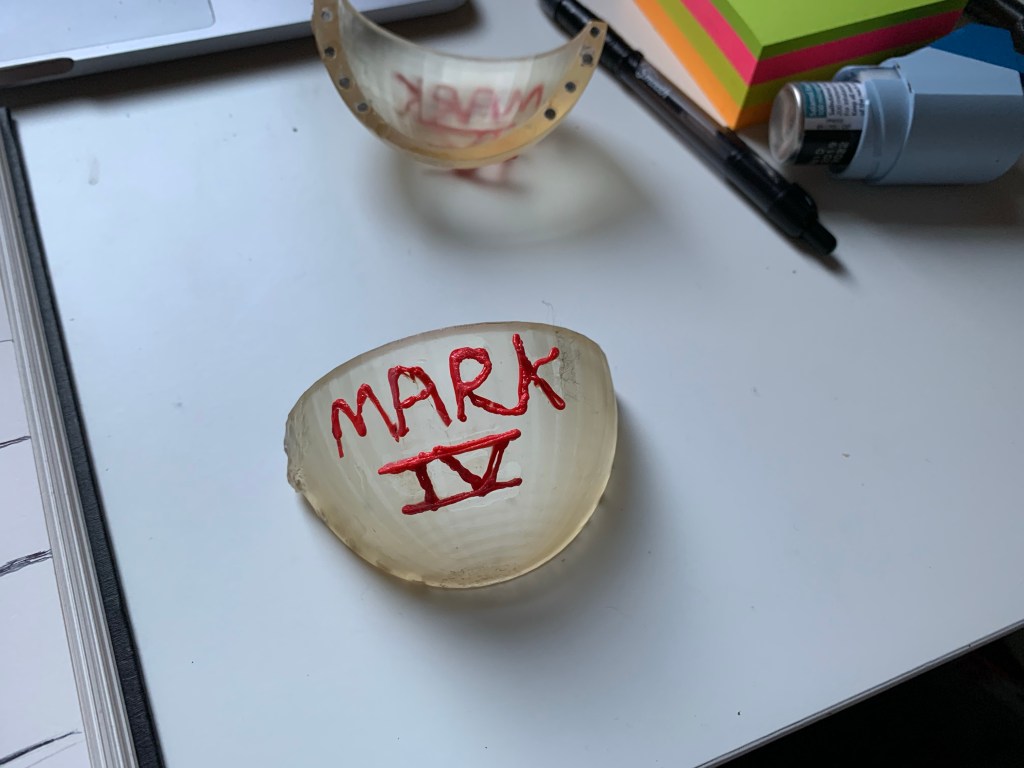
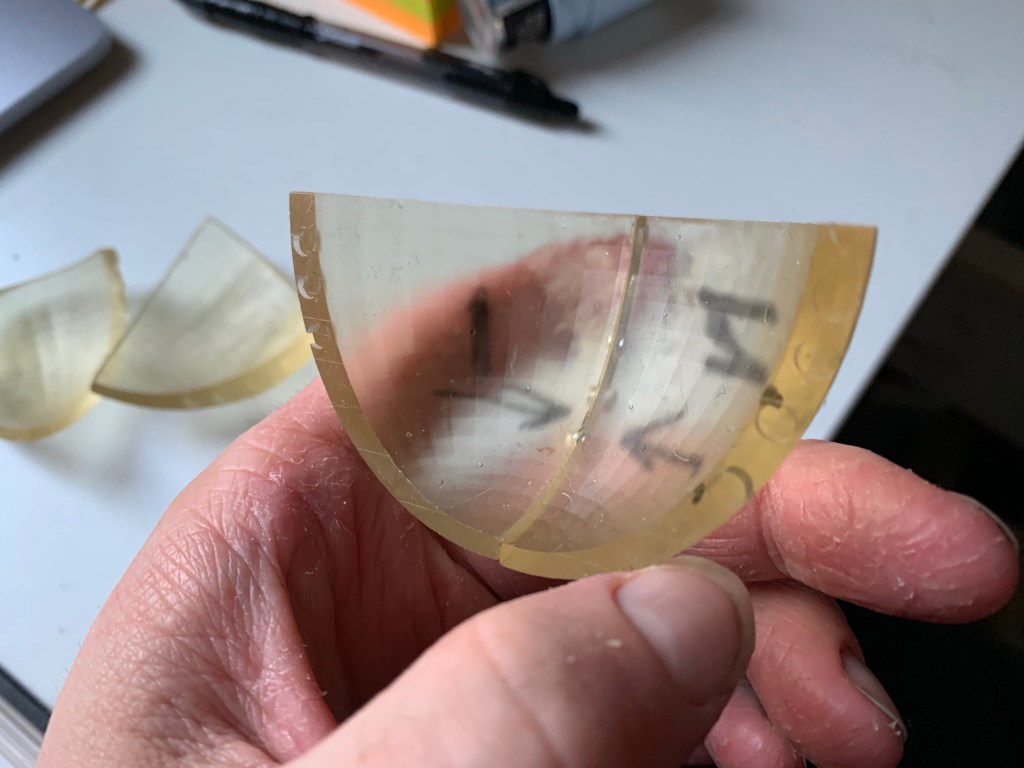
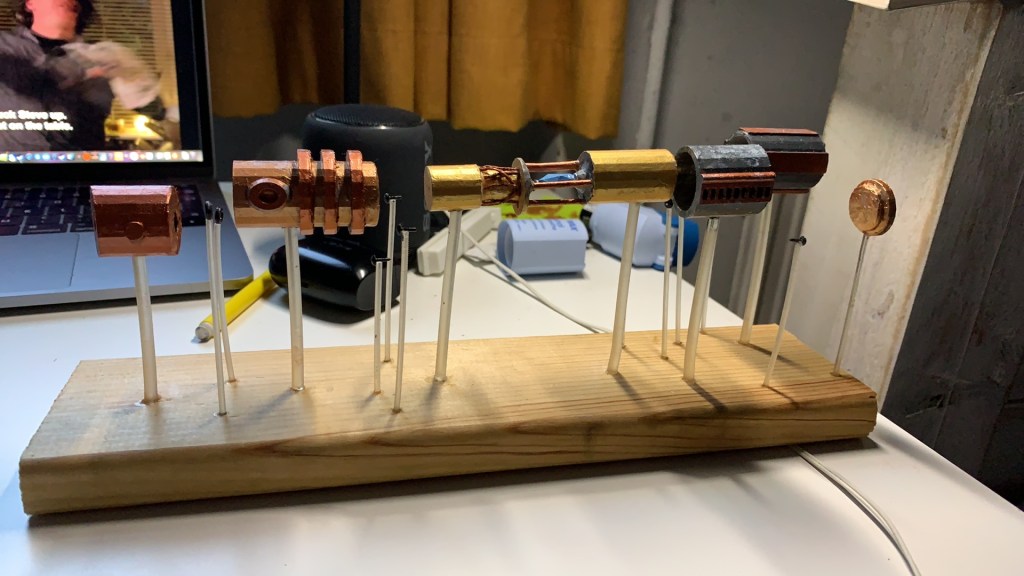
Once the pieces were printed, I was able to take them out, clean, dry and cure them, I also designed the pieces so they could connect, (even though this wasn’t the main goal) how some the pieces couldn’t connect (again this wasn’t the plan), the pieces did come out very nicely, except for the main body of the crystal chamber, I realised that the rods supporting the top part were too thin, so I had to break them off and 3D print and glue on thicker ones, also the machine couldn’t print the support inside the crystal chamber were I would position the magnets for the kyber crystal, so I had to improvise by taking some procreate (sculpting putty) and sculpt the support on each end of the chamber and glued in the magnets.


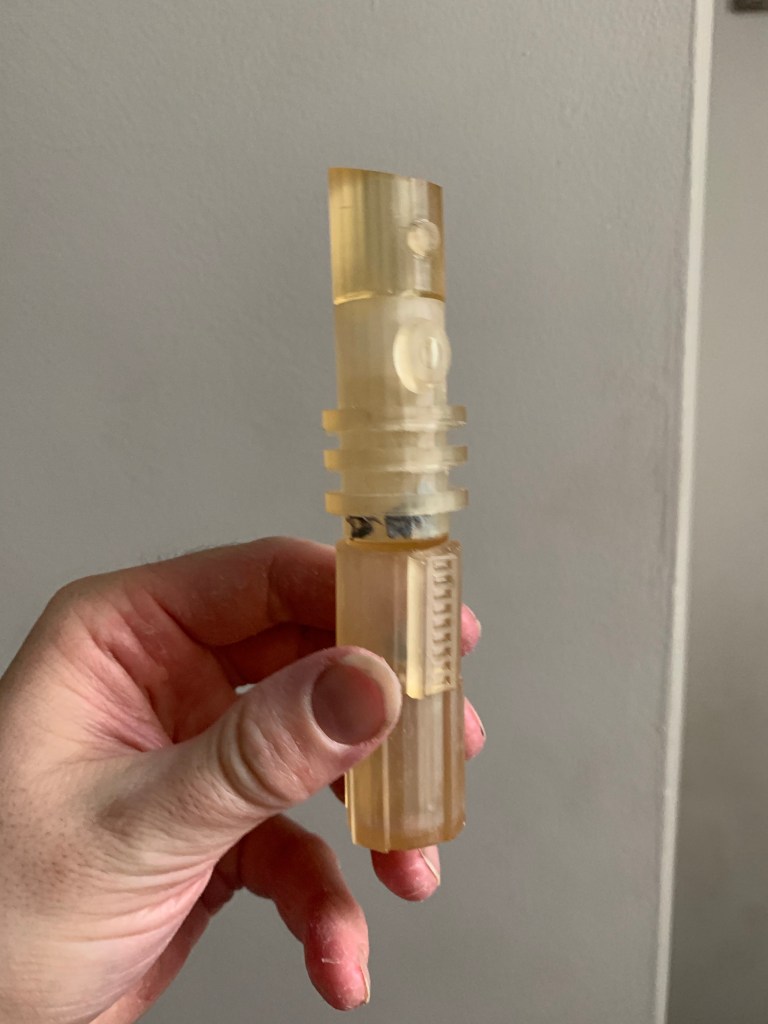
Once the pieces were finnished and modified, I took a board of wood and placed the pieces on top to align them and made sure I was able to fit them all on the board, once the pieces were where I wanted them I marked areas around the board where I would drill the holes for the rods and marked the pieces for where they’d be drilled.


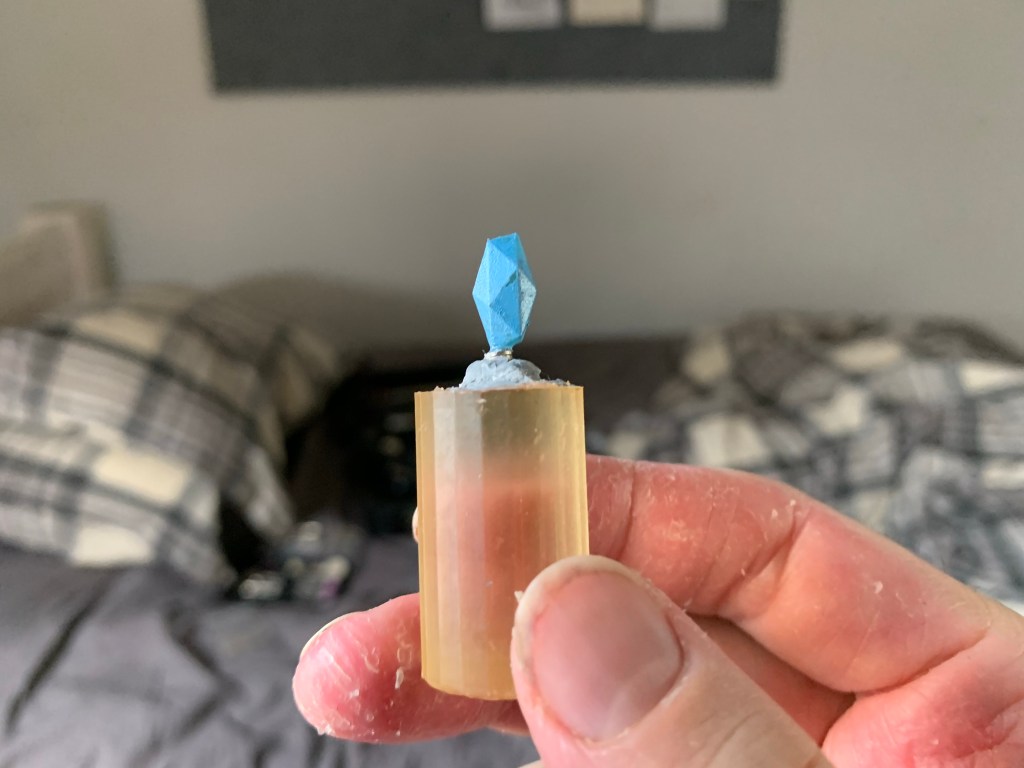
For the colour scheme, I wanted to give it a steampunk look, to make it look like a sort of renaissance aesthetic, so I settled to using colours such as Gold,silver,bronze and copper and I had to make sure I picked the right pieces to be painted the right colour. I chose to paint the kyber crystal blue, just like in most of the movies.
Note: If I ever sold these as collectibles for fans, I would give them the option to change the kyber crystal into a variety of colours such as Red, green, blue, yellow, orange, purple, white, black, magenta, indigo etc, just like in the movies, tv shows and video games.
Once all the pieces were painted, I then took my dremel and drilled holes onto the pieces and glued the rods into the pieces and the board.
Note: This design of the pieces suspended on rods is both references Da Vinci’s layout of how his inventions would be constructed (as shown on his sketches) and in the Star wars universe of when a jedi or sith constructs his/her lightsaber by using the force to make the pieces float, thereby constructing it with their mind.
End Result
I was very happy with end result and I am looking forward to designing and printing more like this, however I do feel the layout of the parts on the board struggle to spread out, since some of them look like they’re too close together. Also for future models similar to this I think I might add wood varnish to the board to make look old fashioned, because of giving a steampunk aesthetic I crumbled up a paper towel added silver paint and dabbed it onto the pieces to make it look like scratches also I took my scalpel and scratched some the pieces, I wanted to make it look old fashioned, I would also consider adding brown and green rust, to really give it good old fashioned quality.
Future Intentions
For the next term, I will be planing on creating more of these Da Vinci style dioramas in the same style as my lightsaber, for this I’ll be practicing more on sketching out the designs and layout of each new model and to help with the layout of the pieces, I will be exploring the tear down movement of objects, basically taking apart pieces of tech and appliances, this would help me create better layouts for my sketches and model like how da vinci drew the pieces of his inventions to show how they come together. Once I do that, I’ll be able to create more detailed and more layered out design.
Note: Just to keep in mind, I’m not going to build all these things for practical use, so they don’t have to be functional, they’re just display pieces, most of these are fantasy and would difficult to recreate, e.g: The lightsaber would be scientifically impossible to recreate, sorry.
Commercial context
For my collection of these Da Vinci style models, my target audience are fans of big pop culture media including Movies, TV, Books and Videogames, this is because fans love collecting either industry made or fan-made merchandise (including Action figures, statues, posters, home appliances).
People collect very cool and very bizzare things like A shotgun toothbrush, a floppy disk coffee table, ninja star coat hangers, a Pac man ghost that changes colour when played with music, an amplifier key holder etc.
And many more:
https://awesomestufftobuy.com/gifts/home-and-garden/
My idea creates opportunities of showing them and potentially making a profit, whether it would be selling these models as assembly kits for fans to collect and build or a special exhibition displaying all these models that fans could attend and admire the thought. Passion and creativity went into creating unique pieces, based on their favourite fictional genres, or even creating a franchise of Da Vinci-themed models of every-day appliances for everyone to obtain for their collection.